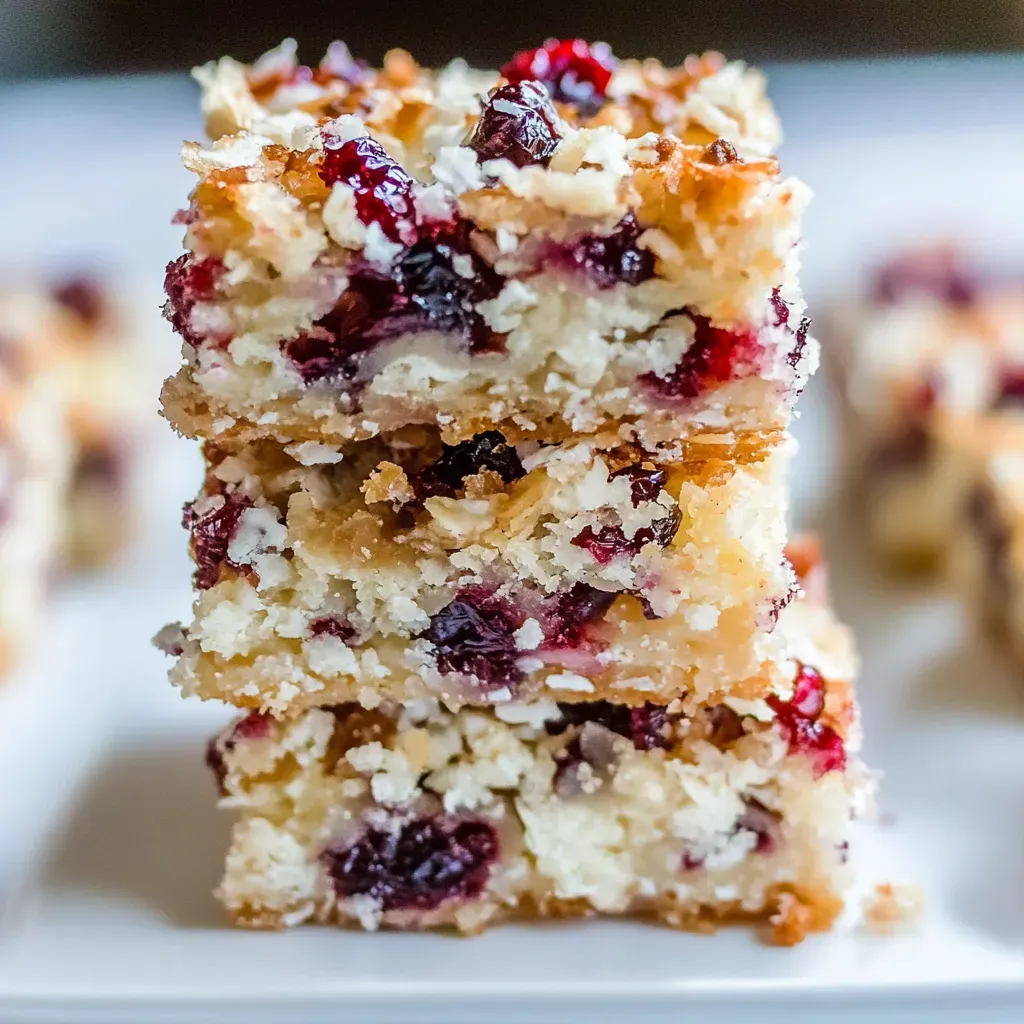
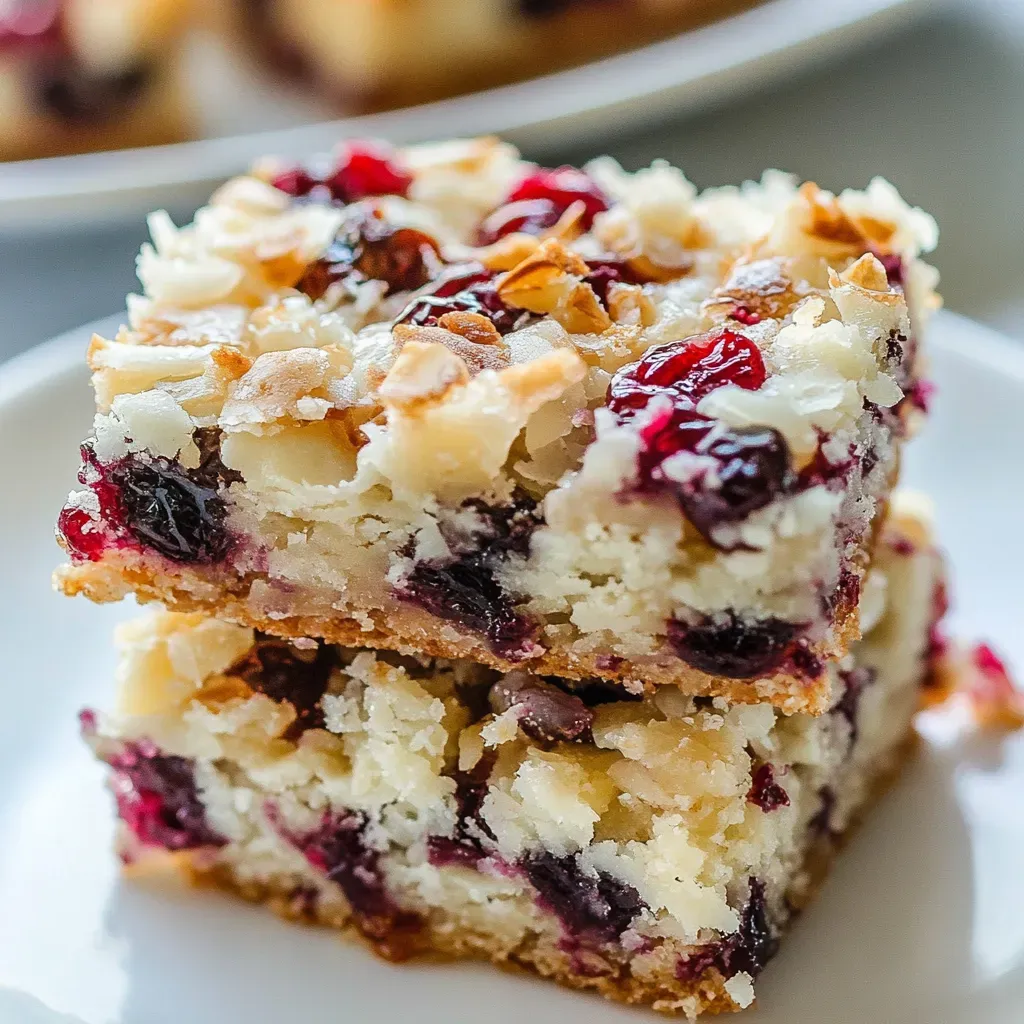
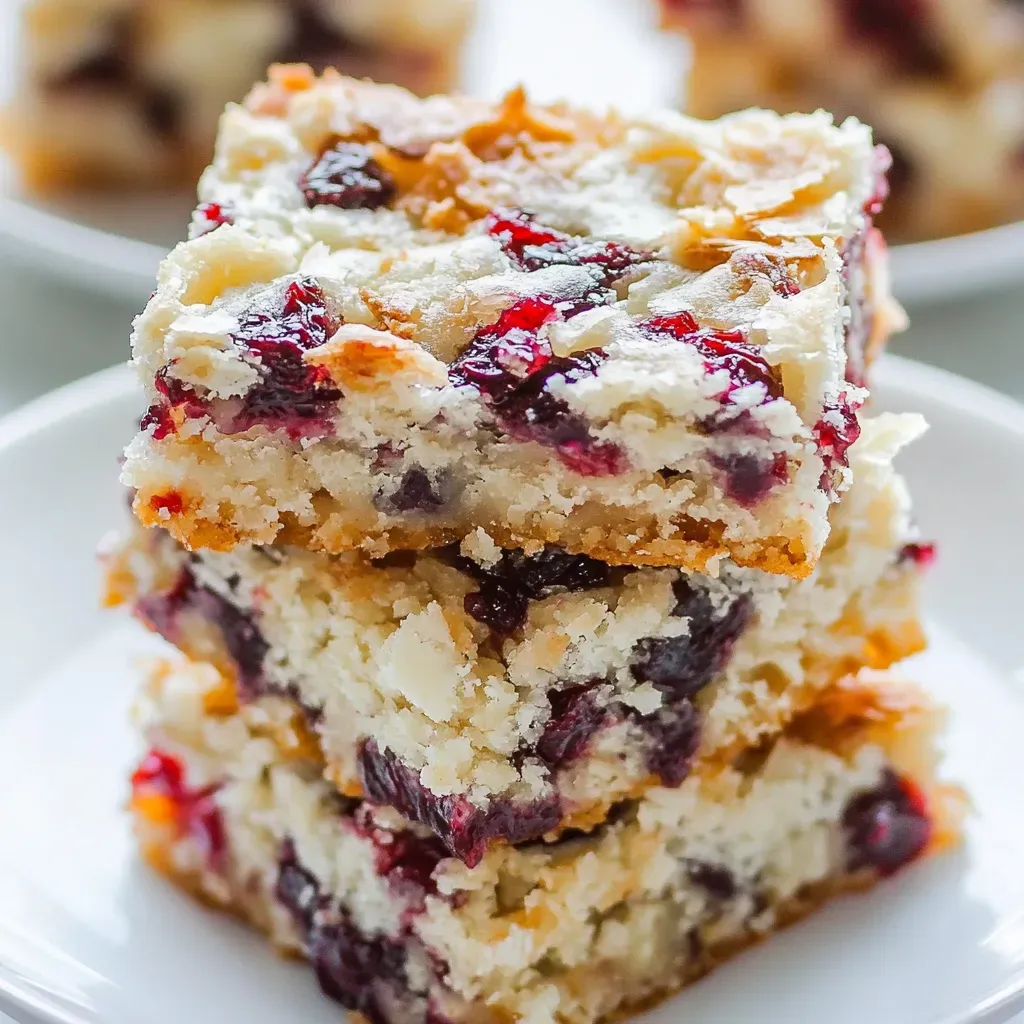
There’s something about the holiday season that makes me crave the sweet, tart flavor of cranberries, and what better way to enjoy them than in these Cranberry Bliss Seven Layer Bars? Last Christmas, I decided to whip up a batch for a family gathering, and boy, did they disappear fast! The layers of flavors and textures come together in a way that’s not just pleasing to the eye but also an absolute delight to the taste buds. Each bite is a harmonious blend of crunchy, sweet, and a touch of tartness that makes these bars a perfect treat for any occasion.
Recipe Snapshot
25 mins
5 mins
20 mins
Medium
220 kcal
2 g
Gluten-Free, Low FODMAP
12 g
Frying Pan, Oven, Chef’s Knife, Mixing Bowl, Baking Sheet
What We Adore About This Cranberry Bliss Seven Layer Bars
1. Layers of Flavor
What makes these Cranberry Bliss Seven Layer Bars stand out is undoubtedly the combination of flavors. From the buttery base to the luscious layers of chocolate and cranberries, every bite takes you on a delightful journey. The contrast between the sweetened shredded coconut and the tartness of the dried cranberries adds a complexity that is truly special.
2. Textural Contrast
Another aspect I absolutely adore is the textural contrast. The creamy, gooey layers sandwiched between the crisp crust create a satisfying bite that keeps you coming back for more. You’ll enjoy the crunch of the nuts and the chewy goodness of the cranberries, making every piece a new experience.
3. Perfect for Any Celebration
Whether it’s a holiday gathering, a casual get-together, or just a cozy night in, these bars are the perfect treat. They are easy to transport, meaning you can bring them along to parties without any fuss. Plus, their festive appearance makes them a hit at any event!
4. Simple Ingredients, Big Impact
Don’t be fooled by the number of layers; the ingredients are straightforward and often found in your pantry. With just a handful of essentials, you can create a dessert that looks and tastes like you’ve spent hours in the kitchen. This simplicity is what makes them so appealing.
5. A Family Favorite
Lastly, these bars have a way of bringing people together. I remember the smiles on my family’s faces as they indulged in these delicious treats. They’ve become a favorite in our household, with everyone eagerly awaiting the next batch. This recipe is sure to earn a special place in your heart, just like it did in mine.
Ingredients to Make Cranberry Bliss Seven Layer Bars
Let’s talk about the ingredients that create the magic in these bars. Each component plays a vital role, contributing to the overall flavor and texture. The combination of butter, graham cracker crumbs, and chocolate chips forms a solid foundation, while the dried cranberries and sweetened shredded coconut elevate the taste, giving it a delightful twist.
- ¼ cup butter, melted: This adds richness and helps bind the crust together.
- scant ¾ cup graham cracker crumbs: Provides a sweet and crumbly base that contrasts nicely with the other layers.
- ¾ cup white chocolate chips: Brings a creamy sweetness that balances the tartness of the cranberries.
- ¼ cup semi-sweet chocolate chips: Adds depth of flavor and a hint of bitterness.
- ¼ cup chopped walnuts: Introduces a crunchy texture that complements the softer layers.
- 1 cup dried cranberries: The star of the show, providing bursts of tartness throughout.
- 1 cup sweetened shredded coconut flakes: Adds chewiness and a tropical flair.
- about two-thirds can 14-ounce sweetened condensed milk: This helps to bind everything together and adds a luscious sweetness.
Cooking Method for Cranberry Bliss Seven Layer Bars
Making these bars is a delightful process that’s as enjoyable as the end result. It’s all about layering the ingredients and watching as they transform into a gooey, sweet treat. Follow these detailed steps to create your own Cranberry Bliss Seven Layer Bars!
- Preheat your oven to 350°F. Start by lining an 8-by-8-inch baking pan with aluminum foil, leaving some overhang for easy removal later. Spray the foil with cooking spray to ensure your bars don’t stick.
- In a large, microwave-safe bowl, add the butter. Heat on high power for about 1 minute until melted. It should be completely liquid; this will be the base of your crust.
- Once melted, add the graham cracker crumbs to the bowl. Using a fork, gently toss the crumbs with the melted butter until they’re fully coated. You want a nice, crumbly mixture that’s slightly damp.
- Next, pour the crumb mixture into the prepared pan. Using a spatula or your fingertips, press the crumbs firmly into an even layer across the bottom of the pan. It might seem like there isn’t enough, but it’ll work out.
- Now, let’s build those layers! Start by evenly sprinkling the white chocolate chips, followed by the semi-sweet chocolate chips. Next, add the chopped walnuts, followed by the dried cranberries and the sweetened shredded coconut flakes. It’s like a beautiful rainbow of ingredients!
- Finally, drizzle the sweetened condensed milk over the entire mixture. Make sure to cover everything evenly, as this will help bind the layers together while baking.
- Place the pan in the preheated oven and bake for about 20 minutes. Keep a close eye on them, especially in the last few minutes. You want them to be lightly golden brown around the edges.
- Once baked, remove the pan from the oven and place it on a wire rack to cool. Allow the bars to cool in the pan for at least 2 hours, or even overnight if you can wait. The bars will firm up as they cool, making them easier to slice.
- When you’re ready, use the overhanging foil to lift the bars out of the pan. Cut them into squares and serve!
Things Worth Knowing
- Watch the Baking Time: Keep an eye on the bars as they bake, especially in the final minutes. Since ovens can vary, it’s essential to check for a golden color around the edges.
- Cutting Tips: For clean cuts, use a sharp knife and wipe it clean between slices. This prevents the chocolate from smearing.
- Cooling is Crucial: Allowing the bars to cool completely will help them firm up and makes slicing much easier.
- Storage: These bars can be kept at room temperature in an airtight container for up to a week, so they’re perfect for meal prep or snacks!
Customization Ideas
There are endless possibilities when it comes to personalizing your Cranberry Bliss Seven Layer Bars. Here are some ideas to inspire you:
- Storage: Keep leftovers in an airtight container at room temperature for up to 1 week. They’ll maintain their flavor and texture.
- Freezing: If you want to make a big batch, feel free to freeze these bars! Wrap them tightly in plastic wrap and then in aluminum foil. They can last for up to 6 months.
- Variations: Experiment with different nuts like pecans or almonds for a twist on texture.
- Flavor Boost: Consider adding a sprinkle of cinnamon or nutmeg to the graham cracker crust for added flavor.
- Chocolate Choices: You can mix and match the types of chocolate chips based on your preference; dark chocolate chips work beautifully as well!
Serving Suggestions
When it comes to serving your Cranberry Bliss Seven Layer Bars, the options are delightful! Here are some ideas:
- Perfect for Parties: These bars are a fantastic addition to holiday parties or potlucks. Their vibrant colors and rich flavors will impress your guests.
- Accompany with Coffee: Serve alongside a steaming cup of coffee or tea for a delightful afternoon treat.
- Ideal for Lunchboxes: Cut them into smaller pieces and pack them in lunchboxes for a sweet treat that’s sure to brighten anyone’s day.
- Seasonal Pairing: These bars are perfect for fall and winter gatherings, making them a lovely addition to Thanksgiving or Christmas desserts.
- Storage Tips: For extended freshness, consider storing in the refrigerator, especially if you live in a warmer climate.
FAQ
Conclusion
The Cranberry Bliss Seven Layer Bars are truly a standout dessert that combines vibrant flavors and delightful textures. Each layer contributes to a sweet yet balanced treat that’s perfect for any occasion. I encourage you to give these bars a try; they’re sure to become a beloved recipe in your home as they have in mine. Enjoy making them and sharing the joy they bring!
Cranberry Bliss Seven Layer Bars
Ingredients
Equipment
Method
- Preheat your oven to 350°F. Start by lining an 8-by-8-inch baking pan with aluminum foil, leaving some overhang for easy removal later. Spray the foil with cooking spray to ensure your bars don’t stick.
- In a large, microwave-safe bowl, add the butter. Heat on high power for about 1 minute until melted. It should be completely liquid; this will be the base of your crust.
- Once melted, add the graham cracker crumbs to the bowl. Using a fork, gently toss the crumbs with the melted butter until they're fully coated. You want a nice, crumbly mixture that’s slightly damp.
- Next, pour the crumb mixture into the prepared pan. Using a spatula or your fingertips, press the crumbs firmly into an even layer across the bottom of the pan. It might seem like there isn’t enough, but it’ll work out.
- Now, let’s build those layers! Start by evenly sprinkling the white chocolate chips, followed by the semi-sweet chocolate chips. Next, add the chopped walnuts, followed by the dried cranberries and the sweetened shredded coconut flakes. It’s like a beautiful rainbow of ingredients!
- Finally, drizzle the sweetened condensed milk over the entire mixture. Make sure to cover everything evenly, as this will help bind the layers together while baking.
- Place the pan in the preheated oven and bake for about 20 minutes. Keep a close eye on them, especially in the last few minutes. You want them to be lightly golden brown around the edges.
- Once baked, remove the pan from the oven and place it on a wire rack to cool. Allow the bars to cool in the pan for at least 2 hours, or even overnight if you can wait. The bars will firm up as they cool, making them easier to slice.
- When you're ready, use the overhanging foil to lift the bars out of the pan. Cut them into squares and serve!
Notes
- Tip 1: Bars will keep airtight at room temperature for up to 1 week, or in the freezer for up to 6 months.