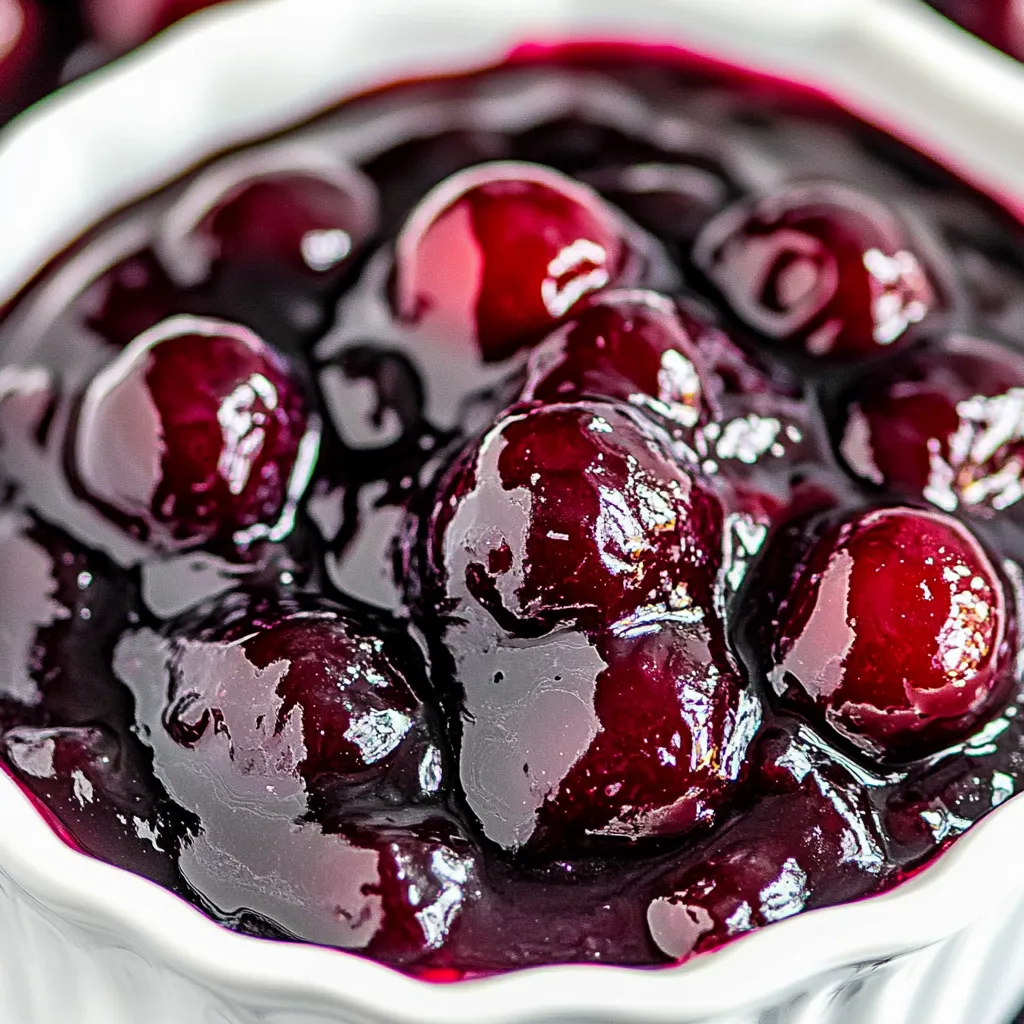
Nothing says summer quite like a fresh, juicy cherry pie, and that all starts with a delicious filling. My Homemade Cherry Pie Filling recipe is a staple in my kitchen during the warmer months when cherries are at their peak. I remember the first time I made this filling; it was a beautiful sunny day, and the scent of sweet cherries filled my kitchen. The vibrant red color and the rich flavor of cherries, combined with sugar and a hint of lemon, create a treat that’s both nostalgic and mouthwatering. Whether you’re making a pie for a backyard barbecue or just for an afternoon snack, this cherry filling is bound to impress. Why settle for store-bought when you can whip up a batch of this delicious filling in no time? Trust me, once you taste the freshness, you’ll never look back.
Recipe Snapshot
20 mins
5 mins
15 mins
Easy
250 kcal
1 g
Vegan, Gluten-Free, AIP
0 g
Large pot, Wooden spoon or silicone spatula, Measuring cups and spoons
Why This Homemade Cherry Pie Filling Works
It’s Fresh and Flavorful
One of the best things about my Homemade Cherry Pie Filling is the freshness. Using ripe, in-season cherries means that each bite bursts with flavor. There’s something incredibly satisfying about using fresh ingredients that you can taste in the final product.
Perfectly Sweetened
Adjusting the sweetness to your taste is a breeze with this recipe. Depending on the variety of cherries you choose, you can modify the amount of sugar to achieve that perfect balance between tart and sweet. You can make it just the way you like!
Versatile Use
This filling isn’t just for pies. You can use it in a variety of desserts—think tarts, crumbles, or even as a topping for ice cream and pancakes. The possibilities are endless!
Easy to Make
Don’t have hours to spend in the kitchen? No problem! This cherry pie filling comes together quickly and easily, making it an excellent option for those who want to enjoy homemade desserts without too much fuss.
Great for Freezing
If you find yourself with an abundance of cherries in summer, you can easily make a large batch and freeze it for the colder months. This way, you can enjoy the taste of summer even in winter!
Ingredients for Homemade Cherry Pie Filling
Creating the perfect cherry pie filling is all about using the right ingredients. Each component plays a crucial role in achieving a delicious and well-balanced flavor. The key players here are the fresh cherries, which are the star of the show, and the sugar that enhances their natural sweetness. The addition of lemon juice brightens the flavor, while cornstarch thickens the mixture to create that lovely pie filling texture. Together, they create a symphony of flavors that will elevate your pie to the next level.
- 2 pounds sweet cherries (washed and pitted, about 6 cups) – Fresh cherries are essential for this recipe; their natural sweetness and tartness provide the perfect base.
- ¾ cup granulated sugar – This adds the needed sweetness; adjust according to the tartness of your cherries.
- ¼ to ½ cup water – Helps to create the right consistency; use more if needed.
- 3 tablespoons cornstarch – This thickens the filling, giving it that luxurious texture.
- 2 tablespoons lemon juice (from about half a lemon) – A splash of acidity brightens the filling beautifully.
- ¼ teaspoon salt – Enhances all the flavors in the filling.
- 1 teaspoon pure vanilla extract – Adds depth and warmth to the flavor profile.
- ½ teaspoon almond extract – A touch of almond enhances the cherry flavor for a delightful twist.
Homemade Cherry Pie Filling Instructions
Making Homemade Cherry Pie Filling is as easy as pie! Follow these simple steps, and you’ll have a delicious filling ready for your next baking adventure. Each step is designed to ensure you get the best flavor and texture possible.
- In a large pot over medium heat, combine the cherries, sugar, ¼ cup water, cornstarch, lemon juice, and salt. Stir frequently to mix all the ingredients well, and bring the mixture to a low boil. You should see the sugar starting to dissolve and the cherries begin to release their juices.
- Continue cooking for 10 to 15 minutes, until the cherries have softened and the mixture has thickened. Keep an eye on the pot and stir regularly to prevent sticking. The filling should be bubbling gently, and you can adjust the heat as necessary.
- If the mixture looks too thick, add more water a little at a time until you achieve your desired consistency. It should be thick enough to hold together but still pourable.
- Once the filling is thick and the cherries are soft, remove the pot from the heat. Stir in the vanilla extract and almond extract. The aroma of these extracts will elevate your filling to the next level!
- Let the filling cool before using. If you’re not using it right away, transfer it to a container and store it in the refrigerator. This filling can also be frozen for later use, making it a great option for future desserts.
Things Worth Knowing
- Thicker filling: If you want an even thicker filling, consider adding an extra tablespoon of cornstarch mixed with a little cold water before boiling.
- Flavor variations: Feel free to experiment by adding different extracts; a hint of orange extract can add a lovely twist.
- Fresh vs. frozen: You can use frozen cherries; just make sure to thaw and drain them before use for the best texture.
- Storage tips: Keep your pie filling in an airtight container in the refrigerator for up to one week.
Make It Your Own
One of the joys of making Homemade Cherry Pie Filling is that you can truly customize it to your liking. Here are some tips to help you tailor this recipe!
- Storage: Keep any leftover filling in an airtight container in the fridge for up to one week.
- Freezing: You can freeze this filling for up to six months. Just make sure it’s in a freezer-safe container.
- Pairing: This filling is perfect for a classic cherry pie, but it also works great in tarts and crumbles.
- Adjust sweetness: Depending on the type of cherries you use, adjust the amount of sugar to suit your taste.
- Serving suggestions: Serve it over vanilla ice cream or use it to top pancakes for a delightful breakfast treat.
Best Served With
Homemade Cherry Pie FillingCreating an unforgettable meal or dessert is all about how you serve it. Here are some ideas for enjoying your Homemade Cherry Pie Filling:
- Classic Cherry Pie: The most obvious choice! Use this filling to make a traditional cherry pie with a flaky crust.
- Cherry Crumble: Layer this filling with oatmeal crumble for a delicious twist.
- Pancakes: Serve it warm over fluffy pancakes for a scrumptious breakfast or brunch dish.
- Ice Cream Topping: Use this filling as a delightful topping for vanilla ice cream – it’s a match made in heaven!
- In Tarts: Fill a tart shell with this mixture for a beautiful dessert that’s sure to impress.
- Cheesecake Swirl: Incorporate it into cheesecake batter for a fruity twist on a classic dessert.
FAQ
Conclusion
This Homemade Cherry Pie Filling is the perfect way to capture the essence of summer in a jar. It’s fresh, sweet, and incredibly easy to make, making it a must-try for any dessert lover. I encourage you to whip up a batch and create your own delicious desserts that will surely impress your family and friends. Enjoy the taste of summer all year long!
Homemade Cherry Pie Filling
Ingredients
Equipment
Method
- In a large pot over medium heat, combine the cherries, sugar, ¼ cup water, cornstarch, lemon juice, and salt. Stir frequently to mix all the ingredients well, and bring the mixture to a low boil.
- Continue cooking for 10 to 15 minutes, until the cherries have softened and the mixture has thickened. Keep an eye on the pot and stir regularly to prevent sticking.
- If the mixture looks too thick, add more water a little at a time until you achieve your desired consistency. It should be thick enough to hold together but still pourable.
- Once the filling is thick and the cherries are soft, remove the pot from the heat. Stir in the vanilla extract and almond extract.
- Let the filling cool before using. If you're not using it right away, transfer it to a container and store it in the refrigerator.
Notes
- If using frozen cherries: thaw first and drain.
- For a deeper flavor: substitute 2 tablespoons (30 ml) of water with cherry juice.
- Adjust the sweetness: according to the cherry variety and use.
- This recipe yields: approximately 4 cups of filling, which is enough for one 9-inch pie.