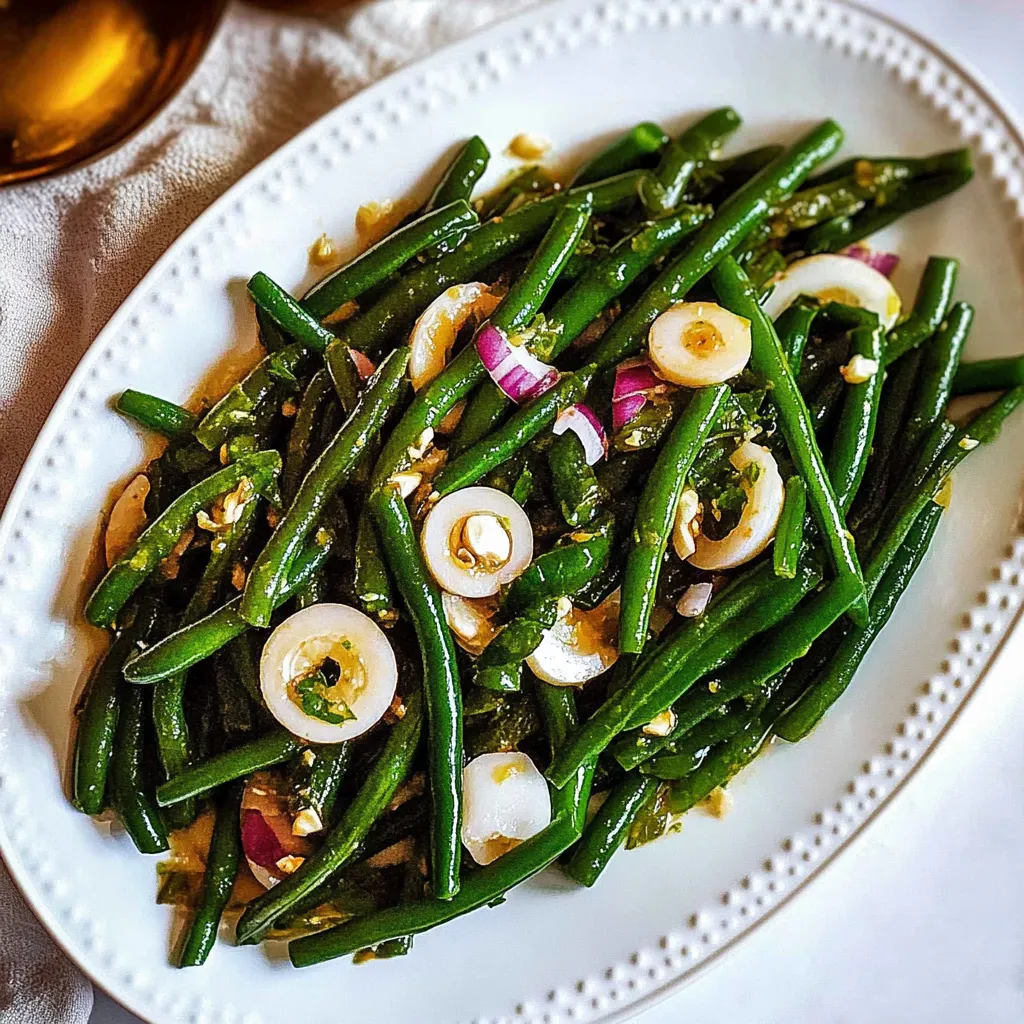
Whenever I think about a refreshing dish that’s perfect for spring, I immediately gravitate towards Green Bean Salad. It reminds me of sunny picnics in the park, where friends and family gather to enjoy good food and laughter. This salad is not only vibrant in color but also packed with flavors and textures that make each bite a delight. I often find myself making this dish during the warmer months when fresh produce is at its peak. The crispness of the green beans combined with the richness of the other ingredients creates a harmony of tastes that satisfies the palate. Whether it’s a casual lunch on the porch or a festive gathering, Green Bean Salad is always a crowd-pleaser. I love how quick and easy it is to prepare, making it a go-to recipe for any occasion.
Recipe Snapshot
20 mins
10 mins
10 mins
Medium
150 kcal
8 g
Keto, Paleo, Whole30
9 g
Large Pot, Mixing Bowl, Peeler, Chef’s Knife
Why This Green Bean Salad Hits Different
Vibrant Flavors
One of the key reasons I adore Green Bean Salad is the vibrant flavors it offers. The fresh, crisp taste of the green beans provides a satisfying crunch, while the black olives add a delightful brininess that elevates the overall flavor profile. Each ingredient complements the other perfectly, making it an exciting dish to enjoy.
Colorful Presentation
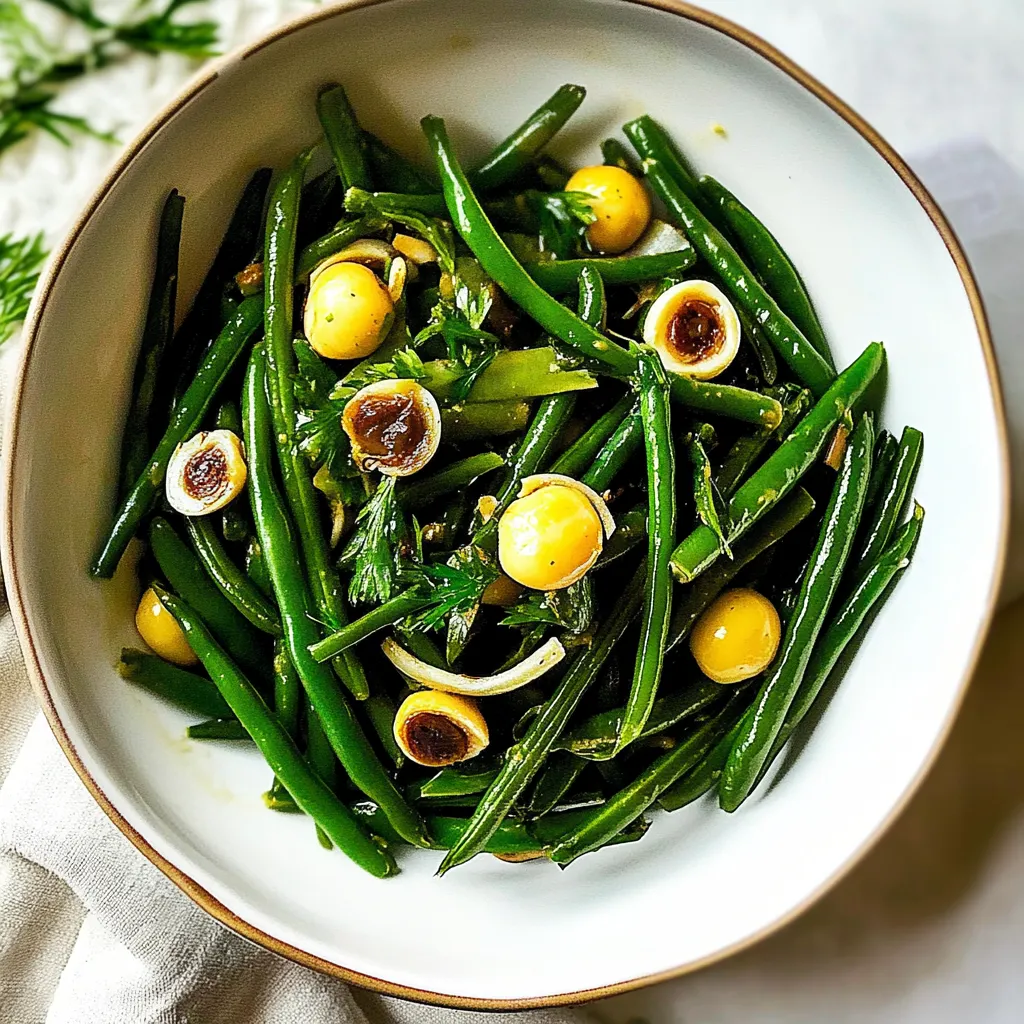
This salad is a feast for the eyes! The bright green of the green beans, the deep black of the olives, and the lovely golden hue of the hard boiled eggs create a beautiful contrast on the plate. It’s a great way to add color to any meal, making it as appealing to the eyes as it is to the taste buds.
Healthy Ingredients
Knowing that I’m serving a dish packed with healthy ingredients is a huge bonus. Green beans are low in calories and a great source of vitamins A, C, and K. The addition of olive oil not only enhances the flavor but also brings in healthy fats that are good for the heart. This salad is a great way to enjoy a wholesome meal without compromising on taste.
Quick and Easy Preparation
Time is often of the essence, especially during busy weekdays. What I love about Green Bean Salad is how quickly it comes together. With just a few simple steps, you can whip up a delicious salad that’s perfect for lunch or dinner. You can even make it ahead of time and let the flavors meld in the fridge!
Versatile for Any Occasion
This salad is incredibly versatile and can fit into any meal. Whether you’re having a light lunch, serving it as a side for dinner, or bringing it to a summer barbecue, Green Bean Salad fits right in. It’s perfect for potlucks or as a refreshing option during holiday gatherings.
Perfect Temperature
Another aspect I appreciate is that Green Bean Salad can be served chilled or at room temperature. This flexibility makes it an ideal dish for warm weather when you want something cool and refreshing. Plus, it tastes even better after sitting in the fridge for a while!
Essential Ingredients for Green Bean Salad
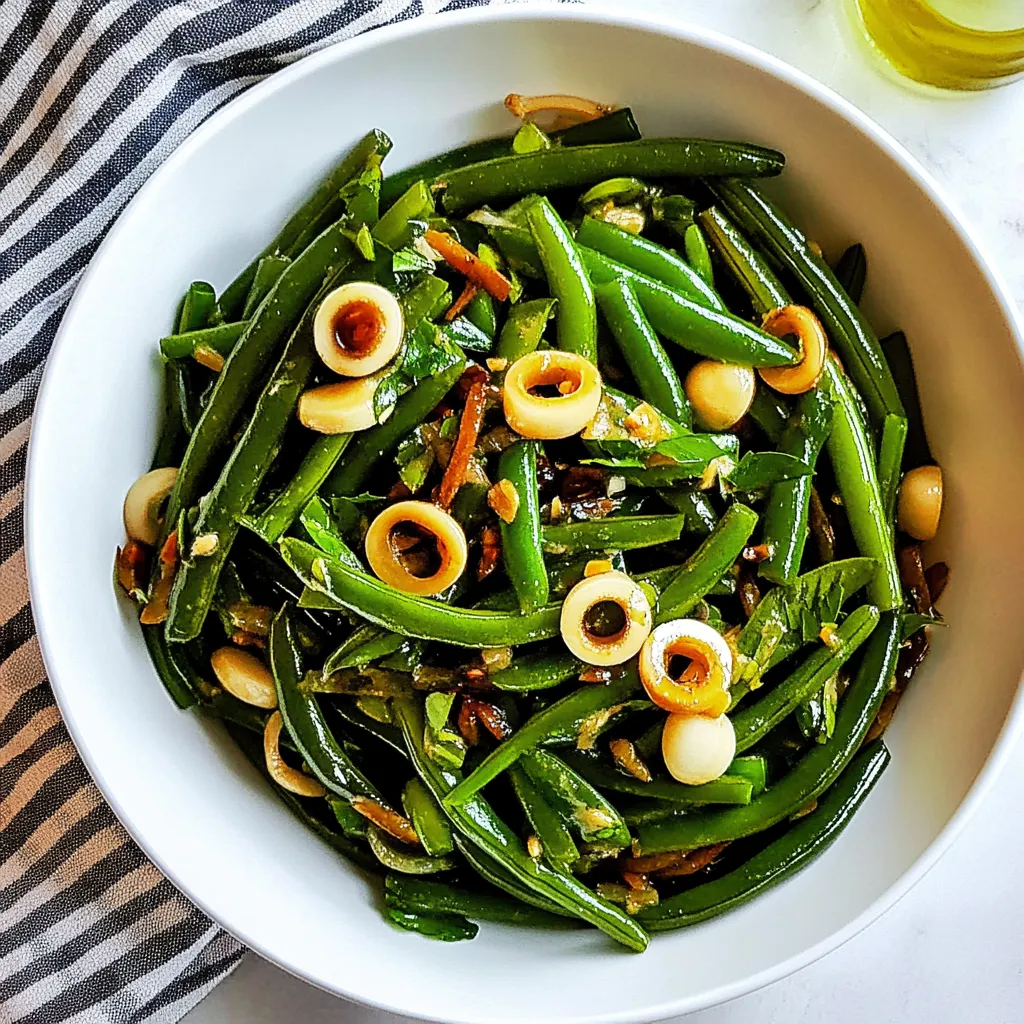
The ingredients for Green Bean Salad are simple yet incredibly effective. Each one plays a vital role in creating a balanced, flavorful dish that is both nutritious and enjoyable. The combination of fresh produce and pantry staples works harmoniously, ensuring that every bite is satisfying.
- 24 oz green beans, ends trimmed: The star of the dish, offering a crisp texture and vibrant color.
- 2.25 oz sliced black olives, drained: These add a savory depth that pairs well with the green beans.
- 3 tablespoons balsamic vinegar: This adds a tangy sweetness that enhances the overall flavor.
- 3 tablespoons extra virgin olive oil: A healthy fat that enriches the salad and brings all the ingredients together.
- 3 medium scallions, chopped: They contribute a mild onion flavor and a pop of freshness.
- 3/4 teaspoon kosher salt: Essential for seasoning and enhancing the natural flavors of the ingredients.
- Fresh black pepper, to taste: Provides a gentle heat and rounds out the dish.
- 5 hard boiled eggs, peeled and sliced: They offer protein and a creamy texture that balances the crunch of the vegetables.
Cooking Instructions for Green Bean Salad
Making Green Bean Salad is as easy as it is enjoyable. Follow these simple steps to create a delicious and refreshing dish that everyone will love.
Start by placing the green beans in a large pot and covering them with about 6 cups of water. This ensures that they cook evenly. Bring the water to a boil. As the water begins to bubble, you can already smell the freshness of the beans!
Once the water is boiling, cover the pot and cook the green beans until they are tender-crisp, which should take about 6 minutes. Make sure not to overcook them; they should be bright green and slightly firm to the bite.
After the beans have cooked, drain them in a colander and rinse under cold water. This step is crucial to halt the cooking process, ensuring they maintain their lovely color and crispness.
In a large bowl, combine the balsamic vinegar, olive oil, salt, and black pepper. Whisk these ingredients together until they are well blended. The aroma of the balsamic vinegar and olive oil is mouthwatering!
Add the green beans, scallions, and black olives to the bowl. Toss everything together gently but thoroughly so that the dressing coats each ingredient evenly.
Now, it’s time to add the finishing touch: sliced hard boiled eggs. Gently fold them into the salad, taking care not to break them up too much. They add protein and a rich creaminess that makes the salad satisfying.
Once everything is combined, cover the salad and refrigerate it for at least 30 minutes to allow the flavors to meld. This is the hardest part, waiting, but trust me, it’s worth it!
When you’re ready to serve, take the salad out of the fridge. You can enjoy it chilled or let it sit at room temperature for a bit. Either way, it’s going to be delicious!
Things Worth Knowing
- Don’t Overcook: Ensure you cook the green beans just long enough to remain tender-crisp. Overcooked beans can become mushy and lose their vibrant color.
- Cooling Technique: Rinsing the green beans under cold water after cooking is essential to stop the cooking process and retain their crunchiness.
- Flavor Development: Letting the salad chill in the refrigerator allows the flavors to blend beautifully, creating a more harmonious taste.
- Customization: Feel free to add other ingredients like cherry tomatoes or nuts for added texture and flavor.
Substitutions and Tips
Every cook has their own tips and tricks, and I’m excited to share a few that I’ve learned along the way while making Green Bean Salad. These will help you perfect your dish and enjoy it even more!
- Storage: Store leftovers in an airtight container in the fridge for up to three days. The salad tastes great even after being refrigerated!
- Freezing: It’s best not to freeze this salad as the texture of the green beans and eggs may change when thawed.
- Pairing: Green Bean Salad pairs wonderfully with grilled chicken or fish for a light, healthy meal.
- Flavor Boost: Consider adding herbs such as basil or parsley for additional flavor and freshness.
- Eggs Preparation: For a change, you can try using poached eggs instead of hard-boiled for a different texture.
- Vegan Option: Omit the eggs for a delightful vegan version of this salad!
How to Serve Green Bean Salad
Serving Green Bean Salad is all about the experience. Here are some ideas to make your presentation shine and ensure everyone enjoys it:
- Chilled Delight: Serve the salad straight from the refrigerator for the most refreshing experience, especially on a hot day.
- Picnic Perfect: This dish is a fantastic choice for picnics. It travels well and can be served right out of the cooler.
- Casual Gatherings: For casual dinners or barbecues, place the salad in a large bowl and let everyone help themselves.
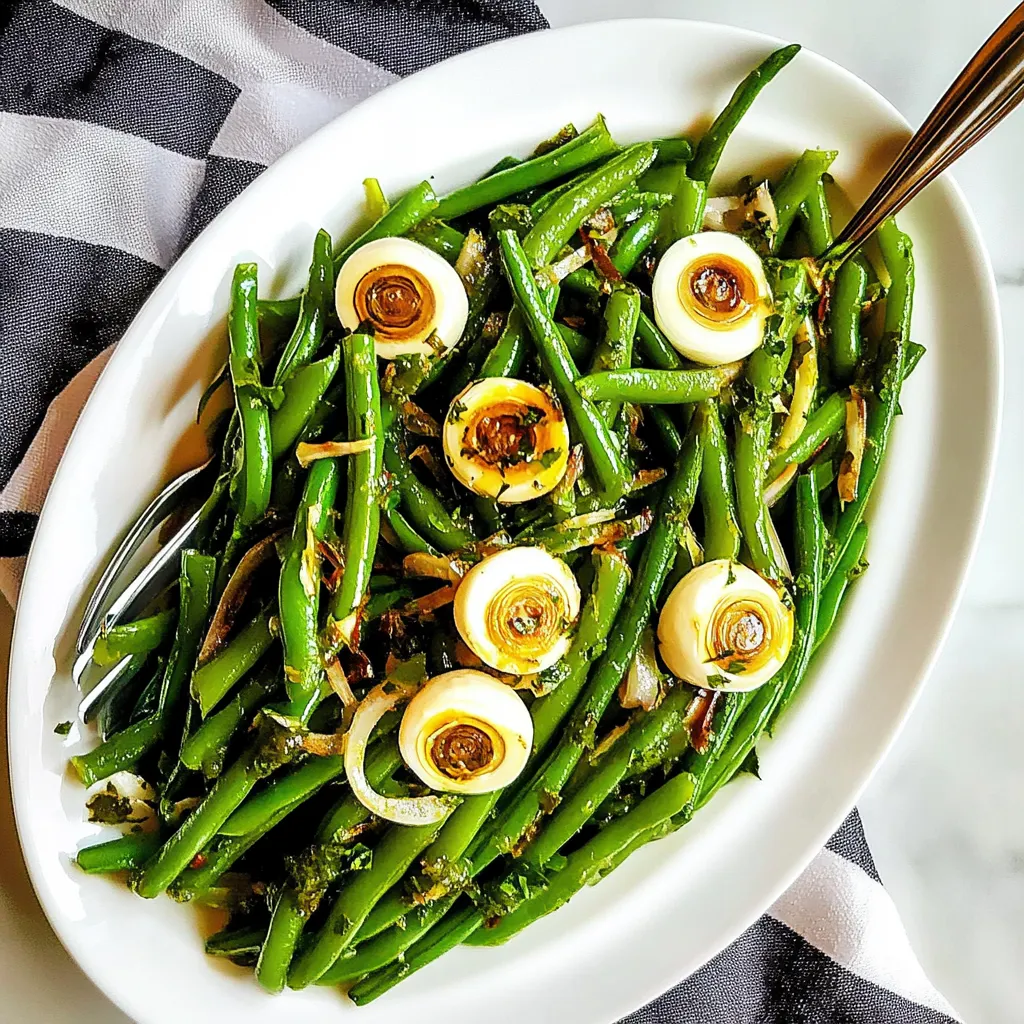
- Elegant Touch: For a more sophisticated meal, serve the salad on individual plates, garnished with extra scallions or herbs.
- Seasonal Pairings: Pair with seasonal dishes like grilled asparagus or corn on the cob in the summer.
- Meal Prep: This salad works wonderfully for meal prep, making it an excellent choice for lunches throughout the week.
- Versatile Serving: It can be enjoyed as a side dish or as a light main course on its own.
FAQ
Conclusion
Green Bean Salad is truly a delightful dish that brings freshness and flavor to any table. Its vibrant colors and nutritious ingredients make it a fantastic choice for any meal. I encourage you to try making this salad yourself; it’s easy, quick, and the taste is simply irresistible. Enjoy the wonderful combination of textures and flavors that this salad offers!
Green Bean Salad
Ingredients
Equipment
Method
- Start by placing the green beans in a large pot and covering them with about 6 cups of water. This ensures that they cook evenly. Bring the water to a boil. As the water begins to bubble, you can already smell the freshness of the beans!
- Once the water is boiling, cover the pot and cook the green beans until they are tender-crisp, which should take about 6 minutes. Make sure not to overcook them; they should be bright green and slightly firm to the bite.
- After the beans have cooked, drain them in a colander and rinse under cold water. This step is crucial to halt the cooking process, ensuring they maintain their lovely color and crispness.
- In a large bowl, combine the balsamic vinegar, olive oil, salt, and black pepper. Whisk these ingredients together until they are well blended. The aroma of the balsamic vinegar and olive oil is mouthwatering!
- Add the green beans, scallions, and black olives to the bowl. Toss everything together gently but thoroughly so that the dressing coats each ingredient evenly.
- Now, it’s time to add the finishing touch: sliced hard boiled eggs. Gently fold them into the salad, taking care not to break them up too much. They add protein and a rich creaminess that makes the salad satisfying.
- Once everything is combined, cover the salad and refrigerate it for at least 30 minutes to allow the flavors to meld. This is the hardest part, waiting, but trust me, it’s worth it!
- When you’re ready to serve, take the salad out of the fridge. You can enjoy it chilled or let it sit at room temperature for a bit. Either way, it’s going to be delicious!