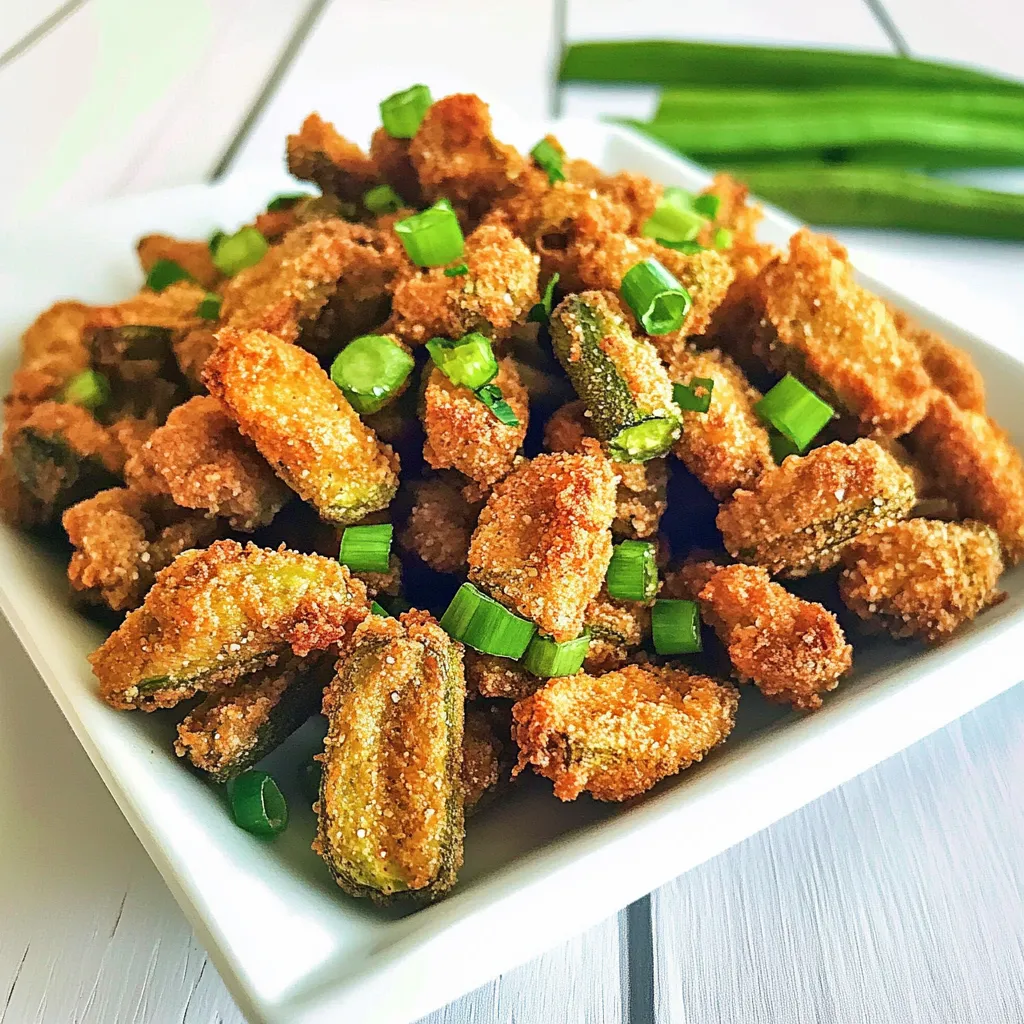
There’s something undeniably nostalgic about making Fried Okra. Growing up in the South, I remember my grandmother whipping up this dish on warm summer evenings, filling the kitchen with the aroma of crispy goodness. The simplicity of just two ingredients allows the natural flavors of the okra to shine, and yet, the crunch elevates it to something truly special. Whether served as a side dish at a family gathering or enjoyed as a snack while watching a game, Fried Okra evokes memories of laughter, conversation, and mouthwatering bites. Every time I prepare this dish, it brings me back to those cherished summertime memories, making it more than just a recipe to me; it’s a taste of home.
Recipe Snapshot
10 mins
5 mins
5 mins
Medium
150 kcal
3 g
Keto, Whole30, Vegan
7 g
Oven, Chef’s Knife, Mixing Bowl, Skillet
The Magic of This Fried Okra
It’s So Simple
One of the first things I love about Fried Okra is its simplicity. With just two ingredients, you can whip up a delicious side dish in no time. The ease of preparation means you can focus on enjoying the meal rather than stressing over complicated steps. This makes it perfect for both beginners and seasoned cooks alike.
A Flavorful Crunch
The texture of crispy okra is unbeatable. When fried to perfection, the outside is crunchy while the inside remains tender and flavorful. I can’t resist the satisfying crunch that comes with each bite. It’s a unique experience that perfectly captures the essence of Southern cuisine.
Versatility
Fried Okra isn’t just a side dish; it can be served in various ways. It pairs wonderfully with so many dishes—from burgers to grilled meats, and even as a topping for salads. You can even enjoy it on its own as a snack or appetizer! The possibilities are endless, making it a fantastic addition to any meal.
Freshness Matters
Using fresh okra can make all the difference in taste. When picking your vegetables, aim for small, firm pods. They’re naturally sweet and have a great texture that stands out when fried. Fresh ingredients always elevate the dish to a whole new level.
Perfect for Gatherings
Whenever I have friends or family over, Fried Okra is a go-to appetizer. It’s easy to prepare in large batches, ensuring there’s plenty to go around. Plus, watching everyone enjoy this beloved dish brings a smile to my face. It’s always a hit and a great conversation starter.
Health Benefits
Aside from its delicious taste, okra is packed with nutrients. It’s rich in vitamins C and K, as well as antioxidants. Not to mention, it’s low in calories, making it a healthier option for those craving something crispy. It’s a guilt-free indulgence that you can enjoy without worry!
Ingredients You’ll Need for Fried Okra
The beauty of Fried Okra lies in its simplicity. Using just a few quality ingredients can create a delightful dish that is both comforting and satisfying. The star of the show is, of course, the okra, which brings its unique flavor and texture. The self-rising buttermilk cornmeal mix adds that crucial crunch, creating a golden-brown exterior that’s simply irresistible. And lastly, the vegetable oil is essential for frying, ensuring that each piece is cooked to crispy perfection.
- 1 lb okra: Fresh and tender, the key ingredient that gives this dish its unique flavor and texture.
- 1 cup self-rising buttermilk cornmeal mix: This gives the okra its delightful crunch and rich taste.
- Vegetable oil: Used for frying, it’s important to have enough oil to ensure even cooking.
Cooking Instructions for Fried Okra
Making Fried Okra is truly a simple process that yields delicious results. Follow these steps to achieve the perfect crispy treat. Trust me, once you try this, you’ll want to make it over and over again!
- Start by rinsing the okra under cool water. This removes any dirt or impurities. It’s important to clean your ingredients before you start cooking.
- Once cleaned, slice the okra into 1/4-inch slices. Discard the stems and tips to keep only the tender parts. The size of the slices can impact the cooking, so try to keep them uniform.
- Next, place the sliced okra into a colander and rinse again. This additional rinse helps to remove any leftover dirt while also adding moisture, which is essential for the next step.
- Shake off any excess water from the okra. You want it to be moist but not dripping wet, as excess water can make the frying process messy.
- Transfer the rinsed slices to a bowl and pour the self-rising buttermilk cornmeal mix over the okra. Toss them together gently, ensuring every piece is coated evenly. This will create that delightful crunch.
- In a Dutch oven or a large skillet, pour enough vegetable oil to a depth of about 2 inches. This depth ensures that the okra is fully submerged while frying.
- Heat the oil to a temperature of 375°F. Use a thermometer if you have one, as it’s crucial for getting that perfect fry.
- Once the oil is hot, carefully add the coated okra slices in small batches. Fry them until they turn golden brown, which should take about 5 to 8 minutes. Don’t overcrowd the pan, as that can lower the oil temperature and result in soggy okra.
- Once fried, use a slotted spoon to remove the okra from the oil and place it on paper towels. This step allows excess oil to drain off, keeping your Fried Okra crispy.
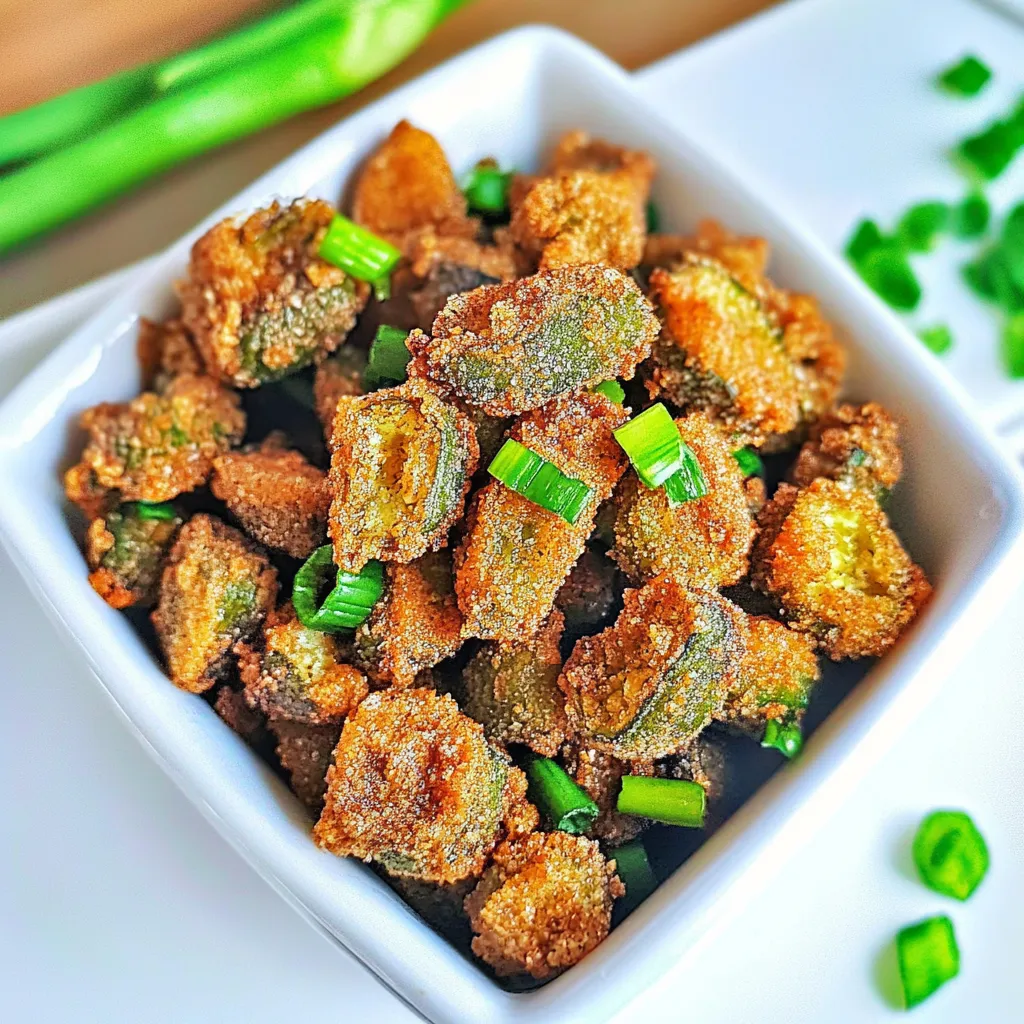
- Repeat the frying process until all the slices are cooked. Serve immediately and enjoy the crunchy, warm goodness of your Fried Okra!
Things Worth Knowing
- Don’t skip the rinsing: Rinsing the okra is crucial to remove any grit and ensures the flavor isn’t compromised.
- Watch the temperature: Maintaining the right oil temperature is key for a crispy texture. If it’s too low, the okra will soak up oil; too high, and it may burn.
- Batch frying: Frying in batches allows for even cooking and better texture. Avoid overcrowding the pan!
- Serving tip: For an extra touch, sprinkle some salt or your favorite seasoning right after frying to enhance the flavor.
Recipe Tips about Fried Okra

To make your experience with Fried Okra even better, here are some useful tips to keep in mind as you prepare this dish. With these suggestions, you’ll impress everyone with your cooking skills!
- Storage: Leftover Fried Okra can be stored in an airtight container in the fridge for up to 3 days. Reheat in the oven or an air fryer to regain its crispiness.
- Freezing: While it’s best fresh, you can freeze uncooked, breaded okra before frying. Just flash freeze on a baking sheet and then transfer to a freezer bag.
- Pairing: Fried Okra pairs wonderfully with dips like ranch or remoulade for extra flavor. It also complements grilled meats and spicy dishes.
- Variations: Experiment with spices in your breading—paprika or Cajun seasoning adds a nice kick to the crunchy exterior.
- Serving suggestions: Serve Fried Okra as an appetizer, side dish, or snack. It’s perfect for summer picnics or barbecues!
- Reheating: To maintain crispness, reheat fried okra in an air fryer or an oven rather than a microwave, which can make it soggy.
Serve This Fried Okra With
When it comes to serving Fried Okra, the options are nearly endless. This dish is perfect for various occasions and pairs well with many other foods. Here are some ideas to get you started:
- Grilled meats: Fried Okra is a fantastic side for grilled chicken or steak, adding a crunchy contrast to the smoky flavors.
- Southern classics: It goes beautifully with dishes like fried catfish or collard greens—it’s perfect for a classic Southern meal.
- Sandwiches: Add some Fried Okra to a burger or sandwich for an unexpected crunch that takes your meal to the next level.
- Picnics: This dish is a great addition to any picnic spread; it’s easy to transport and serves well at room temperature.
- Spicy dishes: Pairing with spicy jambalaya or gumbo creates a delicious balance, cooling down the heat with its crunchy texture.
- Seasonal gatherings: Whether it’s a summer cookout or a fall gathering, Fried Okra fits right in with festive meals.
FAQ
Conclusion
In conclusion, Fried Okra is not just a dish; it’s a slice of Southern heritage that brings warmth and comfort to any table. With its crispy texture and simple preparation, it’s an easy recipe that anyone can enjoy. I encourage you to try making it and savoring each bite, just like I do. It’s sure to become a favorite in your home too!

Fried Okra
Ingredients
Equipment
Method
- Start by rinsing the okra under cool water. This removes any dirt or impurities. It’s important to clean your ingredients before you start cooking.
- Once cleaned, slice the okra into 1/4-inch slices. Discard the stems and tips to keep only the tender parts. The size of the slices can impact the cooking, so try to keep them uniform.
- Next, place the sliced okra into a colander and rinse again. This additional rinse helps to remove any leftover dirt while also adding moisture, which is essential for the next step.
- Shake off any excess water from the okra. You want it to be moist but not dripping wet, as excess water can make the frying process messy.
- Transfer the rinsed slices to a bowl and pour the self-rising buttermilk cornmeal mix over the okra. Toss them together gently, ensuring every piece is coated evenly. This will create that delightful crunch.
- In a Dutch oven or a large skillet, pour enough vegetable oil to a depth of about 2 inches. This depth ensures that the okra is fully submerged while frying.
- Heat the oil to a temperature of 375°F. Use a thermometer if you have one, as it’s crucial for getting that perfect fry.
- Once the oil is hot, carefully add the coated okra slices in small batches. Fry them until they turn golden brown, which should take about 5 to 8 minutes. Don’t overcrowd the pan, as that can lower the oil temperature and result in soggy okra.
- Once fried, use a slotted spoon to remove the okra from the oil and place it on paper towels. This step allows excess oil to drain off, keeping your Fried Okra crispy.
- Repeat the frying process until all the slices are cooked. Serve immediately and enjoy the crunchy, warm goodness of your Fried Okra!