The first time I made Whole Lemon Bars, I was captivated by the vibrant aroma filling my kitchen. The sun was shining through the window, and I could already envision sharing these delightful bars with friends. There’s something truly magical about the way fresh lemons brighten up a dish, and these bars are no exception. With their zesty filling and buttery crust, they have a way of lifting spirits and evoking warmth, reminiscent of sunny days spent outdoors. I remember the first bite; it was an explosion of tartness balanced perfectly with sweetness, and I knew I had found a recipe worth sharing.
Recipe Snapshot
60 mins
0 mins
0 mins
Medium
200 kcal
2 g
Gluten-Free, Low FODMAP
10 g
Blender, Food Processor, Frying Pan, Wooden Spoon, Oven, Mixing Bowl, Baking Sheet
The Beauty of This Whole Lemon Bars
1. Bright Flavor Explosion
When you take a bite of Whole Lemon Bars, the bright, citrusy flavor hits you like a wave of sunshine. The natural tartness of the lemon pairs beautifully with the sweetness from the sugar, creating a balanced taste that dances on your palate. It’s like a little piece of summer, no matter the season.
2. Simple Ingredients
This recipe is a celebration of simplicity. With just a handful of common ingredients like flour, sugar, and eggs, you’ll be amazed at what you can create. The use of whole lemons means that nothing goes to waste, making this a sustainable choice for your baking adventures.
3. Versatile Serving Options
Whole Lemon Bars are incredibly adaptable. Whether you’re serving them at a family gathering, a potluck, or just enjoying a quiet afternoon treat, they fit right in. You can serve them plain, dusted with powdered sugar, or accompanied by a dollop of whipped cream for that extra touch.
4. A Touch of Nostalgia
Every time I bake these bars, I’m transported back to my childhood. They remind me of sunny afternoons spent with family and friends, sitting outside with a plate of treats. The nostalgia makes every bite feel special, connecting me to those cherished moments.
5. Perfectly Balanced Texture
The texture of Whole Lemon Bars is something to rave about. The crust is buttery and slightly crumbly, while the filling is smooth and creamy, creating a delightful contrast. Each layer complements the other perfectly, making it hard to resist going back for seconds.
6. Quick and Easy to Make
Another reason to love this recipe is its straightforwardness. You don’t need to be a baking expert to whip up these bars. With easy-to-follow steps, you’ll have a delicious dessert ready in no time, making it perfect for both novice bakers and seasoned pros alike.
What Goes Into Whole Lemon Bars
Creating Whole Lemon Bars requires just a few essential ingredients, each playing a crucial role in building that vibrant flavor and delightful texture. The key players include fresh, organic lemons, which provide the signature tartness, and butter, which creates a rich and flaky crust. Together, these ingredients form a symphony of taste that’s sure to impress.
- Flour: The base of the crust, providing structure and stability.
- Sugar: Balances the tartness of the lemon, enhancing the overall flavor.
- Salt: A pinch adds depth to the sweetness.
- Unsalted Butter: Creates a rich, tender crust.
- Vanilla Extract: Adds warmth and enhances the flavor profile.
- Lemon: The star of the show, offering vibrant flavor and brightness.
- Eggs: Help bind the filling and contribute to its creamy texture.
- Corn Starch: Provides stability to the filling.
Whole Lemon Bars Instructions
Making Whole Lemon Bars is a delightful experience. You’ll find the process straightforward and rewarding, with each step bringing you closer to that perfect treat. Let’s dive into the details of creating these irresistible bars.
Preheat the oven to 350ºF (180ºC). This initial step is crucial for ensuring your crust bakes evenly. A well-preheated oven will give your bars the perfect texture and golden color.
Overturn an 8-inch (20cm) square pan on the counter and wrap the outside snugly with foil, shiny side up. This technique helps prevent any leaks during baking. Once wrapped, remove the foil and turn the pan back over, fitting the foil snugly into the corners of the pan. Aim for a smooth finish, ensuring no wrinkles.
Lightly butter the surface of the foil or spray it with nonstick spray. This step is essential to prevent the bars from sticking, allowing you to lift them out easily later.
In a medium bowl, mix flour, 1/4 cup (50g) sugar, and 1/4 teaspoon salt. Add in 8 tablespoons (115g) melted butter and vanilla, stirring just until smooth. This batter should come together easily, without any lumps, and will serve as the bottom layer of your bars.
Using your hands, smooth the batter into the bottom of the pan, ensuring it’s as level as possible. This will give your bars a uniform thickness and help them bake evenly.
Bake the crust for 25 minutes, or until it’s deep-golden brown. Keep an eye on it; the color should be a beautiful golden hue, indicating it’s perfectly baked.
While the crust is cooking, prepare the lemon filling. Cut the lemon in half, remove the seeds, and cut it into chunks. The fresher the lemon, the better your bars will taste.
Put the chunks of lemon in a food processor or blender along with the remaining sugar and lemon juice. Let it run until the lemon is completely broken up. This should only take a minute or two, and you want to see a smooth mixture with a few tiny bits of lemon left for texture.
Add eggs, corn starch, 1/4 teaspoon of salt, and the remaining butter. Blend until the mixture is almost smooth. Remember, a few small bits of lemon are perfectly fine.
Once the crust comes out of the oven, reduce the heat to 300ºF (150ºC). Pour the lemon filling over the hot crust. This helps the filling set better and adds a delightful texture.
Bake for an additional 25 minutes or until the filling stops jiggling and is barely set. Your bars are done when they look set around the edges but might still have a slight jiggle in the center.
Remove from the oven and let cool completely. After cooling, carefully lift out the bars using the overhanging foil as a handle. This step is key to keeping the bars intact.
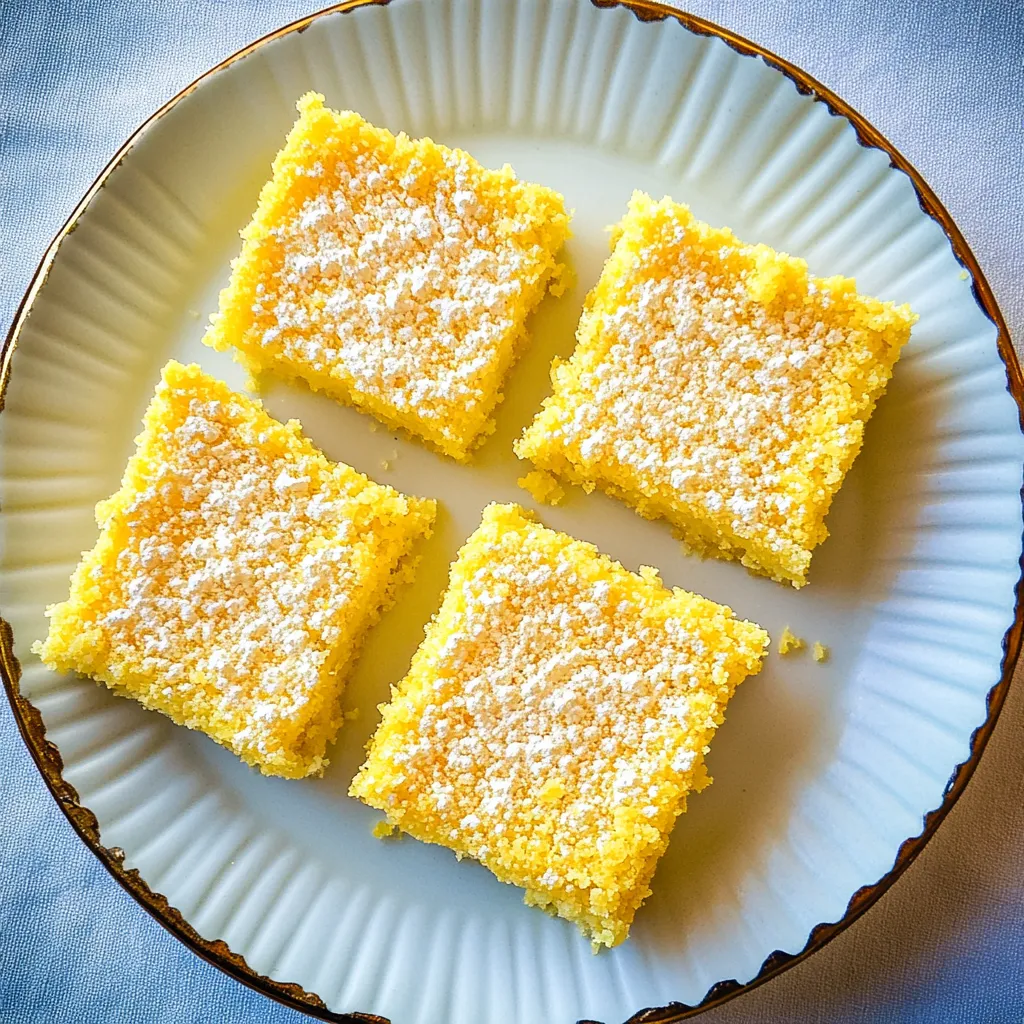
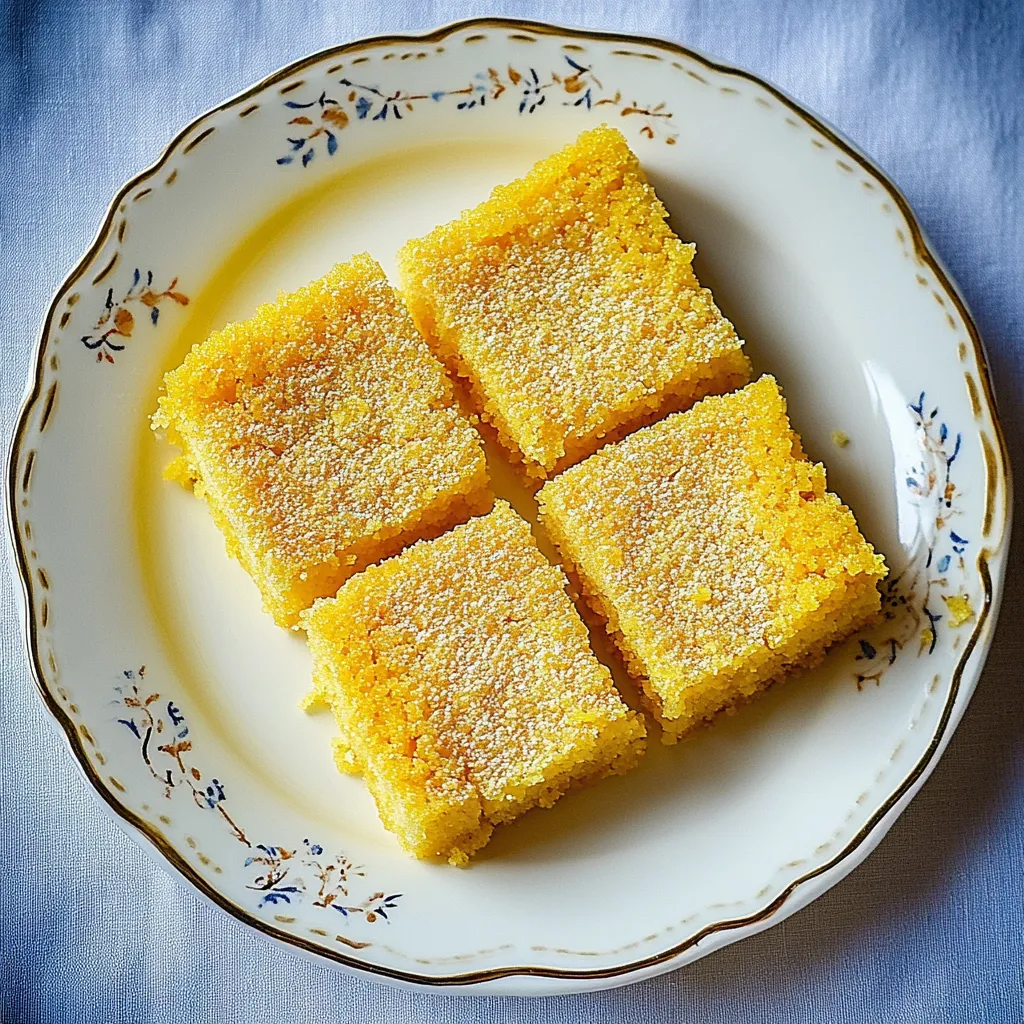
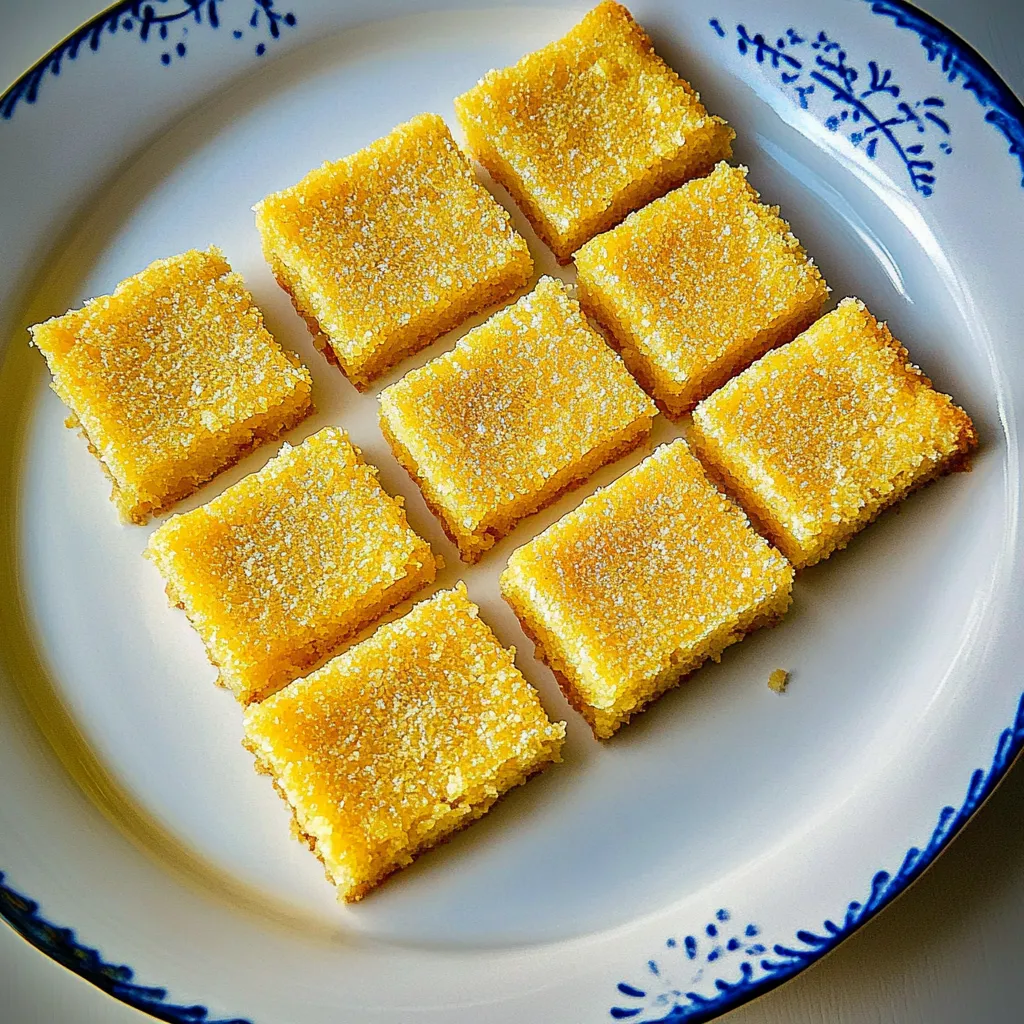
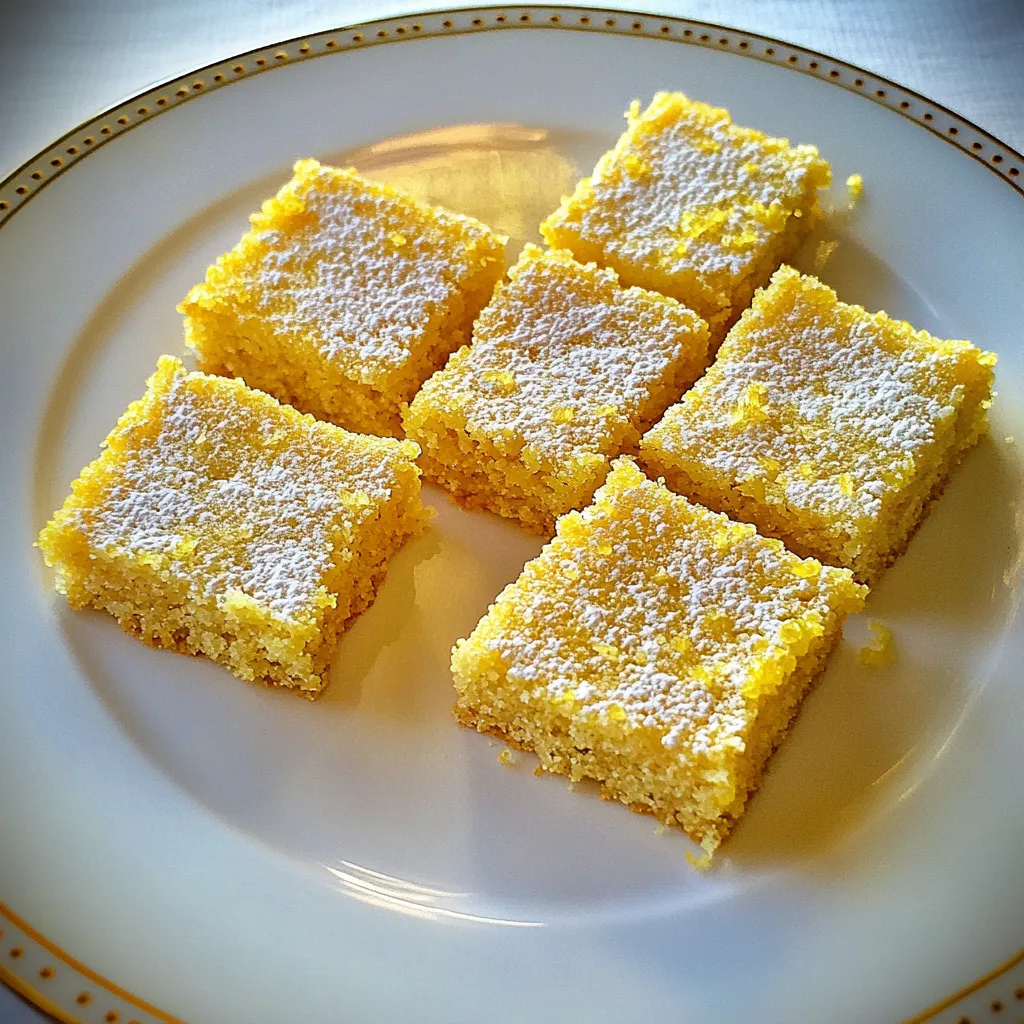
Cut the bars into squares or rectangles. I love to sift powdered sugar over the top just before serving for that extra touch of sweetness and presentation.
Things Worth Knowing
- Use Fresh Lemons: Fresh lemons will yield the best flavor. Try to avoid bottled lemon juice, which lacks the vibrant taste.
- Check for Doneness: The filling should barely jiggle in the center when you take it out of the oven. It will firm up as it cools.
- Cool Completely: Let the bars cool in the pan before lifting them out. This ensures they hold their shape and allows the flavors to meld.
- Storage Tips: Store any leftover bars in an airtight container at room temperature for up to three days.
Helpful Hints
Here are some helpful tips to ensure your Whole Lemon Bars turn out perfectly every time.
- Storage: Keep the bars in an airtight container at room temperature for up to three days. If you store them in the fridge, they’ll last even longer.
- Freezing: You can freeze the lemon bars for up to one month. Just be sure to let them come to room temperature before serving for the best texture.
- Pairing: These bars pair wonderfully with a warm cup of tea or coffee, making them an ideal afternoon treat.
- Serving Options: Serve them plain for a classic touch or add a dollop of whipped cream for extra indulgence.
- Variations: Feel free to add poppy seeds or a hint of ginger for a unique twist on the classic flavor.
Serving Ideas for Whole Lemon Bars
When it comes to serving Whole Lemon Bars, the possibilities are endless. Here are some delightful ideas to enhance your experience:
- Afternoon Tea: These bars are perfect for an afternoon tea gathering. Their refreshing flavor pairs beautifully with light sandwiches and scones.
- Picnics: Pack them for your next outdoor picnic. Their portable nature makes them easy to share with friends and family.
- Parties: Serve them at parties or celebrations for a zesty dessert that will impress your guests.
- Seasonal Celebrations: With their bright flavor, they are a fantastic dessert for spring and summer celebrations, such as Easter or Mother’s Day.
- Snack Time: Enjoy them as a quick snack during the day. They’re a refreshing pick-me-up that satisfies your sweet tooth.
FAQ
Conclusion
In summary, Whole Lemon Bars are a refreshing treat that combines the tartness of lemons with a buttery crust, creating a delightful dessert. Their bright flavor and simple preparation make them a favorite for any occasion. I encourage you to give this recipe a try; it’s sure to impress your family and friends and leave a lasting impression. Enjoy the burst of citrus goodness in every bite!
Whole Lemon Bars
Ingredients
Equipment
Method
- Preheat the oven to 350ºF (180ºC).
- Overturn an 8-inch (20cm) square pan on the counter and wrap the outside snugly with foil, shiny side up. Remove the foil, turn the pan over, and fit the foil into the pan, pressing to nudge the foil into the corners. Smooth the foil as best you can and lightly butter the surface, or spray it with nonstick spray.
- In a medium bowl, mix the flour, 1/4 cup (50g) sugar, 1/4 teaspoon salt, 8 tablespoons (115g) melted butter, and vanilla, stirring just until smooth.
- Smooth the batter into the bottom of the pan, using your hands to get it as level as possible.
- Bake the crust for 25 minutes, or until it’s deep-golden brown.
- While the crust is cooking, cut the lemon in half, remove the seeds, and cut the lemon into chunks.
- Put the chunks of lemon in a food processor or blender along with the sugar and lemon juice, and let it run until the lemon is completely broken up.
- Add the eggs, corn starch, 1/4 teaspoon of salt, and 3 tablespoons (45g) melted butter, and blend until almost smooth. (A few tiny bits of lemon pieces are fine. It doesn't need to be entirely smooth.)
- When the crust comes out of the oven, reduce the heat to 300ºF (150ºC). Pour the lemon filling over the hot crust and bake for 25 minutes or just until the filling stops jiggling and is barely set.
- Remove from the oven and let cool completely. Once cool, carefully lift out the bars using the overhang of foil as a handle.
- Cut the bars into squares or rectangles. Sift powdered sugar over the top just before serving, if desired.
Notes
- Storage: The bars will keep in an airtight container at room temperature up to three days. You can freeze the lemon bars as well for up to one month, letting them come to room temperature before serving.