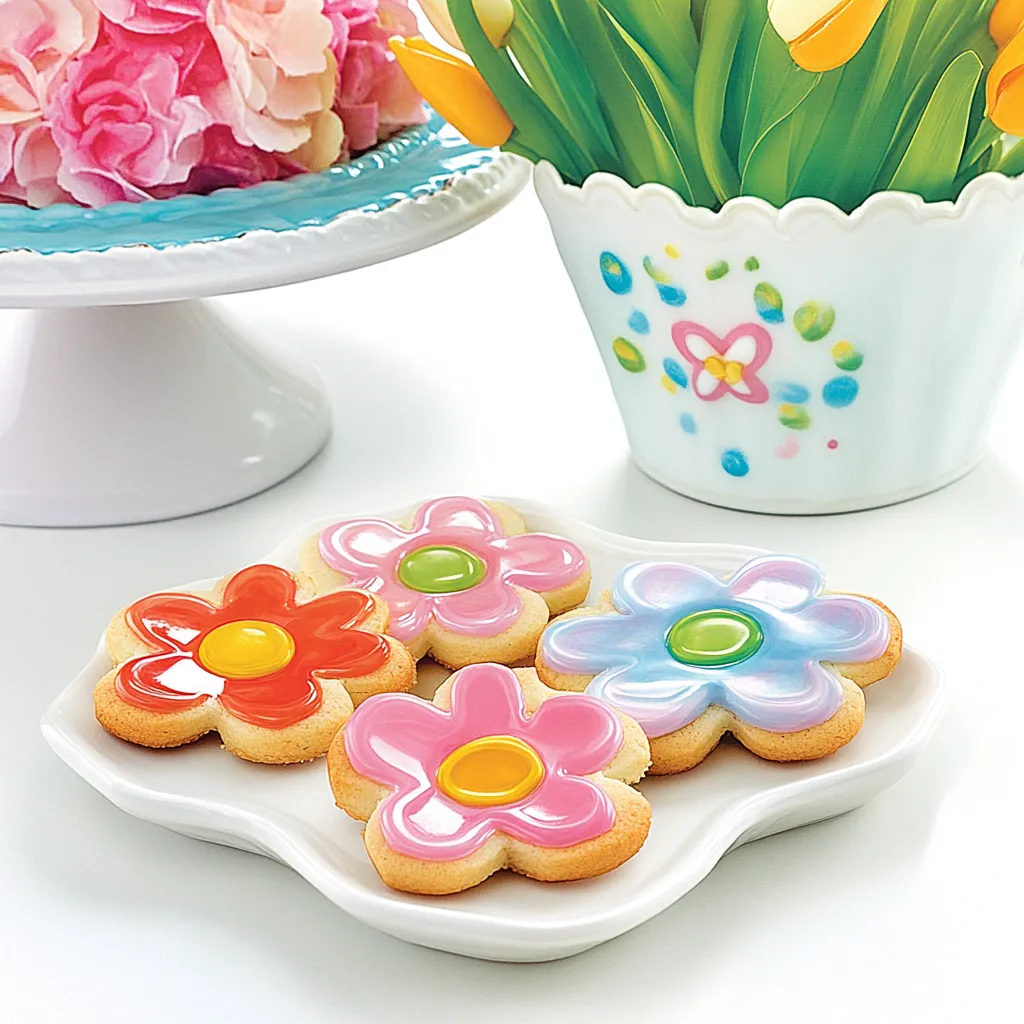
Every time I think about baking, my mind drifts to the vibrant and playful Fun Flower Cookies. These charming little treats are not just a dessert; they are a celebration of creativity and color! I remember the first time I made them with my kids. We spent the afternoon laughing and decorating, turning simple cookies into garden delights that brought smiles to our faces and joy to our hearts. Each cookie is like a little flower, bursting with sweetness and ready to brighten anyone’s day. Whether it’s a birthday party, a family gathering, or simply a rainy afternoon, creating these cookies is an experience filled with love and laughter.
Recipe Snapshot
60 mins
0 mins
0 mins
Medium
130 kcal
1g g
Vegan, Gluten-Free, AIP
5g g
Kitchen Knife, Cutting Board
Why We Love This Fun Flower Cookies
Perfect for All Ages
One of the reasons I adore Fun Flower Cookies is their ability to engage everyone in the kitchen. My children, with their tiny hands and big imaginations, find joy in assembling these delightful cookie flowerpots. It becomes a bonding experience, fostering creativity and teamwork.
Versatile Decoration
Another standout feature of these cookies is their versatility. You can use various colors and shapes of candy to bring your garden to life! You can customize each cookie to reflect the season or the occasion, making them perfect for any holiday or celebration.
Guilt-Free Indulgence
The use of Murray Sugar Free cookies allows you to indulge without the guilt! They’re a fantastic option for those who want to enjoy treats without the extra sugar. It makes these cookies not only delicious but also a bit healthier than traditional options.
Great for Parties
These cookies are always a hit at parties! Their whimsical appearance catches everyone’s eye, and the taste doesn’t disappoint. Once, I brought a batch to a potluck, and they were gone in minutes, with everyone asking for the recipe!
Easy to Make
Don’t worry if you’re not a seasoned baker; the Fun Flower Cookies are easy to make and don’t require advanced skills. The simple steps and straightforward ingredients make them accessible for bakers of all levels, ensuring that anyone can create these delightful treats.
A Creative Outlet
Finally, making these cookies is a wonderful creative outlet. Each flowerpot you assemble becomes a canvas for your artistic expression, allowing you to play with colors, shapes, and textures. It’s not just baking; it’s a fun art project!
Everything You Need for Fun Flower Cookies
When it comes to making Fun Flower Cookies, the ingredients play a vital role in bringing your creative vision to life. Each element contributes not just to the flavor but to the overall aesthetic experience. From the delightful sweetness of the Murray Sugar Free® shortbread cookies to the colorful decorations that transform each cookie into a mini-flowerpot, these ingredients work harmoniously together to create a treat that’s as beautiful as it is delicious.
- 32 Murray Sugar Free® shortbread cookies: These cookies serve as the foundation for our flowerpots. Their buttery flavor and crisp texture make them a perfect base.
- Wilton® Dab-N-Hold™ edible adhesive: This is the secret glue that holds our cookie flowerpots together! It’s essential for stacking and ensuring that all pieces stay in place.
- 6 ounces green candy coating: This candy coating brings the flowerpots to life, mimicking the look of dirt and adding a delightful sweetness.
- Green sprinkles about ¼ cup: These sprinkles add a fun touch, giving the appearance of grass or soil on top of our cookie flowerpots.
- 16 green sugar decoration leaves: These lovely leaves are the finishing touch that makes our cookies look like a blooming garden.
- 8 flower-shaped candy lollipops: These adorable lollipops are the perfect flowers to pop into the center of our cookie flowerpots, completing the look!
Making This Fun Flower Cookies
Baking these Fun Flower Cookies is an enjoyable process that allows you to unleash your creativity! Follow these detailed steps to make sure your cookie flowerpots turn out perfectly and look stunning.
- Start with one cookie. Apply dots of the edible adhesive to the top side of the cookie. Quickly, place another cookie on top, pressing gently to secure it. The aim is to create a sturdy base for your flowerpot.
- Now, add more cookies. Place dots of edible adhesive on the top of the second cookie, and stack a third cookie on top. Repeat this process by applying more edible adhesive and adding a fourth cookie. This step builds the height of your flowerpot.
- Repeat the stacking process with the remaining cookies, creating a total of eight flowerpots. Set them aside to dry for at least six hours, ensuring the adhesive has enough time to set.
- Prepare the candy coating according to the package directions. This will be the filling of your flowerpot, giving it that authentic look.
- Once prepared, place the cookie flowerpots onto a baking sheet lined with waxed or parchment paper. Using a small spoon, add a small amount of the candy coating into each flowerpot. This step is crucial as it creates the illusion of soil.
- Sprinkle the green sprinkles over the candy coating in each cookie flowerpot, giving it a textured look that resembles grass.
- Take your green sugar decoration leaves and apply a dab of candy coating on the back. Place two leaves on each flowerpot, positioning them to mimic flowers sprouting from the center.
- Cut the stick on the flower-shaped candy lollipop to your desired size. Carefully insert the stick into the candy coating in the center of the flowerpot. Make sure it’s secure, and repeat this step with the remaining cookies.
- Allow the cookie flowerpots to dry for at least two hours. Be gentle and avoid moving them until they are completely dry to ensure proper assembly.
Things Worth Knowing
- Check the consistency: Make sure your edible adhesive is not too runny; it should hold the cookies securely.
- Experiment with colors: Don’t hesitate to mix and match the colors of your candy coating and sprinkles to create unique designs!
- Drying time is key: Allow sufficient time for the adhesive to set properly to avoid any mishaps during decoration.
- Use quality tools: Having the right tools, like a small spoon for the candy coating, makes the process smoother and more enjoyable.
How to Switch It Up
There’s always room for creativity with the Fun Flower Cookies. Here are some fun ideas to switch things up and make this recipe your own!
- Storage: Keep your cookies in an airtight container to maintain freshness. They can last up to a week at room temperature!
- Freezing: You can freeze the unassembled cookies. Just stack them carefully in a container, and they can last for up to three months.
- Pairing: Serve these cookies with a cup of tea or a glass of milk for a delightful treat.
- Theme variations: Customize your cookies for different seasons or holidays using themed decorations and colors!
- Kid-friendly: Involve kids in decorating; let them choose their favorite candies to personalize their cookie flowerpots.
How to Serve Fun Flower Cookies
- Occasions: These cookies are perfect for birthday parties, spring celebrations, or any festive gathering where you want to impress.
- Presentation: Arrange your cookie flowerpots on a decorative platter to showcase their vibrant colors and fun designs.
- Pairing: They pair wonderfully with light beverages like lemonade or iced tea, making for a refreshing treat.
- Storage tips: If you have leftovers, keep them in an airtight container. They still look great the next day!
- Seasonal themes: During holidays like Easter or spring, add themed decorations like pastel colors or bunny shapes to your cookies.
FAQ
Conclusion
The Fun Flower Cookies are a delightful treat that not only satisfies your sweet tooth but also provides a creative outlet. Their vibrant colors and playful designs make them perfect for any occasion, and they are sure to bring smiles to everyone who sees them. Don’t hesitate to whip up a batch and bring a little joy into your day!
I encourage you to try making these cookies for a fun family activity or to brighten up a gathering. You won’t regret it!

Fun Flower Cookies
Ingredients
Equipment
Method
- 1. Start with one cookie. Apply dots of the edible adhesive to the top side of the cookie. Quickly, place another cookie on top, pressing gently to secure it. The aim is to create a sturdy base for your flowerpot.
- 2. Now, add more cookies. Place dots of edible adhesive on the top of the second cookie, and stack a third cookie on top. Repeat this process by applying more edible adhesive and adding a fourth cookie. This step builds the height of your flowerpot.
- 3. Repeat the stacking process with the remaining cookies, creating a total of eight flowerpots. Set them aside to dry for at least six hours, ensuring the adhesive has enough time to set.
- 4. Prepare the candy coating according to the package directions. This will be the filling of your flowerpot, giving it that authentic look.
- 5. Once prepared, place the cookie flowerpots onto a baking sheet lined with waxed or parchment paper. Using a small spoon, add a small amount of the candy coating into each flowerpot. This step is crucial as it creates the illusion of soil.
- 6. Sprinkle the green sprinkles over the candy coating in each cookie flowerpot, giving it a textured look that resembles grass.
- 7. Take your green sugar decoration leaves and apply a dab of candy coating on the back. Place two leaves on each flowerpot, positioning them to mimic flowers sprouting from the center.
- 8. Cut the stick on the flower-shaped candy lollipop to your desired size. Carefully insert the stick into the candy coating in the center of the flowerpot. Make sure it’s secure, and repeat this step with the remaining cookies.
- 9. Allow the cookie flowerpots to dry for at least two hours. Be gentle and avoid moving them until they are completely dry to ensure proper assembly.