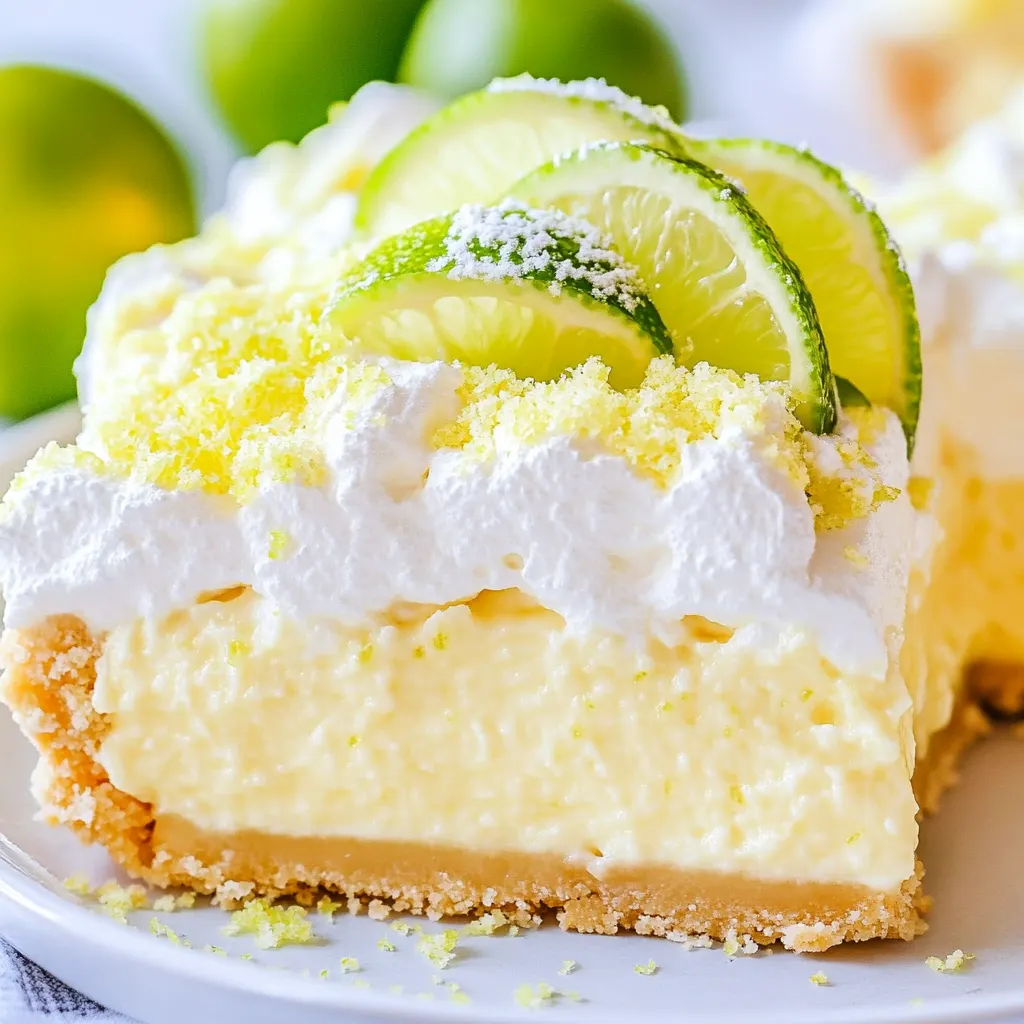
There’s something profoundly refreshing about a Key Lime Pie Lush. I still remember the first time I tasted this delightful dessert at a summer barbecue. It was the perfect antidote to the heat, a creamy, zesty indulgence that left everyone asking for seconds. The blend of sweet and tart from the key lime juice, coupled with the rich layers of cream and cookie crust, makes it an unforgettable treat. Whether you’re lounging by the pool or celebrating a special occasion, this dessert always evokes smiles and memories of lazy summer days. It’s not just food; it’s a celebration of flavors that brings people together.
Recipe Snapshot
25 mins
25 mins
0 mins
Medium
422 kcal
3 g
Vegan, Gluten-Free, AIP
29 g
Whisk, Mixing Bowl, Food Processor
The Appeal of This Key Lime Pie Lush
A Refreshing Twist on a Classic
The Key Lime Pie Lush reimagines a traditional favorite with a no-bake twist. It’s a crowd-pleaser that never fails to impress, especially during those hot summer months. The combination of creamy layers and the signature key lime flavor is simply irresistible.
Layered Perfection
This dessert is all about the layers. Each bite reveals a harmony of textures—from the crunchy cookie crust to the velvety cream cheese filling. It’s like a party in your mouth, where every layer complements the other.
Easy to Make
Unlike its traditional counterpart, this lush version skips the baking hassle. You can whip it up in no time, making it ideal for spontaneous gatherings or when you’re short on time but still want to impress.
Versatile and Customizable
While the classic key lime flavor is a hit, you can easily adapt this recipe to suit your taste. Imagine adding fresh berries or experimenting with different cookie crusts to give it your unique spin! The possibilities are endless.
Perfect for Any Occasion
Whether it’s a summer picnic, a birthday party, or just a casual family dinner, the Key Lime Pie Lush fits right in. It’s refreshing, light, and suits any gathering, making it a versatile addition to your dessert repertoire.
Kid-Friendly Fun
This dessert is not just for adults; kids love it too! Its sweet and tart balance makes it a hit among younger guests, and it’s a great opportunity to get them involved in the kitchen. Let them help with the layering—it’s a fun way to create memories!
Everything You Need for Key Lime Pie Lush
Gathering the right ingredients is crucial for crafting the perfect Key Lime Pie Lush. Each component works in harmony to create that beloved creamy texture and tangy flavor. It starts with the base of cookie crumbs, which provide a satisfying crunch, and transitions into the smooth, rich layers that define this dessert. Let’s break down these key players!
- 20 ounces double stuffed Golden Oreos – These sweet cookies form the delicious crust and add a delightful creaminess that pairs perfectly with the tartness of the lime.
- ⅓ cup unsalted butter, melted – This binds the cookie crust together, ensuring it holds its shape while adding richness.
- 16 ounces cream cheese, softened – Essential for achieving a creamy, smooth filling that balances the tangy lime.
- 6.8 ounces instant vanilla pudding mix – This helps to thicken the filling, giving it that luscious texture we crave.
- 5 ½ cups heavy whipping cream, divided – Used for both the filling and the topping, it creates an indulgent, airy lightness.
- 1 cup key lime juice – This is the star ingredient, providing the signature tartness that defines the dish.
- ½ cup powdered sugar – For just the right amount of sweetness to balance the creaminess and tartness.
- Zest of 1 lime – Adds an extra pop of lime flavor and a beautiful aroma!
Recipe Steps for Key Lime Pie Lush
Making a Key Lime Pie Lush is a straightforward process that anyone can master. You’ll be layering flavors, molding textures, and creating a showstopper dessert that’s sure to impress. Let’s get started!
Begin by placing the Oreos in a food processor. Pulse them until they form fine crumbs. You want them to be as smooth as possible for the crust. Make sure to reserve 1 and ½ cups of these crumbs for later use.
In a mixing bowl, combine the remaining cookie crumbs with the melted butter. Mix thoroughly until the crumbs are fully coated. This mixture will form the base of your lush, so make sure it’s well combined.
Press this crumb mixture firmly into the bottom of a 9×13 baking dish. Use the back of a measuring cup or your fingers to ensure it’s compact and even. This helps create a sturdy crust.
In the bowl of a stand mixer fitted with the paddle attachment, add the cream cheese. Beat it until it’s smooth and free of lumps, which should only take a couple of minutes.
Add in the instant vanilla pudding mix and mix until fully incorporated. You’ll see the mixture start to thicken slightly.
Next, pour in 1 cup of heavy cream and mix on low speed until combined. Gradually add another cup of heavy cream and mix again. You’ll want the filling to be creamy and smooth, so take your time scraping down the sides of the bowl as needed.
Now, add in the key lime juice. Mix on low speed until everything is well blended. The mixture should be thickening nicely by now. Reserve ⅔ cup of this mixture for later.
Pour the remaining cream cheese mixture over the crust in the baking dish. Use a spatula to spread it evenly across the top. This layer is essential for the lush effect!
Evenly sprinkle the reserved cookie crumbs on top of the cream cheese layer. This adds a wonderful texture and looks appealing.
In a clean mixing bowl, add the remaining heavy cream (3 ½ cups) and powdered sugar. Using the whisk attachment, whip on low speed to start, gradually increasing to medium speed until you achieve medium peaks. Be careful not to over-whip!
Set aside about ⅓ of the whipped cream for decorating later. Fold the remaining whipped cream into the reserved cream cheese mixture along with the lime zest. This will add extra flavor and brightness to your dessert.
Pour this limey whipped cream mixture on top of the cookie crumbs in the baking dish. Smooth it out gently with a spatula to create an even layer.
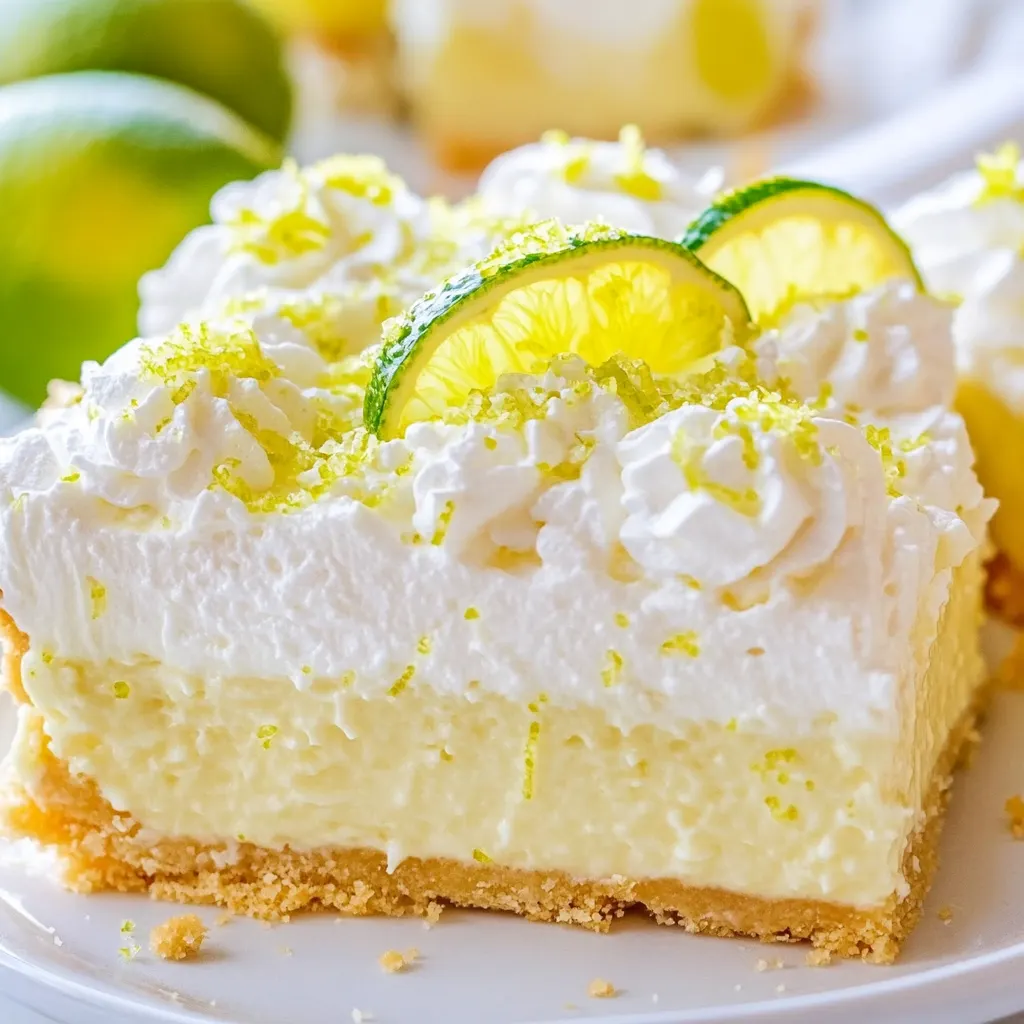
Finally, spread the remaining whipped cream over the top. You can choose to smooth it out or pipe decorations as seen in the photos. Either way, it’ll look stunning!
Cover the dish and let it set in the refrigerator for at least 6 hours, or ideally overnight. This gives the flavors time to meld and the layers to firm up.
Things Worth Knowing
- Chill Time is Key: Allowing the Key Lime Pie Lush to sit overnight enhances its flavor and texture. The longer it chills, the better it tastes!
- Layering Tips: When layering, be gentle with the cream cheese layer to avoid disturbing the crust beneath. A spatula works best for this.
- Ingredient Quality: Use fresh key lime juice for the best flavor. If unavailable, bottled juice works in a pinch, but fresh is always better.
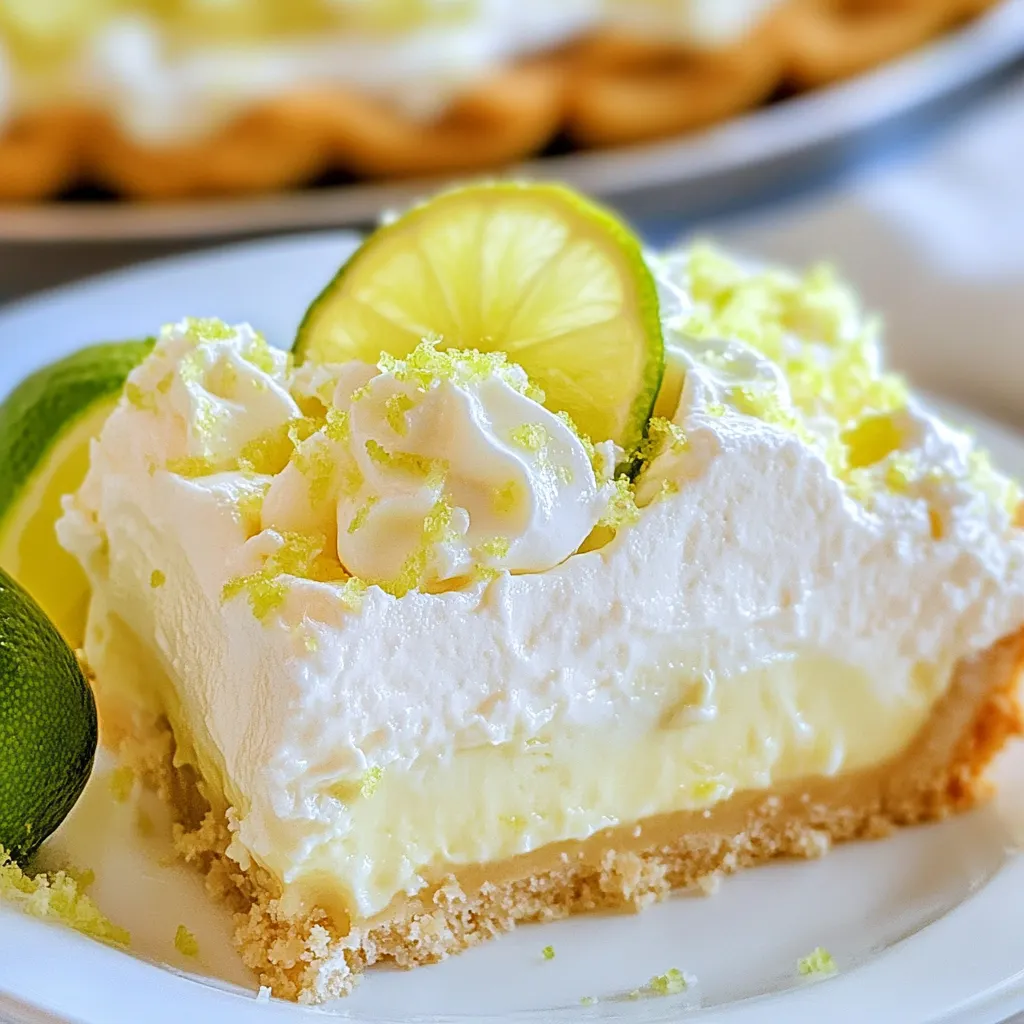
- Presentation Matters: Consider garnishing your dessert with additional lime zest or fresh slices for a pop of color and extra flavor.
Recipe Variations about Key Lime Pie Lush
While the classic Key Lime Pie Lush is delicious as is, there are plenty of ways to switch things up! Here are some fun variations to consider:
- Berry Bliss: Add fresh raspberries or strawberries between the layers for a fruity twist that pairs beautifully with lime.
- Chocolate Lovers: Mix in some chocolate chips to the cream cheese layer for a rich, decadent flavor.
- Nutty Crust: Substitute half of the Oreos with crushed nuts for an added crunch and a different flavor profile.
- Different Citrus: Experiment with other citrus juices, like lemon or orange, to give the dessert a unique twist.
- Mini Lushes: For individual servings, layer the ingredients in small cups or jars. It’s a fun presentation for parties!
- Vegan Option: Use coconut cream and a plant-based cream cheese alternative for a vegan-friendly version of this dessert.
Serving Suggestions
When it comes to serving your Key Lime Pie Lush, presentation is key! Here are some ideas to make your dessert shine:
- Chilled Delights: Serve the lush straight from the fridge for a wonderfully refreshing treat that’s perfect for hot summer days.
- Garnish to Impress: Top with a dollop of whipped cream and extra lime zest for visual appeal and an extra pop of flavor.
- Pair with Drinks: This dessert pairs wonderfully with iced tea or a refreshing lemonade, enhancing the overall experience.
- Ideal for Gatherings: Perfect for summer barbecues, picnics, or birthday parties. Its lightness makes it a hit at any gathering!
- Seasonal Celebrations: While great for summer, this dessert can also brighten up holiday tables, especially with its festive colors.
- Storage Tips: Store leftovers in an airtight container in the fridge for up to three days. It’s best enjoyed chilled!
FAQ
Conclusion
The Key Lime Pie Lush is a refreshing and delightful dessert that’s perfect for any occasion. Its creamy layers combined with the tangy flavor of key limes make it a standout choice, especially during warm months. I hope you feel inspired to whip up this luscious treat for your next gathering. Trust me, once you try it, you’ll want to make it time and time again!
Key Lime Pie Lush
Ingredients
Equipment
Method
- Place the oreos in a food processor and pulse to form crumbs. Reserve 1 and ½ cups of the cookie crumbs, set aside.
- Mix the remaining crumbs with the melted butter. Press this mixture into the bottom of a 9x13 baking dish, set aside.
- Place the cream cheese in the body of a stand mixer with the paddle attachment. Mix until smooth with no lumps. Add in the pudding mix and mix to combine.
- Add 1 cup of the cream and mix on slow speed until combined. Add 1 more cup of heavy cream, mix on slow to combine. Add in the key lime juice, mix on slow speed until combined and smooth, scrape down the sides as needed. Reserve ⅔ cup of this mixture.
- Pour the remaining cream cheese mixture on top of the cookie crust and smooth it out with a spatula. Evenly spread the remaining cookie crumbs on top.
- In the body of a stand mixer add the remaining 3 & ½ cups of the heavy cream and the powdered sugar. Using the whisk attachment, whip the cream and sugar starting on low speed and gradually increasing in speed to medium to form medium peaks. Take out about ⅓ of the whipped cream and set aside.
- Fold the remaining whipped cream into the remaining ⅔ cup of the cream cheese mixture along with the lime zest. Pour this on top of the cookie crumbs in the baking dish, smooth out the top.
- Top the whole thing with the remaining whipped cream. You can smooth it over the top or pipe a decoration on top like seen in the photos. Let it set in the fridge for at least 6 hours, or up to overnight.
Notes
- Tip 1: Use a hand mixer or stand mixer for best results.
- Tip 2: A microplane is great for zesting the lime.
- Tip 3: Make sure to have a baking dish ready for assembly.
- Tip 4: Fresh key lime juice enhances the flavor significantly.