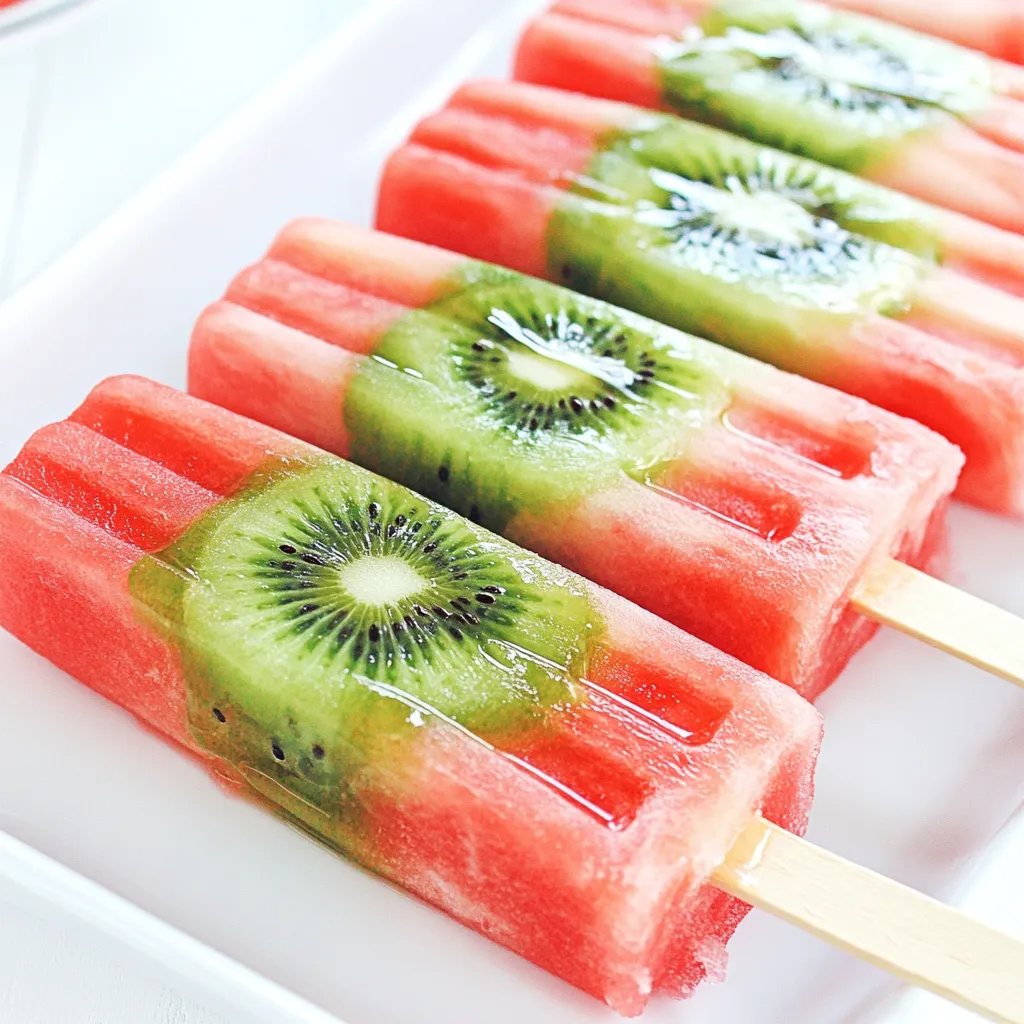
There’s something incredibly refreshing about a warm summer day, especially when you have a cool treat in hand. That’s where these Watermelon and Kiwi Pops come in! I remember the first time I made these delightful popsicles; the vibrant colors of the watermelon and kiwi just screamed summer. It was one of those lazy afternoons, and I wanted to whip up something light and fruity for my family. As I blended the juicy watermelon, the sweet aroma filled the kitchen, instantly transporting me to sun-drenched picnics and beach days. Nothing beats the satisfaction of biting into a homemade popsicle, especially when it’s bursting with the natural sweetness of fresh fruit and no added sugars! The kids loved it, and it’s become a staple in our house whenever the temperature rises. If you’re looking for a perfect way to cool off, these pops are not only easy to make but also so much fun to enjoy!
Recipe Snapshot
60 mins
0 mins
0 mins
Medium
70 kcal
1 g
Paleo, Whole30, Vegan
0 g
Blender, Food Processor, Chef’s Knife, Mixing Bowl, Peeler
Why We Love This Watermelon and Kiwi Pops
Why I Love These Watermelon and Kiwi Pops
What makes these Watermelon and Kiwi Pops so special? Let me share a few reasons why I adore this recipe.
1. Refreshing Flavor
The combination of watermelon and kiwi is incredibly refreshing. The sweet, juicy watermelon pairs perfectly with the tartness of the kiwi, creating a balanced flavor that’s perfect for hot days.
2. Simple Ingredients
With just two main ingredients, these popsicles are super easy to whip up. You don’t need any fancy equipment or elaborate preparations – just a blender and your popsicle molds.
3. Healthy Treat
Unlike store-bought ice pops that are loaded with sugar and artificial flavors, these homemade pops are made with pure fruit. It’s a guilt-free indulgence that you can feel good about serving to your family.
4. Customizable
You can easily tweak this recipe to suit your preferences. Want more sweetness? Just add a touch of agave syrup. Feel free to experiment with other fruits like berries or mango to create your unique combination!
5. Fun for All Ages
Kids and adults alike love the fun of popsicles! Making these Watermelon and Kiwi Pops can be a fun family activity, letting everyone get involved in the process of blending, layering, and of course, eating!
6. Great for Parties
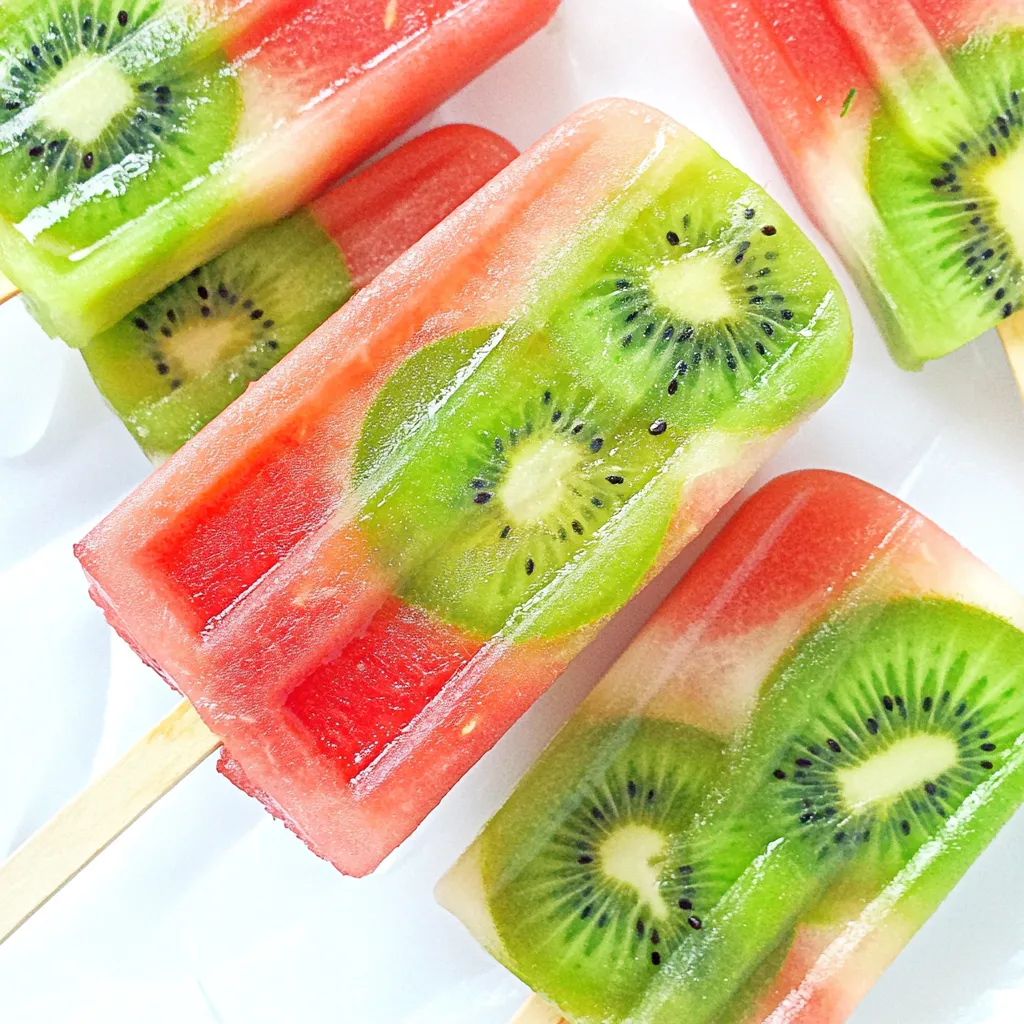
If you’re hosting a summer gathering, these pops are sure to impress your guests. The vibrant colors make them visually appealing, and they’re a refreshing option that will keep everyone cool.
Shopping List for Watermelon and Kiwi Pops
Creating the perfect Watermelon and Kiwi Pops starts with selecting the right ingredients. Each ingredient plays a significant role in achieving that refreshing taste. The star players here are the watermelon and kiwi, which bring natural sweetness and vibrant colors. They not only taste great together but complement each other perfectly, making every bite a burst of fruity goodness.
- Watermelon: 5 cups, pureed (about half of one large watermelon) – The foundation of our pops, watermelon is hydrating and naturally sweet.
- Kiwi: 5 medium, peeled and sliced – Adds a delightful tang and a pop of color to our pops.
Recipe Steps for Watermelon and Kiwi Pops
Making your own Watermelon and Kiwi Pops is a delightful experience that can be done in just a few simple steps. Gather your ingredients and let’s get started on creating these refreshing treats!
- Begin by taking your watermelon and cutting it into smaller chunks. You want to ensure it’s easy to blend. Once you have the chunks, place all of them into a blender. Blend them until smooth, creating a vibrant watermelon puree that looks irresistible.
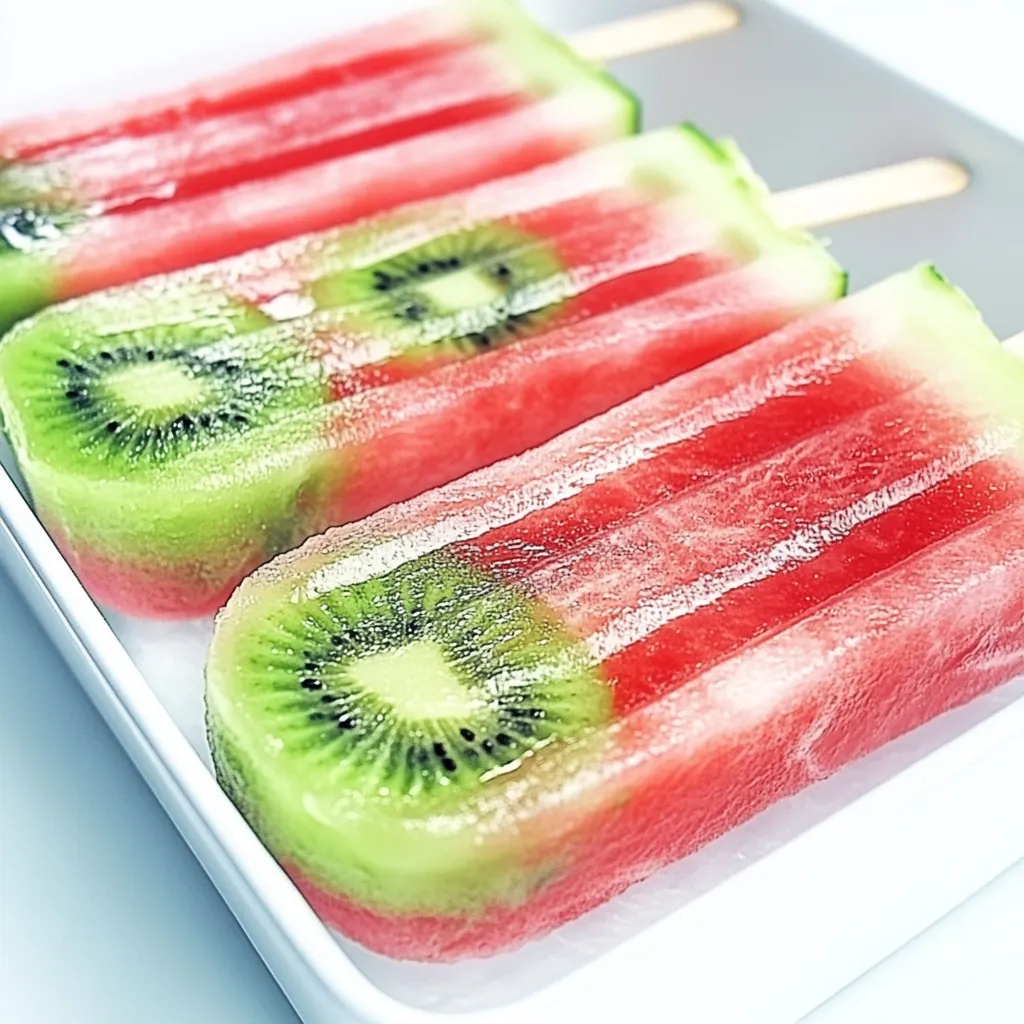
- Next, prepare your popsicle molds. Take the sliced kiwi and place a few slices at the bottom of each mold. This adds a fun surprise inside each pop, making them visually appealing.
- Now it’s time to fill the popsicle molds with the blended watermelon puree. Pour it carefully over the kiwi slices, filling each well to the top. The layering effect not only looks stunning but also enhances the flavor in every bite.
- Once the molds are filled, insert the popsicle sticks into each mold. If your molds don’t have a top, use some foil to cover them, making sure to cut a small slit where each stick will go. This keeps everything neat while the pops freeze.
- Place your filled molds into the freezer. Allow them to freeze completely, which usually takes several hours, or leave them overnight for best results.
- When you’re ready to enjoy your pops, simply remove them from the freezer. If they’re a bit stubborn, run warm water over the outside of the molds to help loosen them up. Gently pull the pops out.
- Take a moment to enjoy the beautiful colors of your Watermelon and Kiwi Pops before digging in! They’re perfect for a hot day or a fun treat after a meal.
- If your watermelon isn’t as sweet as you’d like, don’t hesitate to add a bit of agave syrup during blending until you reach your desired sweetness. Adjusting to your taste ensures you’ll enjoy every last bite.
- Remember, the number of popsicles you make can vary based on the size of your molds. The one used for this recipe typically yields around sixteen 3oz pops.
- Finally, if your popsicle mold doesn’t have a top, foil can be your best friend. Cover the mold to prevent any ice crystals from forming while freezing. This little trick can help achieve a smoother texture.
Things Worth Knowing
- Sweetness Tip: If your watermelon lacks sweetness, add agave syrup incrementally until it suits your palate.
- Serving Tip: For a beautiful presentation, layer the kiwi and watermelon in your molds to create a visual treat.
- Storage Tip: Store leftover pops in an airtight container in the freezer to maintain their freshness.
- Texture Tip: Make sure to blend the watermelon thoroughly to achieve a smooth texture in your popsicles.
Pro Tips and Tweaks
Now that you know how to make your own Watermelon and Kiwi Pops, here are some pro tips and tweaks to enhance your experience.
- Storage: Keep your popsicles in an airtight container to prevent freezer burn. They can be stored for up to a month without losing flavor!
- Freezing: For best results, freeze your pops overnight. This ensures they freeze solid and are easy to remove from the molds.
- Pairing: These pops are fantastic served alongside a light salad or as a dessert after a barbecue. They’re also a hit at summer parties.
- Flavor Variations: Don’t hesitate to experiment with other fruits. Adding strawberries or mango can create delightful flavor combinations!
- Serving Style: Serve these pops on a hot day as a refreshing snack or dessert. They’re great for kids and adults alike!
What Complements This Watermelon and Kiwi Pops
The Watermelon and Kiwi Pops are a versatile treat that fits various occasions. Here’s how you can serve and enjoy them:
- Perfect for Picnics: These pops make a delightful addition to your picnic basket. Their refreshing taste is a great complement to savory sandwiches.
- Snack Time: Serve them as a healthy snack option for kids after school. They’ll love the fruity flavors!
- Summer Gatherings: Bring these pops to summer parties or barbecues. They’re a hit with both kids and adults!
- Poolside Treat: Enjoy them poolside on a hot summer day. There’s nothing quite like a frozen treat to cool you down!
- Storage Tips: If you have leftovers, store them in an airtight container in the freezer. They can last for several weeks without losing flavor.
- Seasonal Serving: These pops are best in the summer when watermelon is at its peak freshness. Enjoy them during the hottest months!
FAQ
Conclusion
The Watermelon and Kiwi Pops are a fantastic way to cool down during those hot summer days. Their vibrant colors and refreshing flavors make them a perfect treat that the whole family will enjoy. I encourage you to give them a try and savor the delightful taste of fresh fruit in a fun form. Making these pops is not just about enjoying a treat; it’s about creating memories with your loved ones as you blend, layer, and freeze together!

Watermelon and Kiwi Pops
Ingredients
Equipment
Method
- Begin by taking your watermelon and cutting it into smaller chunks. You want to ensure it’s easy to blend. Once you have the chunks, place all of them into a blender. Blend them until smooth, creating a vibrant watermelon puree that looks irresistible.
- Next, prepare your popsicle molds. Take the sliced kiwi and place a few slices at the bottom of each mold. This adds a fun surprise inside each pop, making them visually appealing.
- Now it’s time to fill the popsicle molds with the blended watermelon puree. Pour it carefully over the kiwi slices, filling each well to the top. The layering effect not only looks stunning but also enhances the flavor in every bite.
- Once the molds are filled, insert the popsicle sticks into each mold. If your molds don’t have a top, use some foil to cover them, making sure to cut a small slit where each stick will go. This keeps everything neat while the pops freeze.
- Place your filled molds into the freezer. Allow them to freeze completely, which usually takes several hours, or leave them overnight for best results.
- When you’re ready to enjoy your pops, simply remove them from the freezer. If they’re a bit stubborn, run warm water over the outside of the molds to help loosen them up. Gently pull the pops out.
- Take a moment to enjoy the beautiful colors of your Watermelon and Kiwi Pops before digging in! They’re perfect for a hot day or a fun treat after a meal.
- If your watermelon isn’t as sweet as you’d like, don’t hesitate to add a bit of agave syrup during blending until you reach your desired sweetness. Adjusting to your taste ensures you’ll enjoy every last bite.
- Remember, the number of popsicles you make can vary based on the size of your molds. The one used for this recipe typically yields around sixteen 3oz pops.
- Finally, if your popsicle mold doesn’t have a top, foil can be your best friend. Cover the mold to prevent any ice crystals from forming while freezing. This little trick can help achieve a smoother texture.
Notes
- Tip 1: Keep your popsicles in an airtight container to prevent freezer burn. They can be stored for up to a month without losing flavor!
- Tip 2: For best results, freeze your pops overnight. This ensures they freeze solid and are easy to remove from the molds.
- Tip 3: These pops are fantastic served alongside a light salad or as a dessert after a barbecue. They’re a hit with both kids and adults!
- Tip 4: Don’t hesitate to experiment with other fruits. Adding strawberries or mango can create delightful flavor combinations!
- Tip 5: Serve these pops on a hot day as a refreshing snack or dessert. They’re great for kids and adults alike!