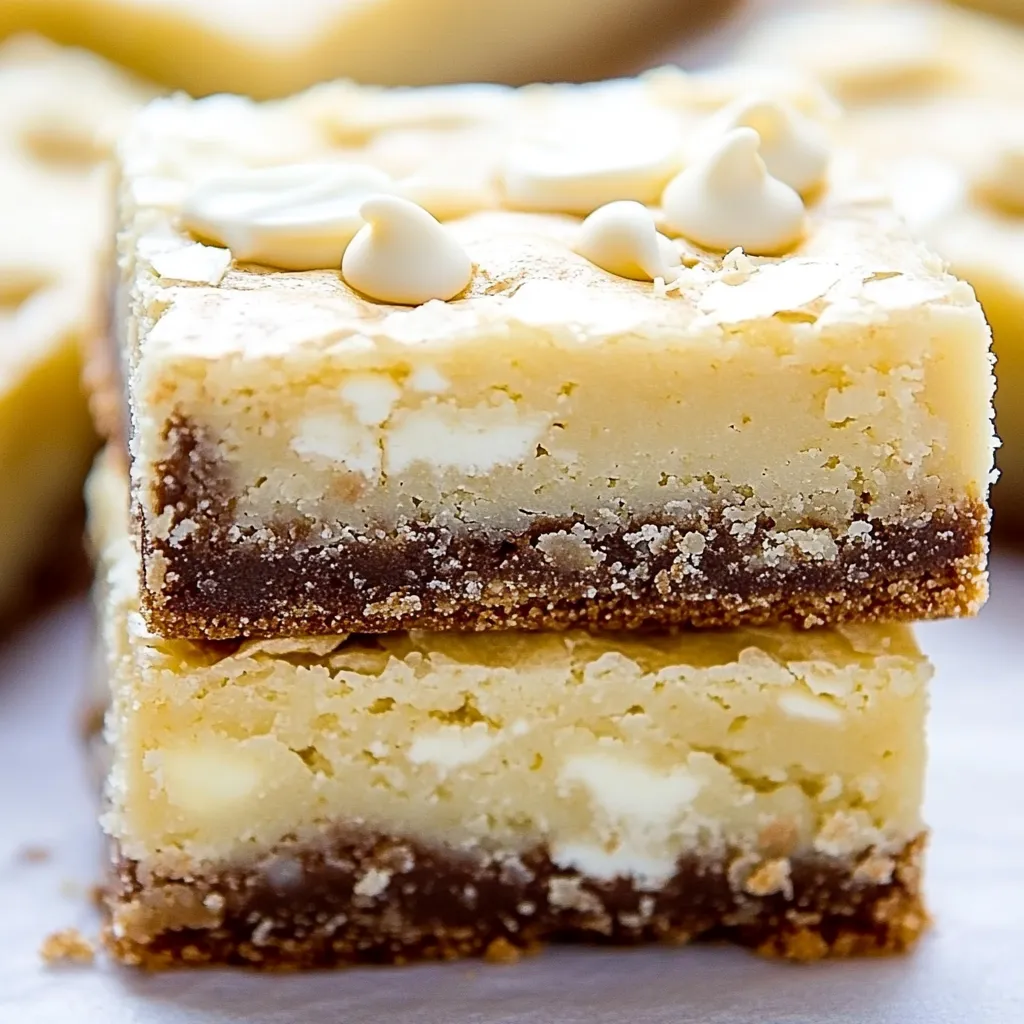
Every time I think of indulging in something sweet, my mind goes straight to White Chocolate Brownies. There’s just something about their creamy texture and rich flavor that captures my heart. I remember the first time I baked these delightful treats for a family gathering; the aroma filled the house, drawing everyone to the kitchen like moths to a flame. As I pulled them out of the oven, the golden edges and glossy top made my mouth water in anticipation. These brownies have since become a staple in my dessert repertoire, adored by both family and friends.
Each bite of White Chocolate Brownies is a comforting reminder of the joy that baking can bring. The combination of sweet and creamy white chocolate with the fudgy texture creates a perfect balance that makes them irresistible. I often find myself making excuses to whip up a batch, whether for a potluck, birthday celebration, or just because I need a sweet pick-me-up after a long week. No matter the occasion, these brownies always hit the spot and leave everyone asking for more.
So, let’s dive into the world of baking and create something magical. With the right ingredients and a bit of love, you’ll soon have a tray full of these mouthwatering White Chocolate Brownies to share with those you cherish most!
Recipe Snapshot
45 mins
15 mins
30 mins
Medium
240 kcal
2 g
Gluten-Free, Low FODMAP
13 g
Large Pot, Frying Pan, Wooden Spoon, Oven, Chef’s Knife, Whisk, Mixing Bowl, Baking Sheet
The Charm of This White Chocolate Brownies
They’re Incredibly Fudgy
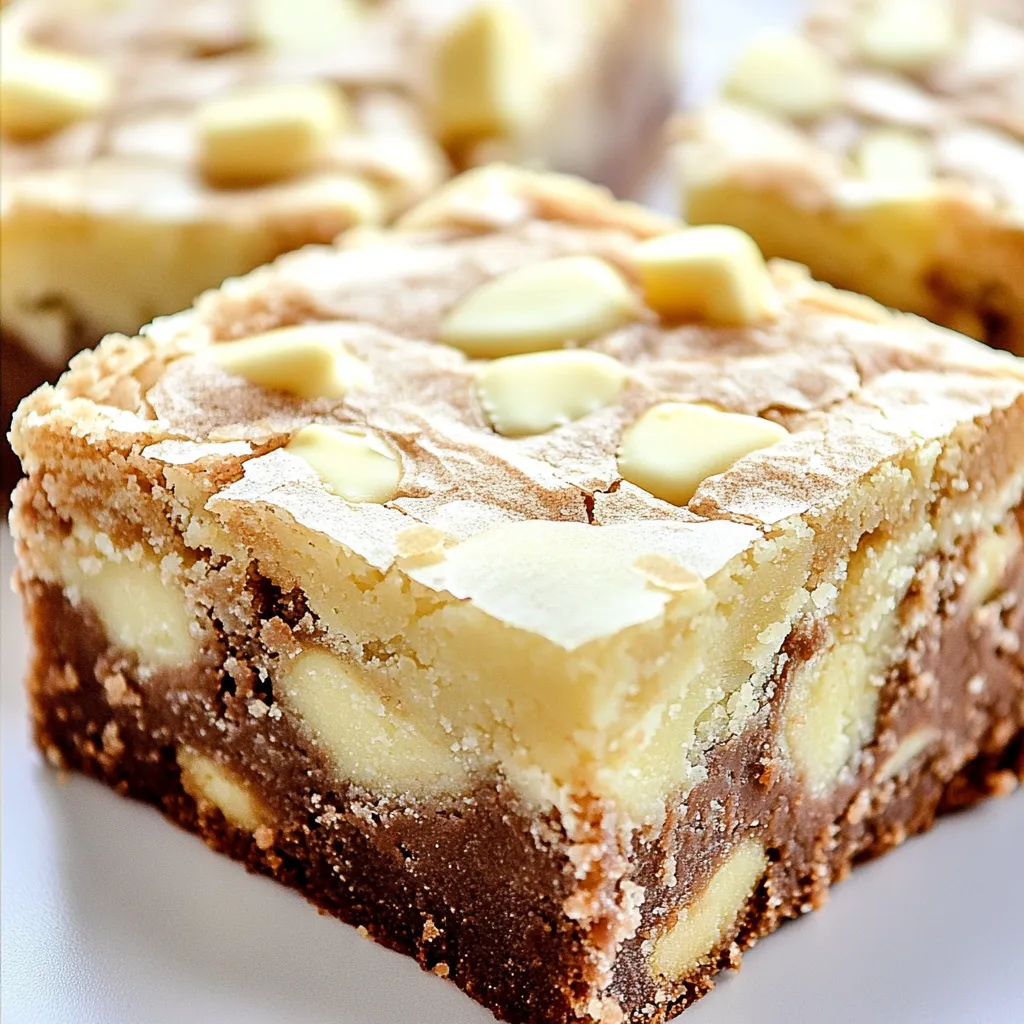
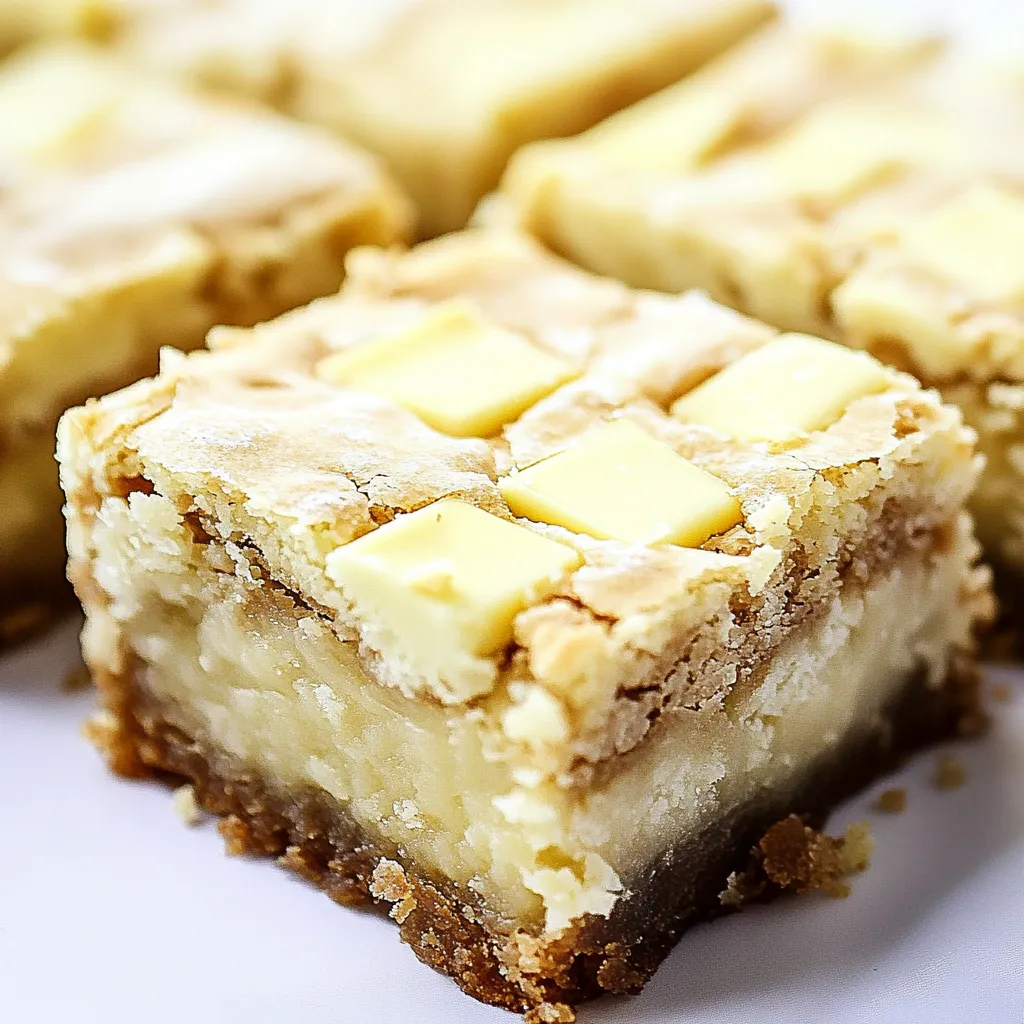
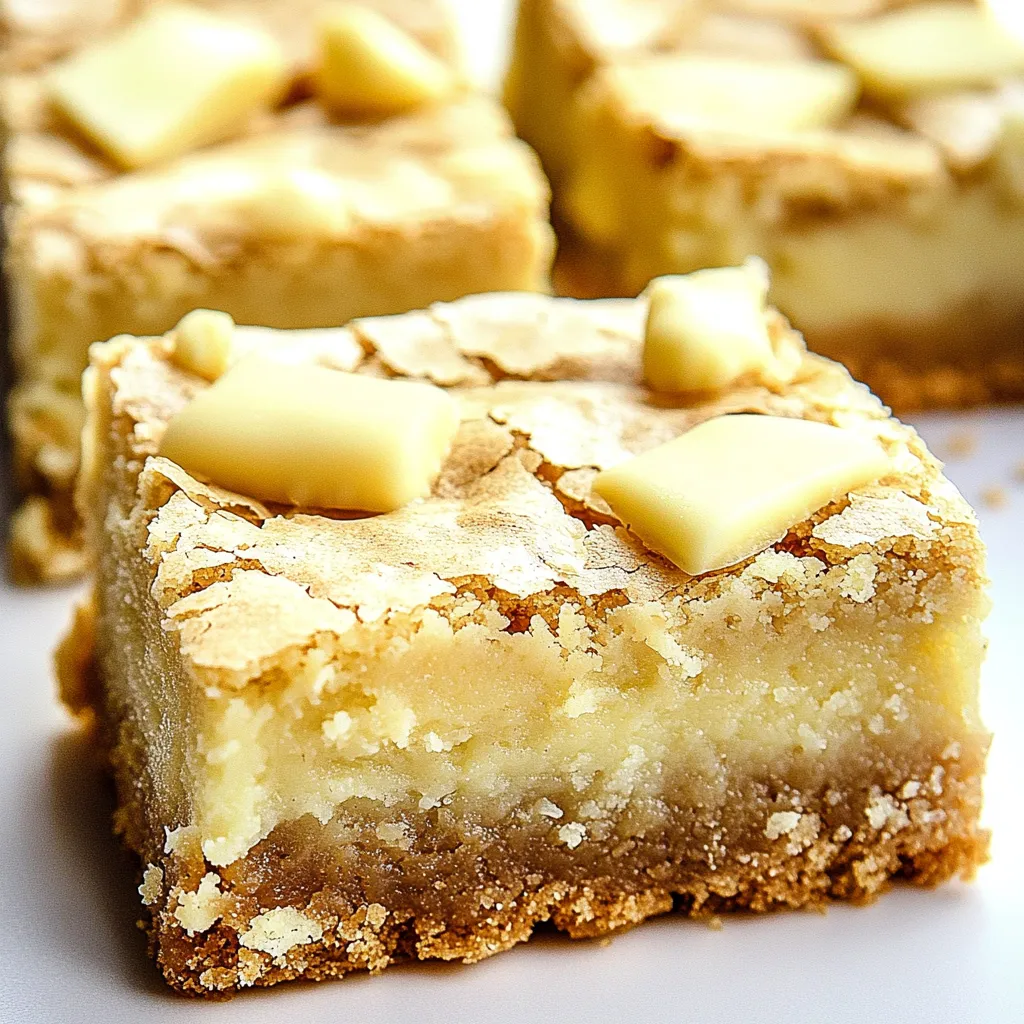
The texture of White Chocolate Brownies is what makes them special. Unlike traditional brownies, these are rich and fudgy, melting in your mouth with every bite. The secret lies in the perfect ratio of butter to flour, creating a dense yet moist treat that’s hard to resist.
Perfectly Sweet
When it comes to desserts, sweetness matters. The addition of granulated sugar and rich white chocolate creates a delightful sweetness that isn’t overwhelming. This balance makes them enjoyable for all ages and perfect for any occasion.
Easy to Make
If you’re new to baking or simply looking for a quick treat, these brownies are a fantastic choice. With just a few straightforward steps, you can whip up a batch in no time. You don’t need to be a professional baker to impress your friends and family!
Versatile for Any Occasion
Whether it’s a birthday party, holiday gathering, or just a cozy night in, White Chocolate Brownies fit right in. They are versatile enough to be dressed up with toppings or served plain, making them suitable for any event. You can even package them as gifts to share a little sweetness with others.
Great for Sharing
One of my favorite things about baking is the joy of sharing. These brownies are perfect for sharing; they slice beautifully and look impressive on a platter. Watching friends and family savor each bite is incredibly satisfying!
They’re Uniquely Delicious
Unlike typical chocolate brownies, the flavor of white chocolate makes these treats stand out. Its creamy sweetness combined with the fudgy brownie base is a unique twist that surprises and delights. You’ll find that these brownies become a sought-after favorite!
What You Need for White Chocolate Brownies
When it comes to baking White Chocolate Brownies, the ingredients you choose play a pivotal role in the final outcome. Each component contributes to the overall flavor and texture, making it essential to use high-quality ingredients. The key players in this recipe are the white chocolate, butter, and all-purpose flour, which together create that decadent, rich taste.
- 8 ounces white chocolate baking bar (finely chopped) – This is the star of the show, lending its creamy texture and sweetness to the brownies.
- 10 tablespoons unsalted butter (cubed & cold) – Provides moisture and richness, essential for that fudgy consistency.
- 1 cup granulated sugar – Sweetens the brownies and helps create that delightful crust.
- 2 large eggs (room temperature) – Binds the ingredients together while adding structure.
- 1 large egg yolk (room temperature) – Enhances the richness and moisture of the brownies.
- 2 teaspoons vanilla extract – Adds a lovely depth of flavor that complements the chocolate.
- 1¾ cups all-purpose flour – The backbone of the brownies, providing structure and stability.
- 1 teaspoon salt – Balances the sweetness and enhances all the flavors.
- ¾ cup white chocolate chips (divided into ½ cup and ¼ cup) – Adds extra bursts of white chocolate goodness throughout the brownies.
Making White Chocolate Brownies
Let’s get started on crafting these delicious White Chocolate Brownies; the process is as enjoyable as the final product. Gather your ingredients and let your kitchen fill with sweet aromas as you create your masterpiece. Follow these simple steps to bring your brownies to life!
Preheat your oven to 350°F (175°C). This step is crucial for achieving that perfect bake. While your oven heats up, take a 9×9 metal baking pan and line it with parchment paper, allowing for easy removal later.
In a double boiler set over medium-low heat, combine the finely chopped white chocolate and unsalted butter. Stir often as they melt together to prevent burning. You want a smooth mixture with no lumps. It should take a few minutes for the chocolate to fully melt.
While the chocolate mixture is melting, grab a large mixing bowl. In it, whisk together the granulated sugar, eggs, egg yolk, and vanilla extract until everything is well combined and slightly frothy. The frothiness indicates that you’re incorporating air, which helps with the texture.
Once the chocolate mixture is smooth, slowly drizzle it into the bowl of wet ingredients, whisking constantly. This is crucial to avoid cooking the eggs. You should end up with a lovely, glossy mixture that’s well combined.
Now, add the all-purpose flour and salt to the wet mixture. Stir gently until fully incorporated. At this stage, the batter should be thick and smooth, with no dry patches remaining.
Fold in ½ cup of the white chocolate chips into the brownie batter, ensuring they are evenly distributed throughout the mixture. This adds delightful pockets of sweetness as they melt during baking.
Spread the brownie batter into your prepared baking pan, smoothing it out evenly with a spatula. Make sure to get into the corners for an even bake. Then sprinkle the remaining ¼ cup of white chocolate chips over the top for an extra layer of yumminess.
Place the pan in the preheated oven and bake for 30 to 33 minutes. Keep an eye on them; the edges should be lightly golden, and the center should be set with no jiggle. If the edges start browning too quickly, you can cover the pan loosely with foil after about 15 minutes.
Once baked, remove the brownies from the oven and let them cool completely in the pan. After cooling, lift them out using the parchment paper and slice them into squares to serve. You’ll love how easy they are to cut, thanks to the lining.
Things Worth Knowing
- Use room temperature eggs: This helps them incorporate more easily into the batter, creating a smoother texture.
- Don’t overmix: Once you add the flour, mix just until combined. Overmixing can lead to tough brownies.
- Check for doneness: Insert a toothpick into the center. It should come out with a few moist crumbs, not wet batter.
- Let cool completely: Allowing the brownies to cool completely helps them set and makes cutting easier.
Tips and Variations
Whether you’re looking to tweak this recipe or just want some helpful hints, these tips will help you perfect your White Chocolate Brownies.
- Storage: Store your brownies in an airtight container at room temperature for up to five days. They’ll keep their fudgy texture longer that way.
- Freezing: Yes, you can freeze these brownies! Just wrap them tightly in plastic wrap and foil, and they’ll last up to three months. Thaw them in the fridge overnight before enjoying.
- Serving suggestions: These brownies pair beautifully with a scoop of vanilla ice cream or a dollop of whipped cream.
- Variations: Add nuts like chopped pecans or walnuts for a delightful crunch. You can also swirl in some caramel sauce before baking for an extra layer of flavor.
- Make it minty: Add a few drops of peppermint extract to the batter for a refreshing twist on the original flavor.
What to Serve Alongside White Chocolate Brownies
Serving White Chocolate Brownies can be as fun as baking them! Here are some great ideas to consider:
- With Ice Cream: A scoop of vanilla or mint chocolate chip ice cream contrasts beautifully with the sweet, creamy brownies.
- For a Celebration: Pair these with fresh berries and whipped cream for a festive dessert at birthdays or holidays.
- As a Snack: Enjoy them with a cup of coffee or tea for an afternoon treat that satisfies your sweet tooth.
- Gift Idea: Package them in a cute box tied with a ribbon for thoughtful homemade gifts during special occasions.
- Seasonal Pairings: During summer, serve alongside fresh fruit salads, while in winter, consider warm spices like cinnamon or nutmeg to enhance the flavor.
FAQ
Conclusion
In summary, White Chocolate Brownies offer a delectable combination of creamy and fudgy textures that are sure to satisfy any sweet tooth. Their versatility makes them a perfect treat for any occasion, whether it’s a cozy night in or a festive gathering with friends. I encourage you to give this recipe a try. You’ll find that these brownies are not only easy to make but also incredibly rewarding. Enjoy the process, and most importantly, enjoy every delicious bite!
White Chocolate Brownies
Ingredients
Equipment
Method
- Preheat your oven to 350°F (175°C). This step is crucial for achieving that perfect bake. While your oven heats up, take a 9×9 metal baking pan and line it with parchment paper, allowing for easy removal later.
- In a double boiler set over medium-low heat, combine the finely chopped white chocolate and unsalted butter. Stir often as they melt together to prevent burning. You want a smooth mixture with no lumps. It should take a few minutes for the chocolate to fully melt.
- While the chocolate mixture is melting, grab a large mixing bowl. In it, whisk together the granulated sugar, eggs, egg yolk, and vanilla extract until everything is well combined and slightly frothy. The frothiness indicates that you're incorporating air, which helps with the texture.
- Once the chocolate mixture is smooth, slowly drizzle it into the bowl of wet ingredients, whisking constantly. This is crucial to avoid cooking the eggs. You should end up with a lovely, glossy mixture that’s well combined.
- Now, add the all-purpose flour and salt to the wet mixture. Stir gently until fully incorporated. At this stage, the batter should be thick and smooth, with no dry patches remaining.
- Fold in ½ cup of the white chocolate chips into the brownie batter, ensuring they are evenly distributed throughout the mixture. This adds delightful pockets of sweetness as they melt during baking.
- Spread the brownie batter into your prepared baking pan, smoothing it out evenly with a spatula. Make sure to get into the corners for an even bake. Then sprinkle the remaining ¼ cup of white chocolate chips over the top for an extra layer of yumminess.
- Place the pan in the preheated oven and bake for 30 to 33 minutes. Keep an eye on them; the edges should be lightly golden, and the center should be set with no jiggle. If the edges start browning too quickly, you can cover the pan loosely with foil after about 15 minutes.
- Once baked, remove the brownies from the oven and let them cool completely in the pan. After cooling, lift them out using the parchment paper and slice them into squares to serve. You’ll love how easy they are to cut, thanks to the lining.
Notes
- Tip 1: You can use the microwave to melt your white chocolate bar and butter. Use a microwave-safe bowl and melt the chocolate in 30-second to 1-minute intervals, stirring between intervals.
- Tip 2: When using the double boiler method, be sure that your heat is not too high and causes a lot of steam to escape.
- Tip 3: Be very careful not to get any of the hot water or steam into the melted chocolate.
- Tip 4: These brownies will still have some crumb stuck to them. A little bit of crumb is fine. You just do not want a thick, wet amount still attached to your toothpick.