There’s something truly magical about baking, especially when it comes to making Whole Wheat Molasses Rolls. I remember the first time I tried this recipe; the warm aroma filled my kitchen, wrapping around me like a cozy blanket. It was a chilly fall afternoon, and I wanted something that would not only satisfy my craving for comfort food but also nourish my soul. These rolls have a delightful sweetness from the molasses and honey, coupled with the hearty goodness of whole wheat. Every bite brings back memories of family gatherings where fresh bread was always the centerpiece of our meals.
Recipe Snapshot
40 mins
20 mins
20 mins
Medium
160 kcal
3 g
Standard
2 g
Oven, Baking Sheet, Mixing Bowl
Why This Whole Wheat Molasses Rolls Is a Winner
1. Nutritional Powerhouse
What I truly love about Whole Wheat Molasses Rolls is how wholesome they are. Whole wheat flour offers more fiber and nutrients compared to white flour, making these rolls not just delicious but also heart-healthy. It’s the kind of bread that makes you feel good about indulging.
2. Perfect for Any Occasion
Whether it’s a family dinner, a holiday meal, or just a regular weekday, these rolls fit right in. They are festive enough for Thanksgiving yet simple enough for a casual Tuesday night. You can even serve them at breakfast with a smear of butter or jam.
3. Versatile and Customizable
You can easily tweak this recipe to fit your preferences. Want it sweeter? Add a bit more honey or molasses. Looking for extra texture? Toss in some seeds or nuts. The possibilities are endless, making these rolls a staple in my home.
4. Satisfying to Make
Baking these rolls is a delightful experience. The tactile feeling of kneading the dough and the anticipation of watching it rise is rewarding in itself. Plus, there’s a certain satisfaction in pulling a fresh batch out of the oven and sharing them with loved ones.
5. A Hit with Everyone
These rolls have a universal appeal. Kids love the sweet taste, while adults appreciate the health benefits of whole wheat. It’s a win-win that keeps everyone coming back for more.
6. Great for Meal Prep
One of the best parts about Whole Wheat Molasses Rolls is they store well. Bake a batch on the weekend, and you have fresh bread ready for meals all week long. Just pop them in the toaster or reheat them in the oven for a quick treat.
What You’ll Need for Whole Wheat Molasses Rolls
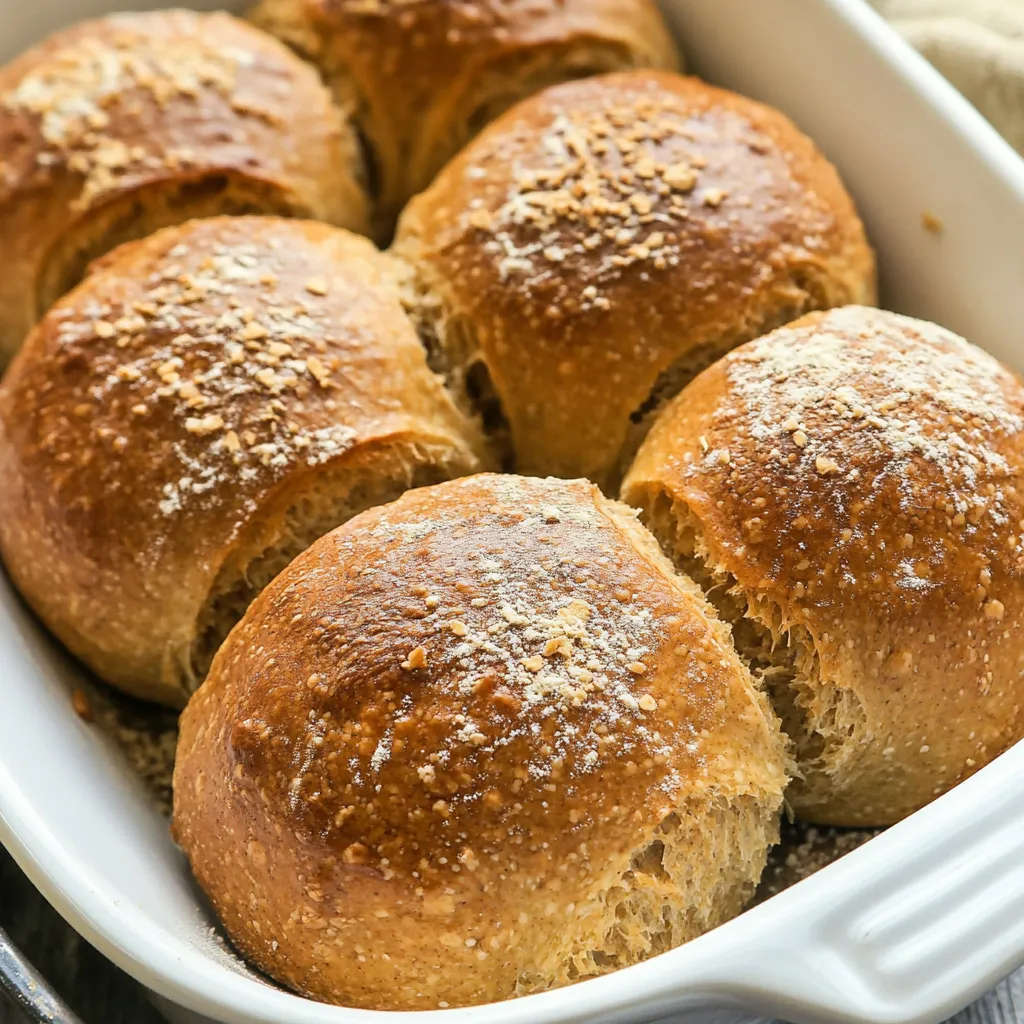
Gathering the ingredients for Whole Wheat Molasses Rolls is a joy in itself. Each ingredient plays a significant role in creating that perfect blend of flavors and textures. The combination of the wholesome whole wheat flour and the rich molasses creates a unique sweetness that sets these rolls apart. With simple, accessible ingredients, you can create something extraordinary right in your kitchen.
- 1 cup warm water (105 to 110 degrees)
- 4 teaspoons active dry yeast
- 1 teaspoon sugar
- 2 cups all-purpose flour
- 1/4 cup packed light brown sugar
- 1/4 cup molasses
- 3 tablespoons honey
- 2 tablespoons unsweetened cocoa powder
- 2 tablespoons unsalted butter, softened
- 1 large egg
- 2 teaspoons salt
- 2 1/4 cups whole wheat flour, divided
- 1 egg white, lightly beaten
- 1 tablespoon old-fashioned oats
- 2 teaspoons sunflower seeds
Directions for Whole Wheat Molasses Rolls
Making Whole Wheat Molasses Rolls is a labor of love, and I promise the results are worth every minute. Let’s dive into the step-by-step process that will have your kitchen smelling heavenly in no time.
- Start by placing the warm water, yeast, and 1 teaspoon of sugar in the bowl of a stand mixer fitted with the paddle attachment. Let it stand for about ten minutes until it becomes foamy. This step is crucial as it activates the yeast, giving your rolls that delightful rise.
- Add the all-purpose flour to the mixer and turn it to medium speed. Then, add the light brown sugar, molasses, honey, cocoa powder, butter, egg, and salt. Beat this mixture for about two minutes until everything is well combined, and you can start to see the dough form.
- Switch to the dough hook and add one cup of whole wheat flour. Beat for another two minutes. At this stage, the dough will begin to pull away from the sides of the bowl, indicating it’s coming together beautifully.
- Next, add the remaining one and a quarter cups of whole wheat flour. Continue to beat until the dough fully pulls away from the bowl. It should feel slightly tacky but not sticky to the touch.
- When the dough is ready, turn it out onto a lightly floured surface. Knead it gently about four to five times until it’s smooth and elastic. This process helps to develop the gluten, which is essential for a good rise.
- Place the kneaded dough in a greased bowl, turning it to coat the top. Cover it with plastic wrap and let it rise in a warm place until it doubles in size, which should take about one and a half hours. This is the magical part where the dough transforms!
- After the dough has risen, gently punch it down to release the air. Divide it into twelve equal pieces and shape each piece into a ball. Place them on a greased baking sheet, allowing some space between each roll.
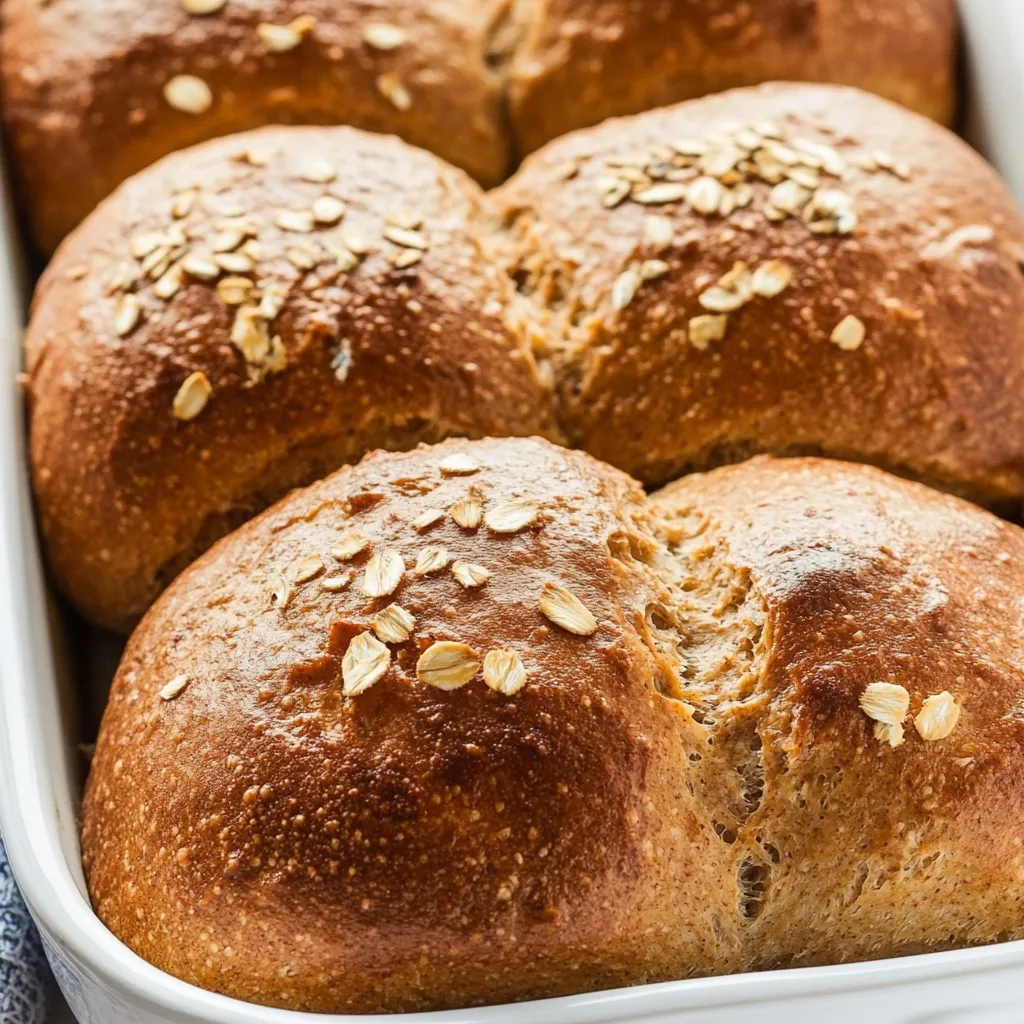
- Brush the shaped rolls with the egg white and sprinkle them with oats and sunflower seeds. Cover the rolls with a clean towel and let them rise again for about one hour. This second rise will give them that perfect fluffiness.
- While the rolls are rising, preheat your oven to 350 degrees Fahrenheit. Once the rolls have puffed up nicely, bake them for twenty to twenty-two minutes until they are golden brown. The smell wafting through your kitchen will be irresistible!
Things Worth Knowing
- Watch the dough rise: The ideal air temperature for rising is seventy-five degrees. If your home is cooler, allow more time for rising.
- Use a warm spot: You can place the dough near a sunny window or on top of a dryer while it’s in use.
- Humidity helps: Place a pot of very hot water in a turned-off oven and set the rolls beside it to create a warm, humid environment for rising.
- Check for doneness: The rolls should sound hollow when tapped on the bottom when they’re fully baked.
Making Adjustments
As with any recipe, you might want to tweak a few things here and there when making your Whole Wheat Molasses Rolls. Here are some thoughtful tips to help you adjust the recipe according to your preferences.
- Storage: Store the rolls in an airtight container at room temperature for up to three days. For longer storage, refrigerate them for a week.
- Freezing: These rolls freeze beautifully! Wrap them individually in plastic wrap and then place them in a freezer bag. They can last up to three months.
- Reheating: To warm them up, simply pop the rolls in the oven at three hundred degrees for ten minutes or microwave them for about thirty seconds.
- Pairing: Serve these rolls with soups, salads, or as a side dish for your favorite main course.
- Variations: Consider adding spices like cinnamon or nutmeg for a warm flavor, or mix in herbs to give a savory twist.
Perfect Pairings for Whole Wheat Molasses Rolls
When it comes to serving Whole Wheat Molasses Rolls, the options are plentiful! Here are some ideas to enhance your dining experience.
- With soups: These rolls are perfect for dipping in hearty soups like chili or vegetable stew. The sweetness complements savory flavors beautifully.
- Breakfast spread: Serve them alongside eggs and bacon for a hearty breakfast, or use them as a base for breakfast sandwiches.
- Holiday gatherings: They make an excellent addition to your holiday table, providing a warm touch that everyone will appreciate.
- Snacks: Enjoy the rolls fresh out of the oven as a snack, perhaps with a little butter or honey spread on top.
- Seasonal delights: These rolls are a fantastic treat during the fall season, especially when paired with pumpkin soup or roasted root vegetables.
FAQ
Conclusion
The Whole Wheat Molasses Rolls are a wholesome and satisfying treat that blends sweetness with hearty nutrition. Whether you’re enjoying them with a meal or as a snack, they’ll surely impress your family and friends. So why not give this recipe a try? You’ll find that they not only taste great but also bring a warmth to your kitchen and home that’s hard to beat.
Whole Wheat Molasses Rolls
Ingredients
Equipment
Method
- Place the warm water, yeast, and 1 teaspoon of sugar in the bowl of a stand mixer fitted with the paddle attachment. Let stand for 10 minutes until foamy.
- Add the all-purpose flour, then turn the mixer to medium speed. Add light brown sugar, molasses, honey, cocoa powder, butter, egg, and salt and beat for 2 minutes.
- Switch to the dough hook, add 1 cup of whole wheat flour, and beat for 2 minutes.
- Add the remaining 1 1/4 cups of whole wheat flour and beat until the dough pulls away from the sides of the bowl.
- Turn the dough out onto a lightly floured surface and knead 4 to 5 times.
- Place the dough in a greased bowl, turning to coat the top. Cover with plastic wrap and let rise in a warm place until doubled in size, about 1 1/2 hours.
- Divide the dough into 12 equal pieces, shape into balls, and place on a greased baking sheet. Brush with egg white and sprinkle with oats and sunflower seeds. Cover and let rise for 1 hour.
- Heat oven to 350 degrees. Bake rolls for 20 to 22 minutes.
Notes
- Ideal air temperature for rising: Seventy-five degrees is perfect. If your home is cooler, allow more time for rising.
- Use a warm spot: Placing the dough near a sunny window or on top of the dryer can help.
- Create humidity: A pot of very hot water in a turned-off oven can help with the rising process.