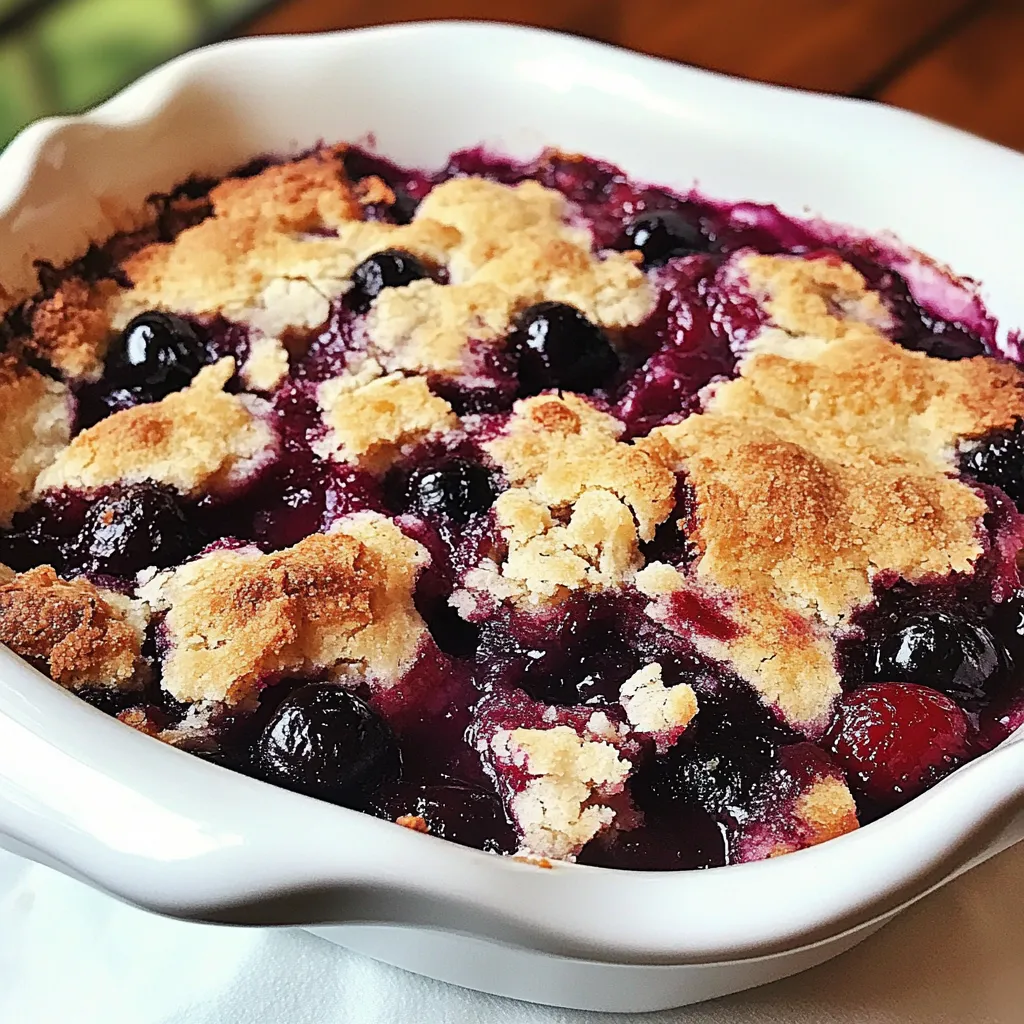
The Easy Cherry Cobbler Recipe is a nostalgic delight that brings back summers spent at my grandmother’s kitchen, where the sweet aroma of fresh cherries filled the air. Each scoop of this cobbler, with its warm, buttery topping and juicy cherry filling, reminds me of those carefree days. I remember gathering cherries from the garden, giggling with my siblings as we raced to see who could fill their basket first. This recipe is not just about the ingredients; it’s about the memories made and the love shared over a simple dessert. I love serving it warm, topped with a dollop of whipped cream, and watching everyone’s eyes light up with every bite. Whether it’s a family gathering or a quiet evening on the porch, the Easy Cherry Cobbler Recipe is guaranteed to bring a sense of comfort and joy.
Recipe Snapshot
1 hr 5 mins
30 mins
35 mins
Medium
280 kcal
3 g
Gluten-Free, Low FODMAP
14 g
Frying Pan, Wooden Spoon, Oven, Whisk, Mixing Bowl, Baking Sheet
Why This Easy Cherry Cobbler Recipe Works
It’s Incredibly Easy to Make
One of the best things about the Easy Cherry Cobbler Recipe is how simple it is to whip up. You don’t need to be a master chef to impress your family or friends. Just a few steps, and you have a delicious dessert that looks like it came straight from a bakery.
Perfect for Summer Gatherings
Summer means fresh cherries are in season, and this recipe takes full advantage of that. There’s something truly special about enjoying a warm dessert made with ripe, juicy cherries, especially when served at a summer barbecue or picnic. Everyone will be asking for seconds!
Customizable and Versatile
While this recipe shines with cherries, feel free to mix in other fruits or even swap them out entirely. Whether you want to add blueberries, raspberries, or peaches, the cobbler base adapts beautifully, allowing you to create a new variation each time you make it.
A Comforting Family Favorite
There’s a reason why cobblers have been a beloved dessert for generations. The combination of warm fruit and a crumbly topping is hard to resist. It’s the kind of dish that brings everyone to the table and sparks conversation and laughter.
Serve It with a Spark
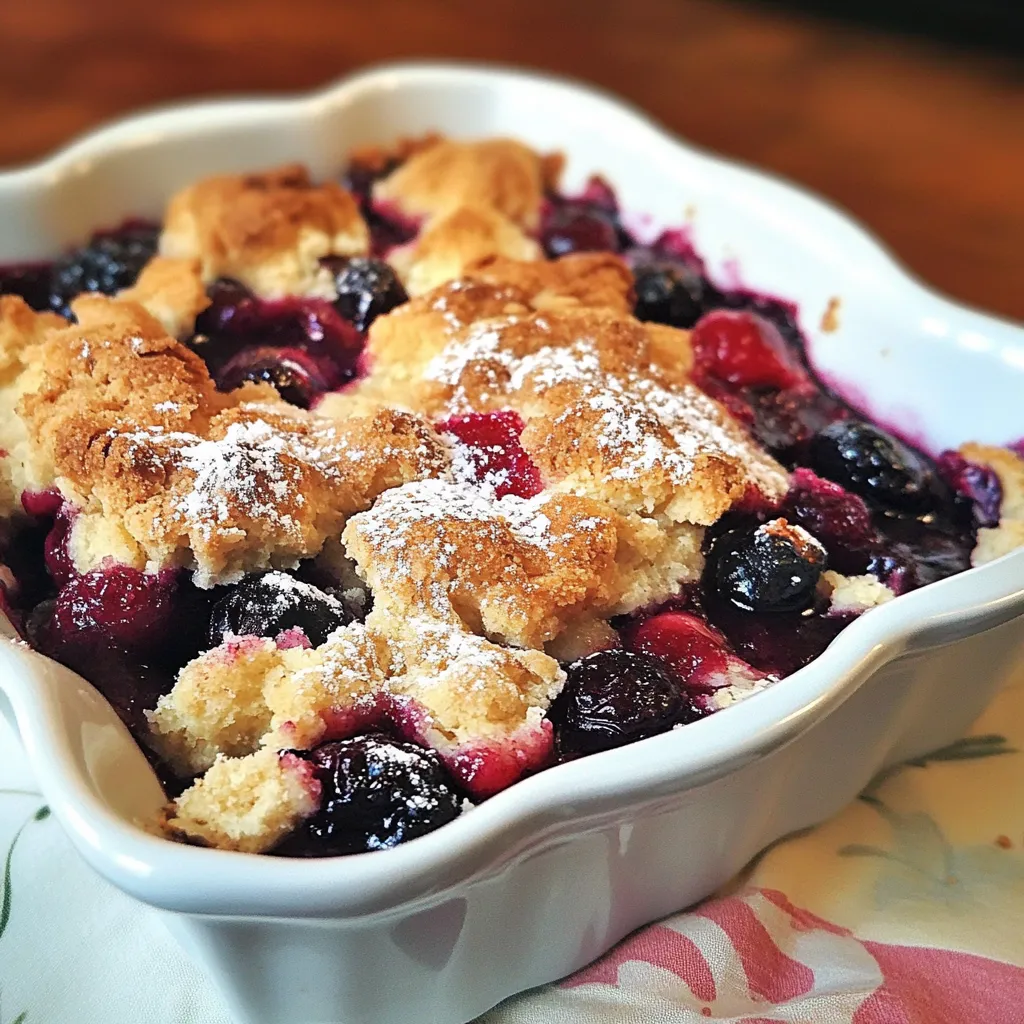
Serving the Easy Cherry Cobbler Recipe with homemade whipped cream elevates the experience. Watching it melt into the warm cobbler is a visual treat, and the creamy texture complements the tart cherries beautifully. You’ll find that it’s worth the extra effort to whip up your own cream!
What Goes Into Easy Cherry Cobbler Recipe
Creating the perfect cherry cobbler is all about using fresh, quality ingredients that work harmoniously together. Each ingredient plays a vital role in building the flavor profile and texture that makes this dessert unforgettable. From the tartness of the fresh cherries to the richness of the cream, together they create a mouthwatering combination.
- 5 cups fresh cherries (pitted and left whole): The star of the show, these juicy cherries provide a sweet-tart flavor that is simply irresistible.
- 1 tablespoon freshly squeezed lemon juice: It adds a bright zing that enhances the cherries’ natural sweetness.
- 1 cup granulated white sugar: This sweetener balances the tartness of the cherries and helps create a lovely syrup.
- 1 cup all-purpose flour: A key ingredient for the cobbler base, contributing to a delightful texture.
- 1 large egg, beaten: This binds the ingredients together and adds richness.
- 6 tablespoons salted butter, melted: Adds a rich, buttery flavor and helps achieve a golden topping.
- 1/2 cup whipping cream or heavy cream: Served alongside, it enhances the dish’s indulgence.
- 1/2 tablespoon powdered sugar: This is sprinkled over the whipped cream for a touch of sweetness.
- Whole cherries, for garnish (if desired): A beautiful garnish that makes the dessert pop visually.
Putting Together Easy Cherry Cobbler Recipe
Making the Easy Cherry Cobbler Recipe is as enjoyable as eating it. You’ll find yourself lost in the process, savoring the aromas and textures that come together. Let’s get started with the steps to create this delightful dish that everyone will love.
- Preheat your oven to 375 degrees. It’s essential to have it ready for the cobbler to bake evenly and develop that golden crust.
- Butter an 8×8-inch square pan (or similar-sized round casserole dish). This will prevent the cobbler from sticking and add a nice flavor.
- Carefully pile the cherries into the prepared dish. Make sure they are evenly distributed. Sprinkle the lemon juice over the cherries to enhance their natural flavor.
- In a medium bowl, whisk together the sugar and flour. The sugar will create a sweet syrup as it bakes, while the flour gives structure to the topping.
- Use a fork to stir in the beaten egg. Keep stirring until the mixture is crumbly. This is your cobbler topping, and it should resemble coarse crumbs.
- Crumble the mixture evenly over the cherries, ensuring that it covers them well. This topping will create a beautiful contrast to the juicy fruit below.
- Drizzle the melted butter generously on top of the mixture. This step is crucial as the butter will help the topping brown beautifully.
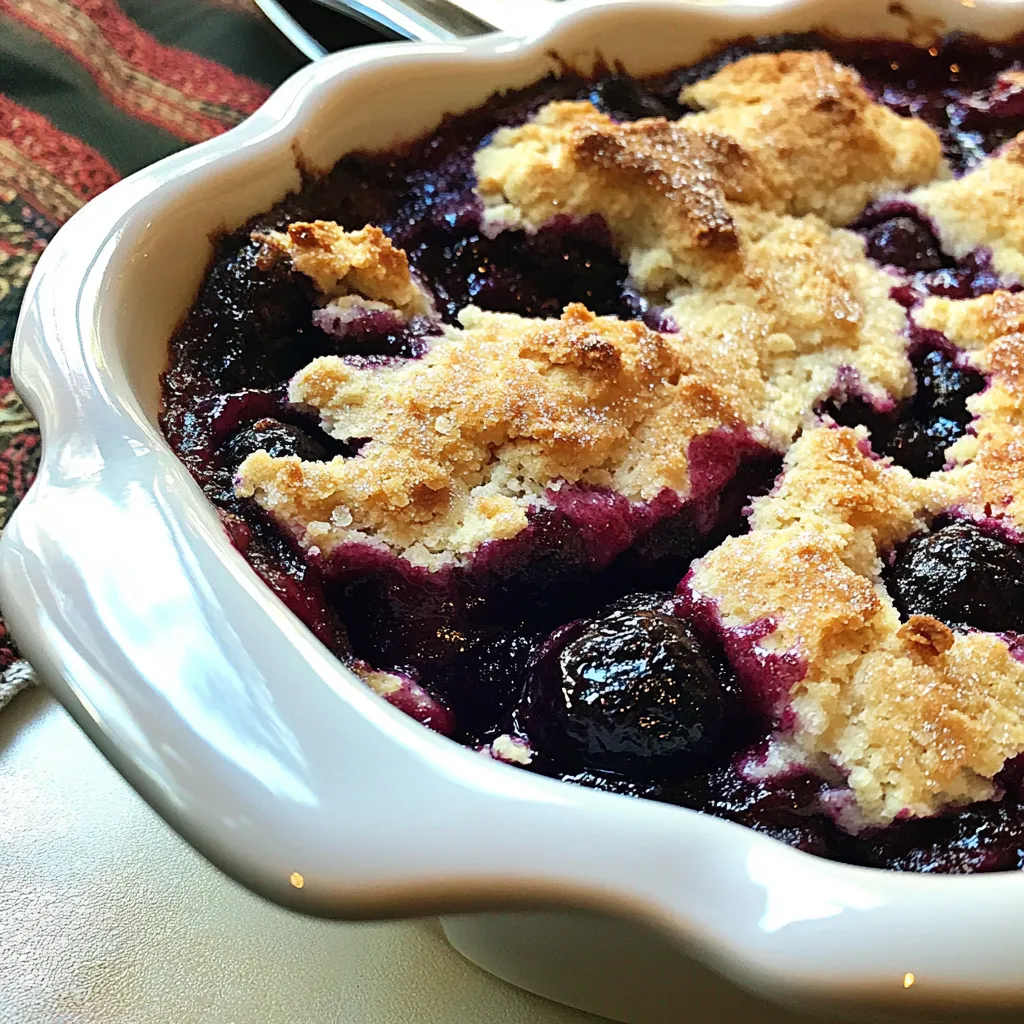
- Place the dish in the preheated oven and bake for 35 to 45 minutes. Keep an eye on it until the top is a nice golden brown and the cherry juices bubble enticingly around the edges.
- Once baked, remove the cobbler from the oven and cover it with foil to keep it warm until you’re ready to serve. This ensures that it stays deliciously moist.
- While waiting, use a hand mixer to whip the cream in a medium bowl. Gradually add in the powdered sugar during mixing, continuing until the cream thickens. This fresh whipped cream will perfectly complement your cobbler.
- Serve the whipped cream over individual plates of cobbler, garnished with a whole cherry if desired, for an extra special touch.
Things Worth Knowing
- Choose quality cherries: Fresh, ripe cherries make all the difference. Look for ones that are firm and have a vibrant color.
- Don’t skip the lemon juice: It brightens the flavors and balances the sweetness of the cobbler.
- Watch the baking time: Ovens can vary, so check on your cobbler. You want it golden brown and bubbly.
- Let it cool slightly: Allowing the cobbler to cool for a few minutes before serving helps the juices settle and makes it easier to serve.
Tips and Variations
With every beloved recipe, there’s room for creativity. Here are some tips and variations to make your Easy Cherry Cobbler Recipe even more delightful.
- Storage: Store any leftovers in an airtight container in the fridge for up to three days. Reheat gently in the oven or microwave.
- Freezing: You can freeze the cobbler before baking for future enjoyment. Just assemble it in the dish, cover it well, and bake straight from the freezer when you’re ready.
- Pairing: Serve with vanilla ice cream for a decadent treat, or enjoy with a cup of coffee for a delightful afternoon snack.
- Fruit variations: Try substituting with other fruits like peaches, apples, or blueberries for a different flavor profile.
- Gluten-free option: Use gluten-free flour to adapt the recipe for those with dietary restrictions.
Serving Ideas for Easy Cherry Cobbler Recipe
When it comes to serving your Easy Cherry Cobbler Recipe, there are plenty of delightful options to elevate this dish:
- Serve warm: Always serve the cobbler warm right from the oven for that cozy feeling.
- Whipped cream topping: Add generous dollops of freshly whipped cream on each serving to enhance the sweet flavors.
- Pair with ice cream: Vanilla or nut ice cream can take this dessert to the next level.
- Great for gatherings: Perfect for family dinners, barbecues, or potlucks where it’s sure to be a crowd-pleaser.
- Seasonal celebrations: This dish is also a hit during summer picnics or holiday gatherings, adding a festive touch to the table.
- Leftover delights: Enjoy with coffee or as a sweet breakfast treat the next day!
FAQ
Conclusion
The Easy Cherry Cobbler Recipe is a delightful dessert that captures the essence of summer with its fresh cherries and buttery topping. I encourage you to gather your loved ones and give this recipe a try. It’s simple, sweet, and sure to create lasting memories around the table.
Easy Cherry Cobbler Recipe
Ingredients
Equipment
Method
- Preheat your oven to 375 degrees. It’s essential to have it ready for the cobbler to bake evenly and develop that golden crust.
- Butter an 8x8-inch square pan (or similar-sized round casserole dish). This will prevent the cobbler from sticking and add a nice flavor.
- Carefully pile the cherries into the prepared dish. Make sure they are evenly distributed. Sprinkle the lemon juice over the cherries to enhance their natural flavor.
- In a medium bowl, whisk together the sugar and flour. The sugar will create a sweet syrup as it bakes, while the flour gives structure to the topping.
- Use a fork to stir in the beaten egg. Keep stirring until the mixture is crumbly. This is your cobbler topping, and it should resemble coarse crumbs.
- Crumble the mixture evenly over the cherries, ensuring that it covers them well. This topping will create a beautiful contrast to the juicy fruit below.
- Drizzle the melted butter generously on top of the mixture. This step is crucial as the butter will help the topping brown beautifully.
- Place the dish in the preheated oven and bake for 35 to 45 minutes. Keep an eye on it until the top is a nice golden brown and the cherry juices bubble enticingly around the edges.
- Once baked, remove the cobbler from the oven and cover it with foil to keep it warm until you’re ready to serve. This ensures that it stays deliciously moist.
- While waiting, use a hand mixer to whip the cream in a medium bowl. Gradually add in the powdered sugar during mixing, continuing until the cream thickens. This fresh whipped cream will perfectly complement your cobbler.
- Serve the whipped cream over individual plates of cobbler, garnished with a whole cherry if desired, for an extra special touch.
Notes
- For pitting cherries, it's easiest to use a cherry pitter.
- If you are preparing this as gluten-free, use 1 cup of gluten-free all-purpose flour to replace the regular all-purpose.