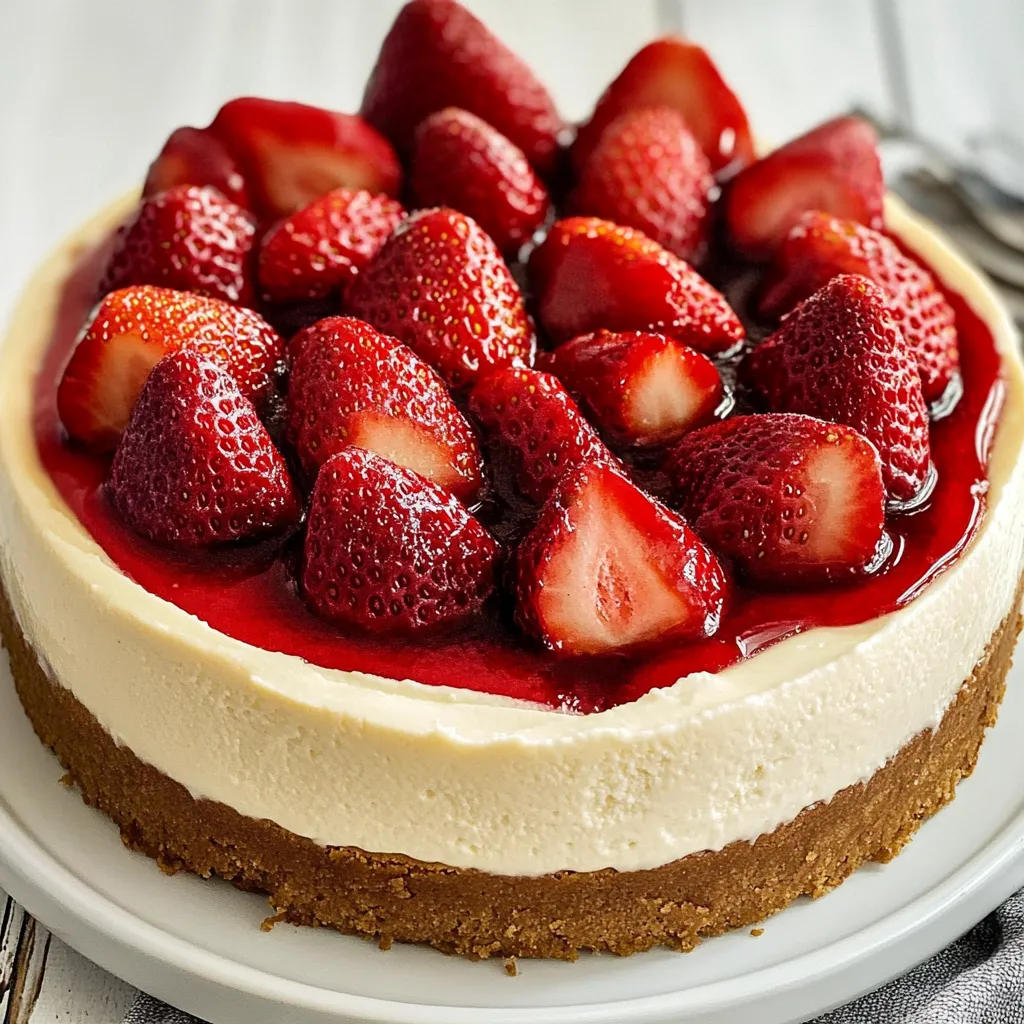
When I think of indulgent desserts, the first thing that comes to mind is Strawberry Topped Cheesecake. It’s one of those treats that instantly elevates any gathering, transforming a simple evening into a celebration. I remember the first time I made this cheesecake for a friend’s birthday party. The way the vibrant strawberries glistened on top of the creamy filling, I could hardly wait to slice into it! As I served it, the compliments flowed like the sweet aroma that filled the room. It’s not just a dessert; it’s an experience that brings people together.
Recipe Snapshot
60 mins
0 mins
0 mins
Medium
350 kcal
4 g
Gluten-Free, Low FODMAP
23 g
Cutting Board, Food Processor, Frying Pan, Oven, Mixing Bowl, Baking Sheet
Why You’ll Love This Strawberry Topped Cheesecake
Rich and Creamy Delight
What sets this Strawberry Topped Cheesecake apart is its irresistibly creamy texture. Made with cream cheese and a touch of sweetness, every bite melts in your mouth, leaving you yearning for more. The balance of flavors is perfect, with the creamy filling contrasting beautifully with the fresh, juicy strawberries on top.
A Showstopper for Any Occasion
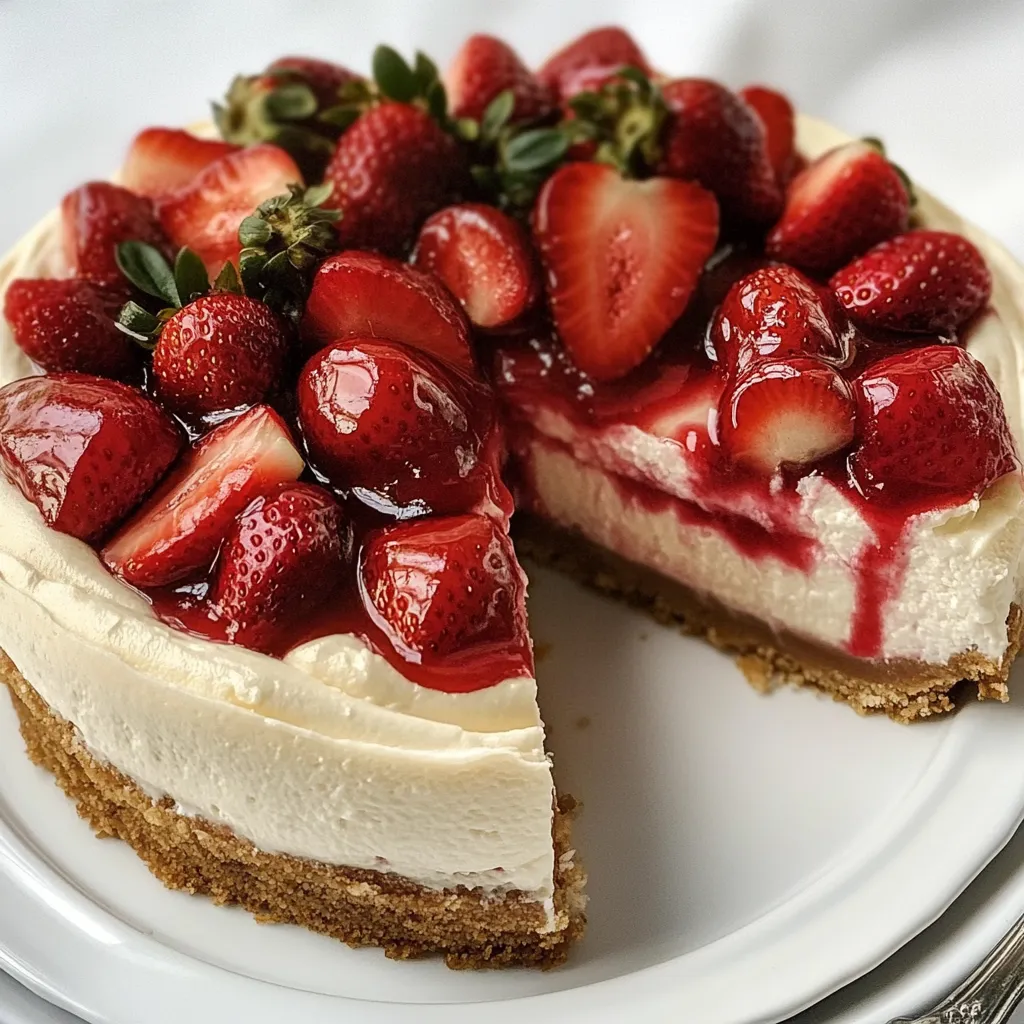
This cheesecake is visually stunning, making it a showstopper for any occasion. Whether it’s a birthday, an anniversary, or simply a weekend treat, the Strawberry Topped Cheesecake never fails to impress. Guests will be reaching for seconds before they even finish their first slice!
Easy to Make
You don’t need to be a professional baker to whip up this delightful dessert. The steps are straightforward, and the ingredients are simple. I love that anyone can make it with a little patience and a few key techniques. Plus, the satisfaction of creating something so rewarding is unmatched.
Perfect for Spring
As we transition into spring, this cheesecake is a celebration of the season. Fresh strawberries are at their best, bursting with flavor. Incorporating seasonal fruits into your desserts not only enhances the taste but also supports local farmers. It’s a win-win!
Perfect for Sharing
Lastly, the joy of sharing this Strawberry Topped Cheesecake with loved ones is what it’s all about. Each slice shared comes with a story, a moment, or a memory. Food has a special way of connecting us, and this cheesecake does just that. So, gather your friends and family, and prepare to delight everyone with this incredible dessert!
Everything You Need for Strawberry Topped Cheesecake

The ingredients for the Strawberry Topped Cheesecake work together in perfect harmony. Each element plays a crucial role in creating that classic cheesecake flavor, while the fresh strawberries add a vibrant touch. From the buttery graham cracker crust to the rich cream cheese filling, every bite is a delightful experience.
- 20 whole graham crackers (10 ounces, broken into pieces) – These serve as the sturdy base for your cheesecake, adding a subtle sweetness and crunch.
- ¾ cup cold butter (1 ½ sticks, diced) – Provides richness to the crust, making it buttery and delicious.
- ½ cup brown sugar – This adds a deeper sweetness that enhances the flavor of the crust.
Making Strawberry Topped Cheesecake
Creating the Strawberry Topped Cheesecake is an enjoyable process that anyone can master. Just follow these steps for a perfectly baked cheesecake every time. Pay attention to textures and colors as you go, and you’ll soon have a stunning dessert on your hands.
Preheat your oven to 350ºF. It’s essential to get the oven nice and hot before you start baking the crust. A preheated oven ensures even cooking, giving your cheesecake the perfect texture.
In a food processor, add the graham crackers, butter, and brown sugar. Pulse until the mixture starts to stick together. This is your crust. You want it crumbly but cohesive enough to hold together when pressed into the pan.
Press the crumb mixture into the bottom and up the sides of a 10-inch springform pan with 3-inch sides. Take your time here; the crust needs to be even and firmly packed to support the filling. You can use the bottom of a flat glass to get a nice, even layer.
Bake the crust for 10 minutes, then cool it on a rack. Keeping the oven on while you prepare the filling is key because you’ll need it hot again soon.
In a mixing bowl with the paddle attachment, beat the cream cheese, sugar, lemon juice, vanilla, and salt together until very smooth. This step is crucial as it ensures that the filling is creamy and free of lumps. Scrape down the edges of the bowl as needed to incorporate all the ingredients.
Add flour to the mixture and mix until just combined. Then, add the eggs, one at a time, incorporating them gently but thoroughly. You want to avoid overmixing, which can lead to cracks in your cheesecake.
Pour the batter into the cooled crust, smoothing the top with a spatula. The filling should be thick and creamy, ensuring a dense and delicious cheesecake.
Bake for about 55 minutes. The center should be just set, with the top puffed and slightly brown. Keep an eye on it; you want it baked but not overdone!
Allow the cheesecake to cool on a rack for 10 minutes while you prepare the sour cream topping. This cooling period helps to stabilize the cake.
Mix sour cream, sugar, and vanilla together. Spread this mixture over the top of the cake, stopping just short of the edge for a neat finish.
Bake for an additional 5 minutes. This quick bake helps set the topping. After that, run a knife around the perimeter to help release the cake from the sides of the pan.
Let it cool on a rack, then cover and chill overnight. This chilling period is essential; it allows the flavors to meld beautifully together.
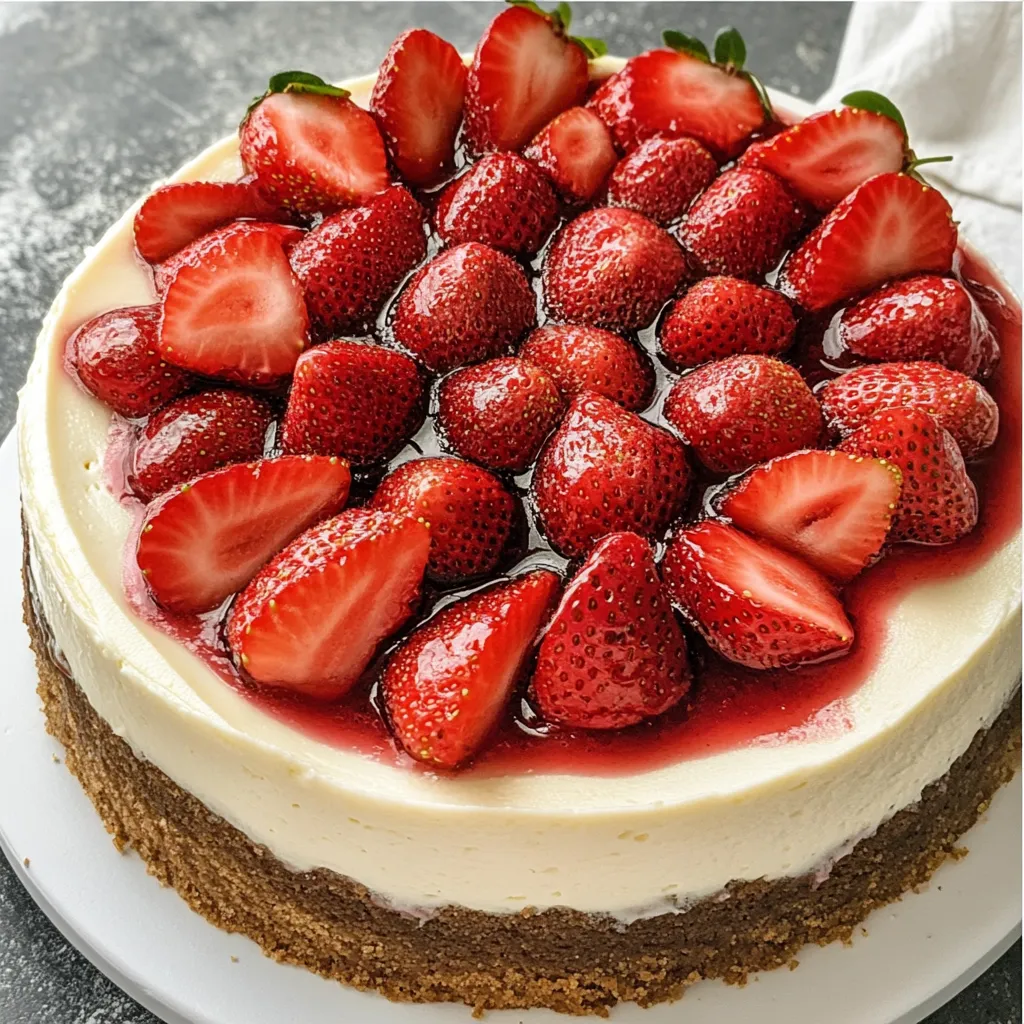
Before serving, release the sides of the springform pan and arrange whole strawberries, pointed sides up, over the top of the cheesecake. The vibrant color of the berries makes it visually appealing.
Gently melt jelly in the microwave, allowing it to cool to lukewarm. Brush it over the top of the berries for a gorgeous glaze. You can prepare this up to 6 hours in advance for convenience.
Things Worth Knowing
- Cheesecake Cracking: If your cheesecake cracks, it may be due to overmixing or baking at too high a temperature. Keeping the oven steady is crucial.
- Cooling Time: Don’t rush the cooling process; allow your cheesecake to cool gradually to prevent cracks and sinking.
- Fresh Berries: Use fresh, ripe strawberries for the best flavor and presentation. They should be bright and firm.
- Chilling Overnight: For the best texture and flavor, let your cheesecake chill overnight. This step is crucial!
Customization Ideas
There are countless ways to customize the Strawberry Topped Cheesecake to suit your tastes. Whether you want to change the toppings or the crust, the options are endless!
- Fruit Variations: Instead of just strawberries, consider adding blueberries or raspberries for a mixed berry topping.
- Chocolate Drizzle: For a decadent twist, drizzle melted chocolate over the top of the cheesecake and berries.
- Herbal Infusion: Infuse your cream cheese with fresh herbs like basil or mint for a unique flavor profile.
- Nut Crust: Replace half of the graham crackers with ground nuts for added flavor and texture.
- Mini Cheesecakes: Make individual mini cheesecakes in muffin tins for easy serving and fun presentation.
- Dairy-Free Options: Use cashew cream or coconut cream instead of cream cheese for a dairy-free version.
- Flavor Enhancements: Add a splash of lemon zest or almond extract to the filling for additional flavor.
Accompaniments for Strawberry Topped Cheesecake
Servicing the Strawberry Topped Cheesecake is just as important as making it! Here are some great ideas to enhance your dessert experience:
- Fresh Fruits: Serve with additional fresh fruits like slices of kiwi or orange for a colorful plate.
- Whipped Cream: A dollop of whipped cream on the side elevates each serving to the next level.
- Tea or Coffee: Pair with a cup of tea or coffee for a delightful after-dinner treat.
- Seasonal Events: This cheesecake is perfect for spring celebrations like Easter or Mother’s Day.
- Special Occasions: Ideal for birthdays or anniversaries, this cheesecake will make any gathering feel special.
- Storage Tips: Store leftovers in an airtight container in the fridge for up to 4 days.
- Freezing: You can freeze slices wrapped tightly in plastic wrap for up to a month. Just thaw before serving!
FAQ
Conclusion
The Strawberry Topped Cheesecake is a delightful dessert that combines creamy texture with the sweetness of fresh strawberries. It’s perfect for any occasion, offering a luxurious touch to your gatherings. I encourage you to give it a try and experience the joy it brings to both you and your guests!
Strawberry Topped Cheesecake
Ingredients
Equipment
Method
- Preheat oven to 350º.
- Add graham crackers, butter, and brown sugar to a food processor and pulse till crumbs start to stick together.
- Press crumbs on the bottom and most of the way up the sides of a 10-inch springform pan with 3-inch sides.
- Bake for 10 minutes. Cool on rack. Keep the oven on while preparing the filling.
- With the paddle attachment, beat cream cheese, sugar, lemon juice, vanilla, and salt together till very smooth, scraping down the edges of the bowl as needed.
- Add flour and mix till combined. Add eggs, one at a time, just till incorporated, scraping down the sides of the bowl as needed.
- Pour batter into the crust and bake for about 55 minutes. The center should be just set and the top will be puffed and brown in spots. Cool on a rack for 10 minutes while preparing the topping. Keep oven on.
- Mix sour cream, sugar, and vanilla. Spread over the top of the cake, stopping just short of the edge.
- Bake for 5 minutes. Run a knife around the perimeter of the cheesecake.
- Allow to cool on a rack, then cover and chill overnight.
- Before serving, release the sides of the springform pan. Arrange whole berries, pointed sides up, over top of cheesecake.
- Gently melt jelly in the microwave, then allow it to cool to lukewarm. Brush over top of berries to glaze. Berries may be glazed up to 6 hours before serving. May serve with extra glaze if desired.
Notes
- Storage: Store leftovers in an airtight container in the fridge for up to 4 days.
- Freezing: You can freeze slices wrapped tightly in plastic wrap for up to a month. Just thaw before serving!
- Fruit Variations: Instead of just strawberries, consider adding blueberries or raspberries for a mixed berry topping.
- Chocolate Drizzle: For a decadent twist, drizzle melted chocolate over the top of the cheesecake and berries.
- Mini Cheesecakes: Make individual mini cheesecakes in muffin tins for easy serving and fun presentation.