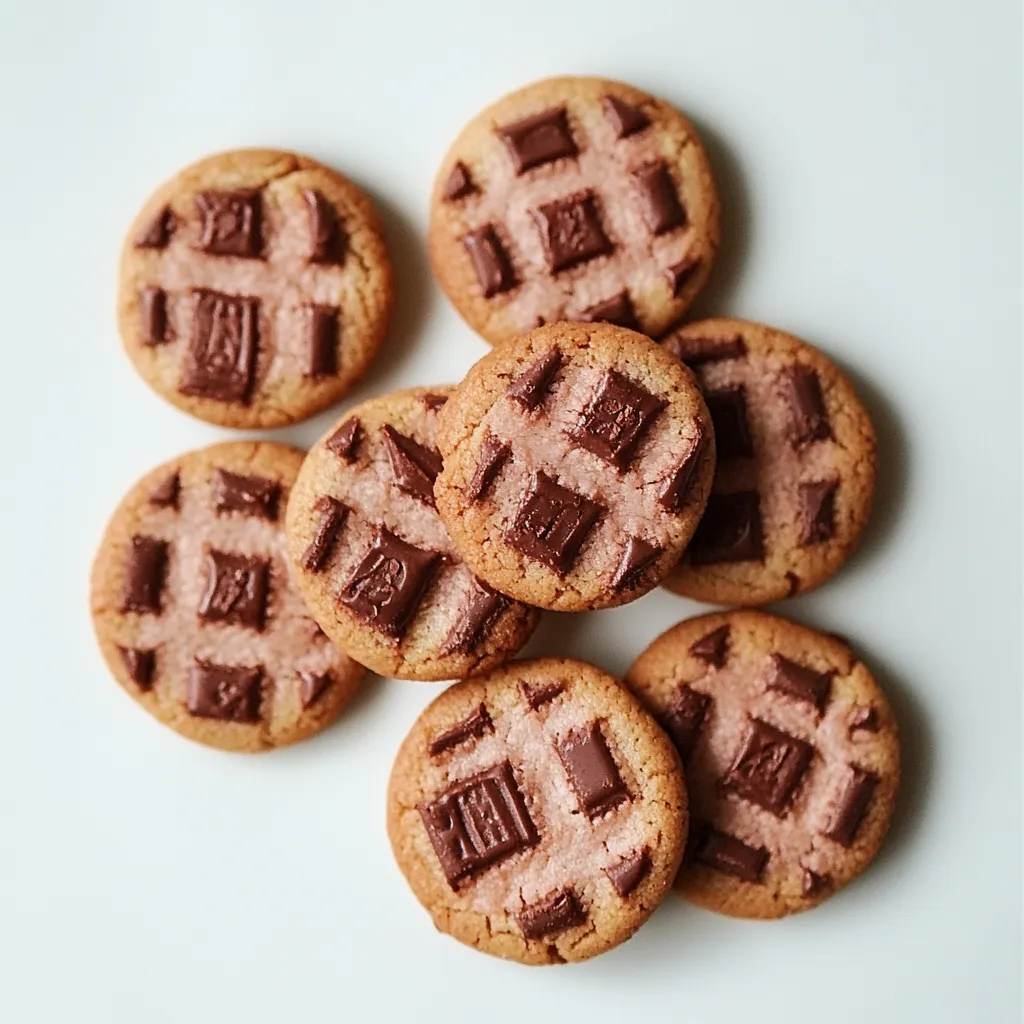
When I think of sweet treats that bring a smile to my face, Strawberry Chocolate Checkered Cookies immediately come to mind. These cookies are not only visually stunning with their alternating pink and brown squares, but they also offer a delightful flavor combination that’s hard to resist. I remember the first time I made these cookies; the excitement in the kitchen was almost palpable. The moment I pulled them from the oven, my family gathered around, eagerly awaiting their chance to indulge. It became a cherished tradition to bake these cookies together, particularly around special occasions like Valentine’s Day, where their vibrant colors perfectly match the spirit of love and celebration. Each bite delivers a satisfying crunch and a soft, chewy center, leaving everyone wanting more. I love to serve them at gatherings, where they become the star of the dessert table.
Recipe Snapshot
52 mins
40 mins
12 mins
Medium
120 kcal
1 g
Gluten-Free, Low FODMAP
6 g
Baking Sheet, Parchment Paper
The Magic of This Strawberry Chocolate Checkered Cookies
1. A Unique Visual Appeal
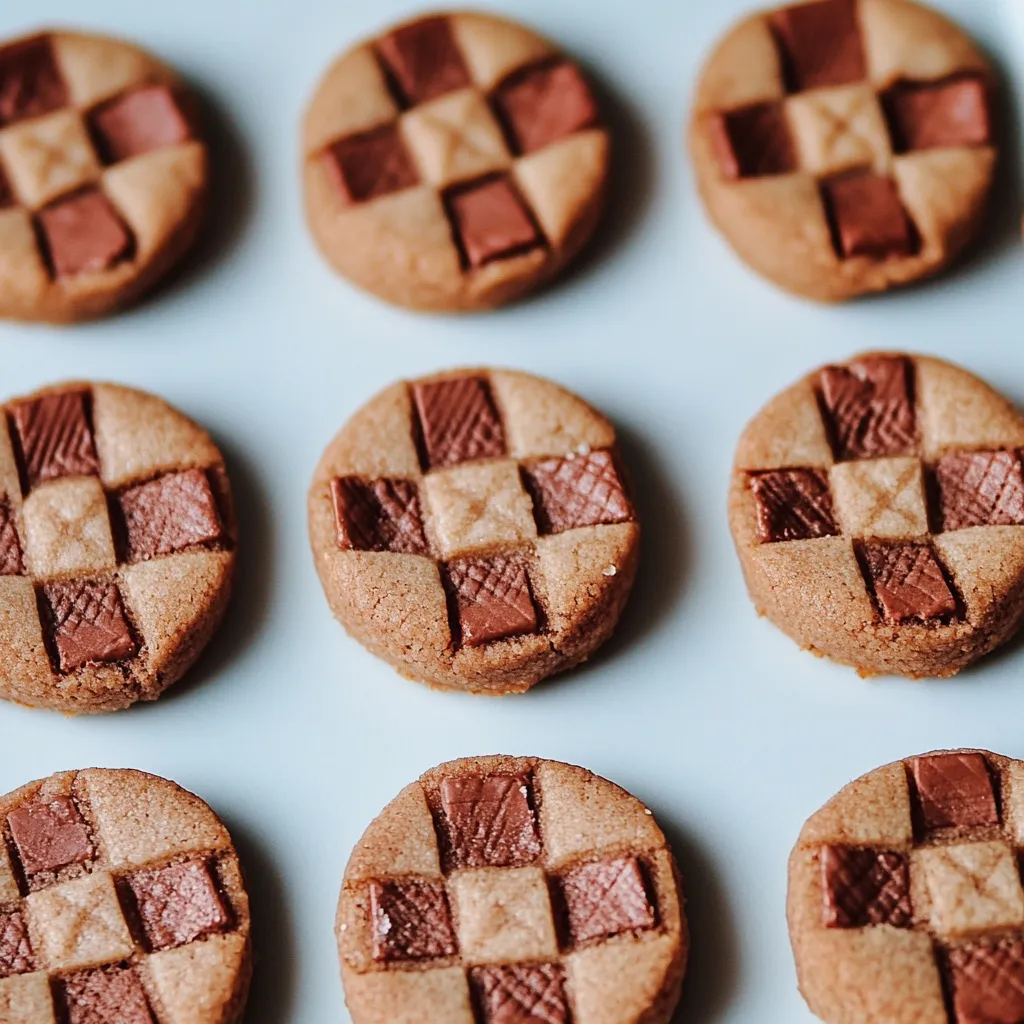
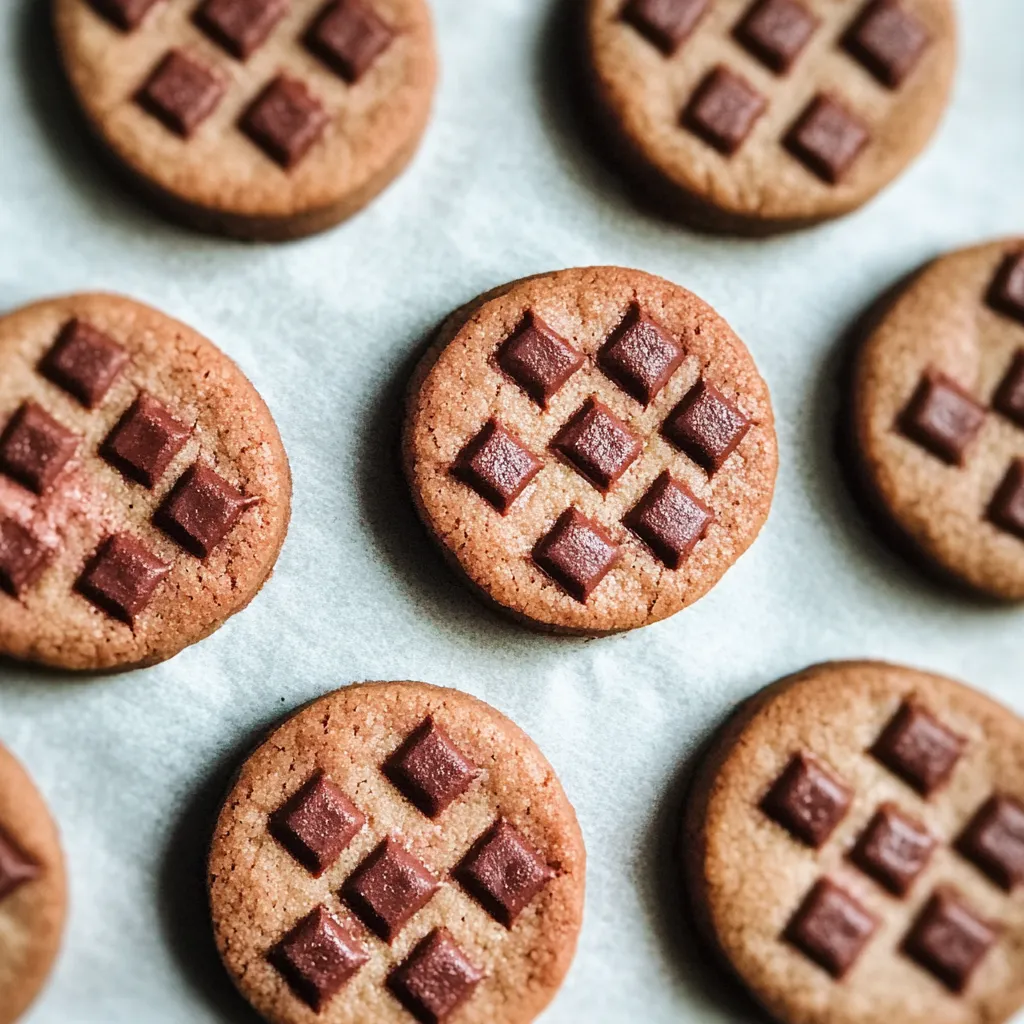
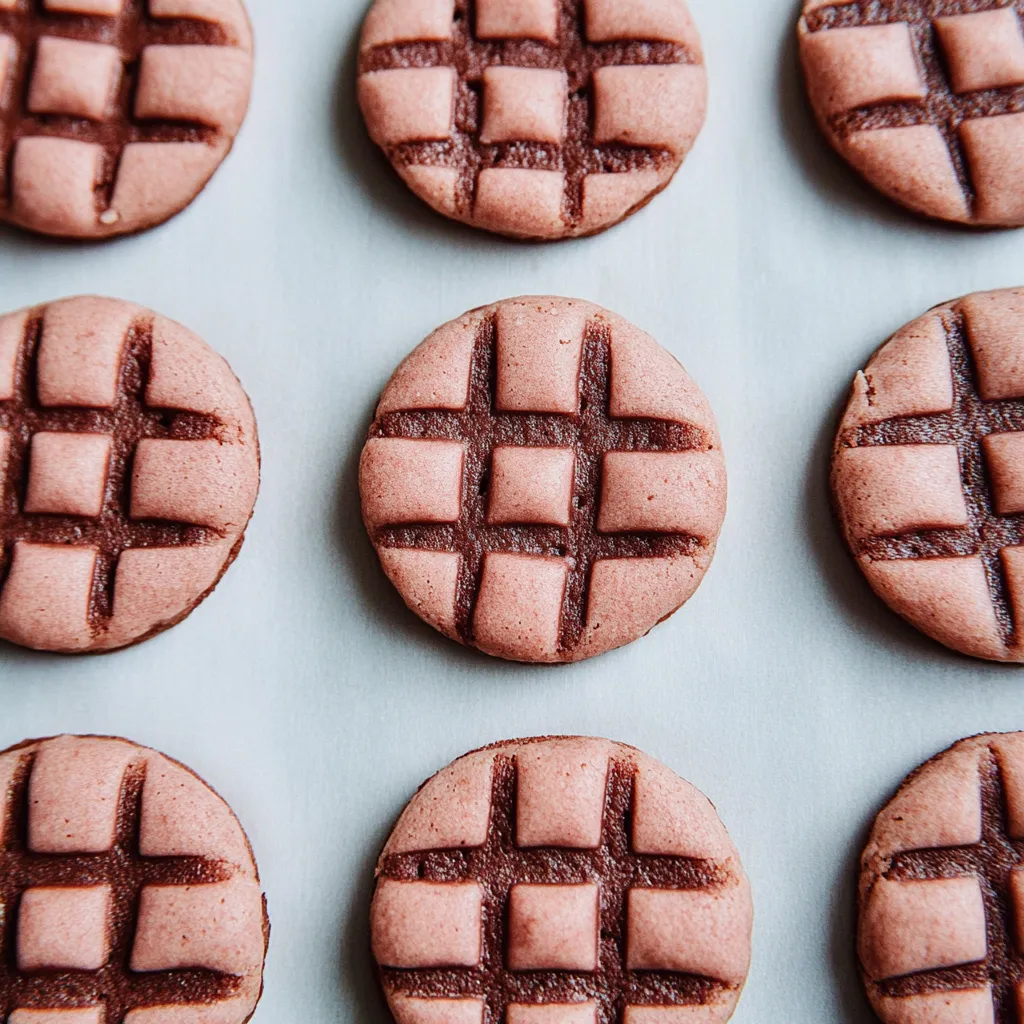
One of the standout features of Strawberry Chocolate Checkered Cookies is their striking appearance. The contrasting colors of the strawberry and chocolate dough create a beautiful checkered pattern that is sure to impress anyone who sees them. This makes them not only delicious but also a stunning addition to any dessert platter.
2. Perfect for Special Occasions
These cookies are ideal for various celebrations, especially Valentine’s Day. Their playful colors and delightful flavors make them a perfect treat to share with loved ones. Whether you’re hosting a gathering or simply want to add a little sweetness to your day, these cookies fit the bill.
3. A Fun Activity to Make Together
Baking Strawberry Chocolate Checkered Cookies is a fun and engaging activity that can be enjoyed with friends and family. The process of rolling out the dough and creating the checkered pattern is not only rewarding but also brings everyone together in the kitchen for a shared experience.
4. A Delicious Balance of Flavors
The combination of sweet strawberries and rich chocolate creates a harmonious balance of flavors. Each bite offers a delightful contrast that keeps you coming back for more. The use of freeze-dried strawberries intensifies the flavor, ensuring you get that fruity punch in every cookie.
5. Versatile and Adaptable
While this recipe is fantastic as is, it also allows for creativity. Feel free to mix and match flavors or add your favorite ingredients. You could incorporate nuts or even try different flavorings to make these cookies uniquely yours.
6. Great for Gifting
Packaged beautifully, these cookies make for an excellent gift. Whether it’s for a birthday, holiday, or just because, sharing a box of Strawberry Chocolate Checkered Cookies is sure to spread joy and sweetness.
Strawberry Chocolate Checkered Cookies Ingredients
Using quality ingredients is key to the success of these cookies. Each component plays a crucial role in achieving the perfect texture and flavor. The blend of all-purpose flour for structure, butter for richness, and freeze-dried strawberries for a fruity twist makes this recipe delightful. Let’s take a look at what you’ll need:
- ¾ cup white granulated sugar: This adds sweetness and helps with the cookie’s structure.
- ¾ cup freeze-dried strawberries: Provides a burst of strawberry flavor and a lovely pink color.
- 1 cup unsalted butter, at room temperature: Essential for a rich, tender cookie.
- 1 teaspoon pure vanilla extract: Enhances the overall flavor.
- ½ teaspoon salt: Balances the sweetness.
- 2½ cups all-purpose flour: The base of the cookie dough, providing structure.
- ¼ cup unsweetened cocoa powder: Infuses the chocolate flavor.
- 1 large egg, beaten in a bowl with 2 tablespoons water: Binds the ingredients together and adds moisture.
How to Cook Strawberry Chocolate Checkered Cookies
The process of making Strawberry Chocolate Checkered Cookies is as delightful as the cookies themselves. Let’s dive into the step-by-step guide to create these beautiful treats.
- Begin by preparing your ingredients. In a food processor, add the ¾ cup white granulated sugar and ¾ cup freeze-dried strawberries. Pulse until the mixture turns into a fine reddish-pink powder. This fragrant sugar blend sets the stage for your cookies.
- Transfer the strawberry sugar to the bowl of a stand-up mixer fitted with the paddle attachment. Add 1 cup unsalted butter, 1 teaspoon pure vanilla extract, and ½ teaspoon salt. Beat the mixture on medium speed until it becomes light, fluffy, and pale pink, about 2 to 3 minutes. This is where the magic begins!
- Next, add 2½ cups all-purpose flour in two batches, mixing until just combined. Be careful not to overmix, as you’ll want to maintain that tender texture.
- Once the dough is ready, remove half of it and place it on a sheet of plastic wrap. To the remaining dough in the mixer, add ¼ cup unsweetened cocoa powder and mix until thoroughly combined. Now you have both pink strawberry dough and rich chocolate dough.
- Wrap both portions of dough in plastic wrap and refrigerate for about 15 minutes. Chilling the dough helps it firm up and makes it easier to handle.
- After chilling, roll out each dough to form a 7-inch square that is about ½-inch thick. Slice each square into ½-inch wide strips; you should end up with around 14 strips per batch of dough, totaling 28 strips.
- Carefully handle the strips, using a small offset spatula for precision. Begin layering the strips alternately, starting with either color. Typically, I layer 5 strips of dough side by side as the first layer.
- Once you have your first layer in place, brush the top lightly with the beaten egg (which consists of a large egg beaten with 2 tablespoons of water). This will give the cookies a beautiful shine.
- Repeat the layering process, alternating colors for each new layer, until you create a stack of 5 layers. It’s okay if you have a few unused strips; that’s normal!
- Wrap the assembled square log in plastic wrap and pop it in the freezer for 10 minutes. This will help maintain the shape when slicing.
- Preheat your oven to 350°F (175°C) and line a baking sheet with parchment paper. Slice the logs into ¼-inch to ½-inch thick cookies and place them on the prepared baking sheet.
- Bake the cookies for approximately 10 to 12 minutes, until they are set and the edges are just beginning to brown. Allow them to cool completely on the baking sheet before moving them to a wire rack.
Things Worth Knowing
- Chilling the Dough: Don’t skip the chilling step! It helps the dough firm up, making it easier to cut and ensuring your cookies hold their shape while baking.
- Mixing Technique: When mixing the dough, be cautious not to overmix. Overmixing can lead to tough cookies, while gentle mixing ensures a tender crumb.
- Layering: For the best visual appeal, take your time with the layering process. Carefully alternate colors to create that beautiful checkered effect.
- Watch the Baking Time: Because ovens can vary, keep an eye on your cookies. They are ready when the edges turn slightly golden, but the centers should remain soft.
Change It Up
If you’re feeling adventurous or want to experiment with flavors, here are some fun ideas to customize your Strawberry Chocolate Checkered Cookies:
- Add Nuts: Try incorporating chopped nuts, such as walnuts or pecans, into the dough for added crunch and nuttiness.
- Use Other Berries: Instead of freeze-dried strawberries, consider using freeze-dried raspberries or blueberries for a different fruity flavor.
- Experiment with Spices: Add a pinch of cinnamon or nutmeg to the dough for an extra layer of warmth and flavor.
- Mix Chocolate Types: Use milk chocolate, dark chocolate, or even white chocolate cocoa powder for a unique twist on the flavor profile.
- Decorate: After baking, consider drizzling melted chocolate over the cookies or sprinkling them with powdered sugar for a decorative touch.
How to Enjoy Strawberry Chocolate Checkered Cookies
Enjoying your Strawberry Chocolate Checkered Cookies can be just as creative as making them. Here are some enjoyable serving suggestions:
- Pair with Coffee or Tea: These cookies are perfect for an afternoon treat alongside your favorite coffee or tea.
- Serve at Gatherings: Bring them to parties or potlucks; they’re sure to be a hit and disappear quickly from the dessert table.
- Pack in Lunchboxes: These cookies make a fantastic treat for kids’ lunchboxes; they’re fun, colorful, and delicious.
- Enjoy as a Snack: Perfect for a sweet snack at any time of day, these cookies satisfy your sweet tooth without being overly indulgent.
- Seasonal Celebrations: These cookies are an excellent choice for seasonal celebrations, especially around Valentine’s Day, thanks to their romantic colors.
- Storage Tips: Store any leftovers in an airtight container to keep them fresh for days.
FAQ
Conclusion
The Strawberry Chocolate Checkered Cookies truly shine with their unique flavor and stunning appearance. They’re a delightful treat that brings joy to any occasion, especially when shared with loved ones. I encourage you to try making these cookies yourself; you won’t be disappointed!
Strawberry Chocolate Checkered Cookies
Ingredients
Equipment
Method
- In a food processor, add the sugar and strawberries and pulse until mixture turns to a reddish/pinkish powder.
- Transfer the strawberry sugar to the bowl of a stand-up mixer with the paddle attachment.
- Add the butter, vanilla extract and salt. Beat until the mixture is light and fluffy and turns a pale pink, 2 to 3 minutes.
- Add the flour, in two batches, and mix until combined. Remove half of the dough and place on a sheet of plastic wrap.
- To the stand-up mixer with the remaining dough, add the cocoa powder and mix until thoroughly combined.
- Wrap the two doughs in plastic wrap, separately, and transfer to the fridge for 15 minutes.
- Roll out each dough so it’s a 7-inch square that’s 1/2-inch thick. Slice each square into 1/2-inch wide strips.
- Handling the strips delicately, place the logs, alternating between colors, next to one another. Brush the top lightly with the beaten egg.
- Repeat with the next layer, starting with the opposite color and alternating between colors. Repeat this process until you have 5 layers.
- Wrap the square log with plastic wrap and transfer to the freezer to chill for 10 minutes.
- Preheat the oven to 350 F and line a baking sheet with parchment. Slice the logs into 1/4-inch to 1/2-inch thick cookies.
- Place on the baking sheet and bake for 10 to 12 minutes. Allow to cool completely on the baking sheet before moving them.
Notes
- Storage: Keep leftover cookies in an airtight container at room temperature for up to 5 days.
- Freezing: These cookies freeze well. Store them in a single layer in a freezer bag for up to 3 months.
- Pairing: Serve with a cup of coffee or tea for a delightful afternoon treat.
- Occasions: Perfect for Valentine’s Day or any special occasion.
- Variations: Feel free to experiment with different flavors by adding nuts or using other freeze-dried fruits.