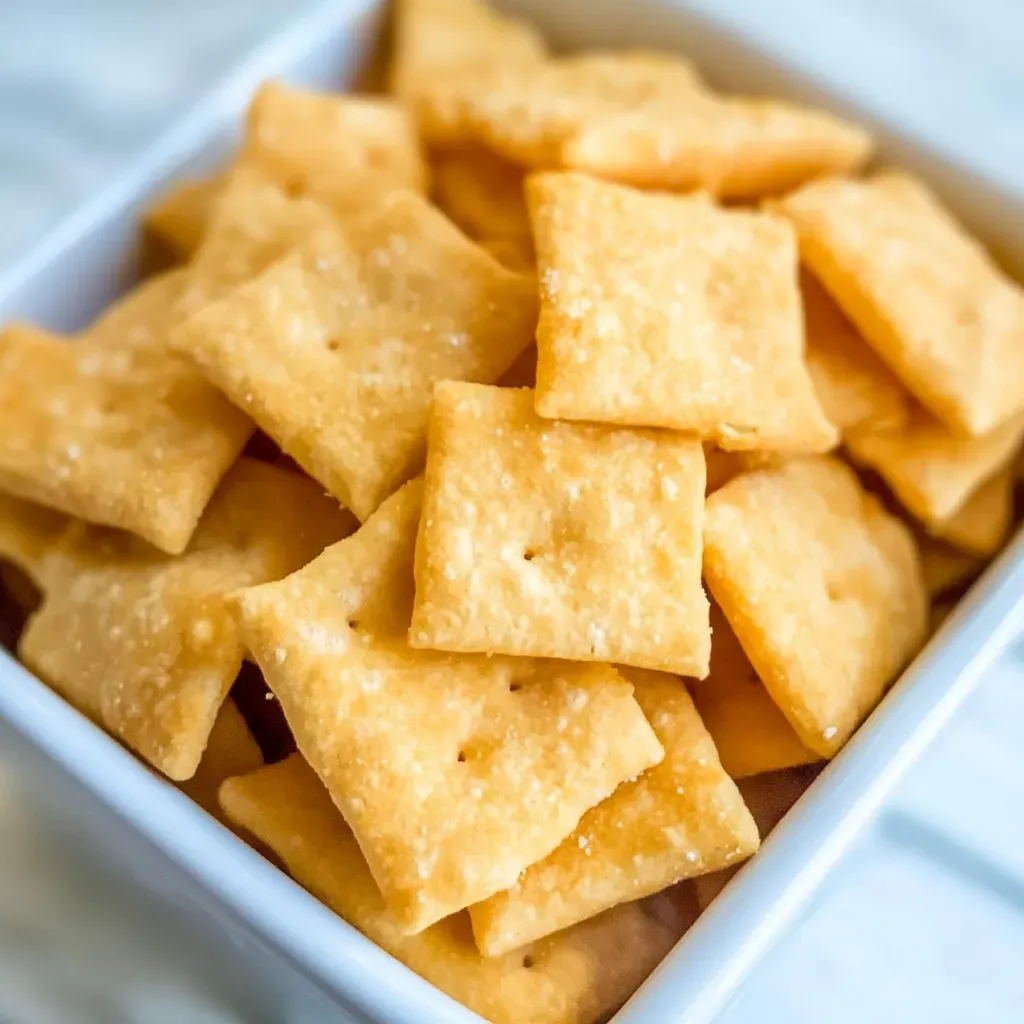
There’s something absolutely irresistible about Homemade Cheez-Its. I remember the first time I made them; the warm aroma of freshly baked cheese wafted through my kitchen, instantly transporting me back to my childhood. It was a rainy afternoon, and I found myself craving those crispy, cheesy crackers I loved so much. I decided to take matters into my own hands and whip up a batch of these delightful treats. As I mixed the ingredients, I felt a sense of nostalgia wash over me. Every bite reminded me of family gatherings where we would munch on snacks while playing board games and sharing stories. These homemade crackers are not just a snack; they are a little piece of joy that can brighten up any day.
Recipe Snapshot
22 mins
10 mins
12 mins
Medium
110 kcal
3 g
Gluten-Free, Low FODMAP
8 g
Food Processor
Why This Homemade Cheez-Its Hits Different
What makes Homemade Cheez-Its stand out? Let me share a few reasons why they hold a special place in my heart.
Fresh Ingredients Make a Difference
One of the best parts about making your own crackers is that you control what goes into them. Unlike store-bought versions, which often contain preservatives and artificial flavors, my Homemade Cheez-Its are made with real, fresh ingredients. The sharp cheddar cheese is the star of the show, giving each bite a deliciously rich flavor that you just can’t replicate with pre-packaged snacks.
Customizable Flavors
Another reason to love these crackers is their versatility. You can easily customize the flavors to suit your preferences. Want a little kick? Add some cayenne or paprika. Craving something herbaceous? Toss in some finely chopped rosemary or thyme. The possibilities are endless, allowing you to create a snack that’s uniquely yours.
Perfect for Any Occasion
Whether it’s a casual movie night, a picnic in the park, or a party with friends, Homemade Cheez-Its are the perfect addition. They make an excellent appetizer or a simple and satisfying snack on their own. Trust me, these little bites of cheesy goodness will be a hit no matter the occasion!
Satisfying and Addictive
Once you take a bite of these Homemade Cheez-Its, you’ll find it hard to stop at just one. Their crispy texture combined with a deep cheesy flavor creates a delightful crunch that’s addictively good. I often find myself reaching for just one more, and before I know it, the whole batch is gone!
Easy to Make
Lastly, making Homemade Cheez-Its is surprisingly easy! With just a few simple ingredients and a bit of time, you can whip up a batch in no time. It’s a great recipe to involve kids in the kitchen, teaching them essential cooking skills while sharing the joy of creating something delicious together.
Homemade Cheez-Its Shopping List
In preparing for your adventure in making Homemade Cheez-Its, it’s important to understand the ingredients you’ll be using. Each component plays a vital role in achieving that perfect balance of flavor and texture. The key players here are sharp cheddar cheese, which gives the crackers their distinctive taste, and unsalted butter, which contributes to that satisfying crunch. Let’s dive into the specifics!
- 8 ounces sharp cheddar cheese, freshly grated: The hero of the recipe, this cheese brings a robust flavor that’s hard to beat. Make sure to use freshly grated cheese for the best texture.
- 4 tablespoons unsalted butter: This adds richness and helps achieve that perfect cracker crunch.
- ½ teaspoon kosher salt, plus more for serving: Enhances the flavor of the cheese, ensuring every bite is seasoned just right.
- ¼ teaspoon onion powder: Adds a hint of savory sweetness that complements the cheese beautifully.
- 1 cup all-purpose flour: The base of the crackers, providing the necessary structure.
- 2 tablespoons cold water: Helps bring the dough together without making it too sticky.
How to Assemble Homemade Cheez-Its
Making Homemade Cheez-Its is not only delightful but also quite straightforward. Follow these steps, and you’ll see how easy it is to whip up a batch of your own cheesy crackers! Let’s get started!
- Using a food processor fitted with a grating blade, grate 8 ounces sharp cheddar cheese. If you don’t have a food processor, don’t worry! You can use a box grater to achieve the same result. Make sure the cheese is well grated to ensure even melting.
- After grating, remove the cheese from the food processor and fit it with a dough blade. Add the grated cheese back into the processor along with 4 tablespoons unsalted butter, ½ teaspoon kosher salt, and ¼ teaspoon onion powder. Pulse until the mixture resembles coarse sand, ensuring the butter is evenly distributed throughout the cheese.
- Next, add 1 cup all-purpose flour to the processor. Pulse it 2 to 5 times until the dough just comes together. You want to see a cohesive mixture without overworking the dough.
- Then, add in 2 tablespoons cold water and pulse again for 2 to 3 times. At this point, a dough should start to form. Be cautious not to add too much water; the dough should be firm.
- Turn the dough out onto a lightly floured surface and gently shape it into a flat disk, no thicker than ½-inch. Cover the disk with plastic wrap and chill it in the refrigerator for 1 hour, although it can be stored for up to 24 hours if needed.
- Once the dough is chilled, preheat your oven to 350℉/175℃. This temperature is perfect for baking the crackers to a perfect crunch.
- After preheating, remove the dough from the fridge and place it between two pieces of parchment paper. Roll the disk out to about ⅛-inch thick, taking care not to tear the dough.
- Once rolled out, remove the top layer of parchment paper. Use a knife, pizza cutter, or pastry cutter to cut the dough into ~1-inch strips lengthwise, then repeat width-wise to form approximately 1-inch squares. Creativity is key here; feel free to shape them however you like!
- Place the cut crackers onto a baking sheet lined with parchment paper, making sure they’re spaced about 1-inch apart. Using a toothpick or the end of a skewer, poke a hole in the center of each cracker to ensure they bake evenly and get that classic Cheez-It look.
- Finally, bake your crackers for 10 to 13 minutes or until they’re just set and the edges are slightly browned. Keep a close eye during the last couple of minutes to prevent them from burning.
- Once baked, let the crackers cool completely on a wire rack before enjoying. These little bites are ready to be devoured!
Things Worth Knowing
- Cheese Selection: Using a block of fresh cheddar cheese is crucial. Pre-grated cheese often contains anti-caking agents that can affect the texture of your crackers.
- Flour Variations: You can replace the all-purpose flour with whole wheat flour or a gluten-free blend for a different texture and flavor.
- Storage: Once cooled, store the crackers in an airtight container at room temperature for up to 5 days. Alternatively, freeze them in a sealed bag for up to 3 months.
- No Processor? If you don’t have a food processor, hand-grate the cheese and use a pastry cutter or two forks to mix the dough.
- Seasoning Options: Get creative! Additional seasonings like garlic powder or paprika can elevate the flavor of your crackers.
Tips for Success
For the best results when making your Homemade Cheez-Its, consider these helpful tips!
- Use Fresh Cheese: Always opt for a block of sharp cheddar cheese instead of pre-shredded. Freshly grated cheese melts better and creates a better texture.
- Don’t Overwork the Dough: When mixing, be careful not to over-process the dough. You want it to come together without being too tough.
- Watch the Baking Time: Keep an eye on your crackers while they’re baking, especially in the last few minutes, to avoid burning.
- Experiment with Shapes: Feel free to cut the dough into fun shapes for special occasions or holidays. Kids love getting involved in this step!
- Variations: Try adding different cheeses or seasonings to customize the flavor to your liking. The options are limitless!
Serving This Homemade Cheez-Its
When it comes to enjoying your Homemade Cheez-Its, the options are endless!
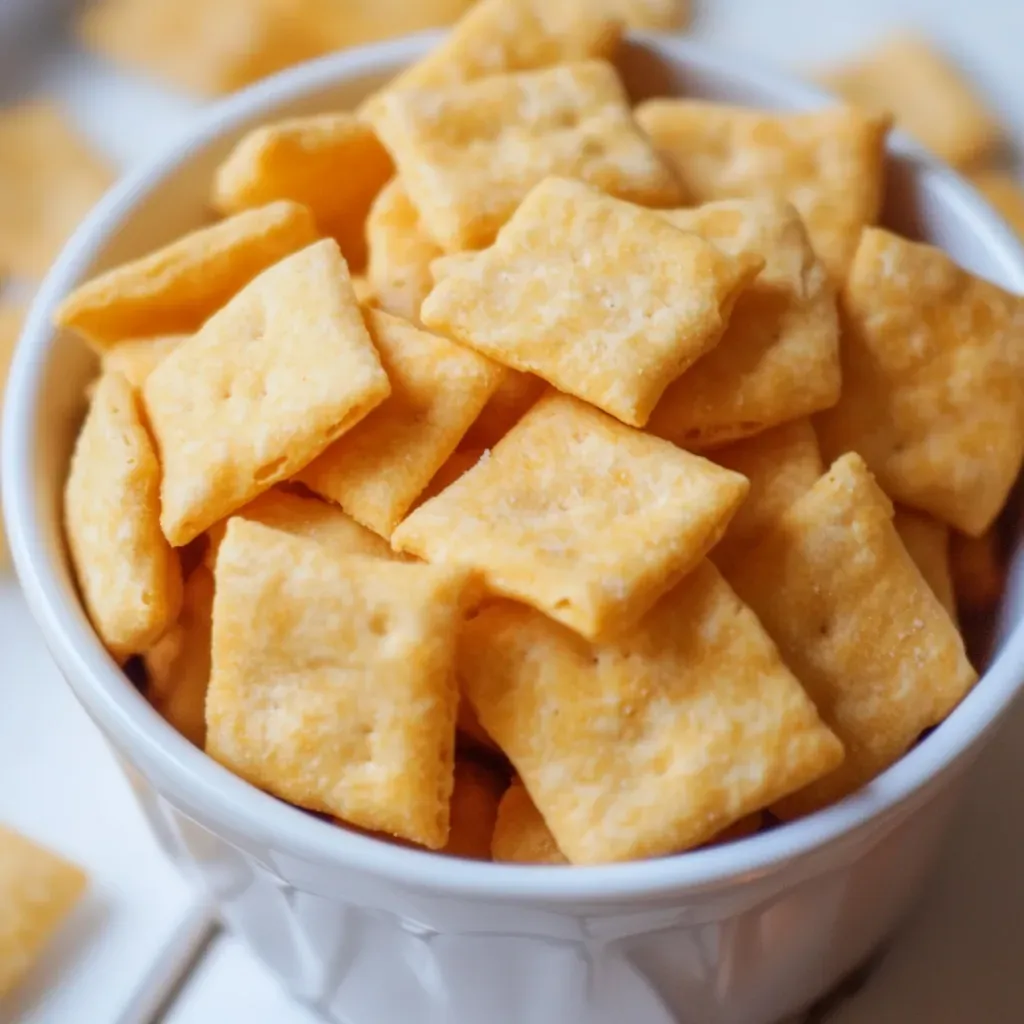
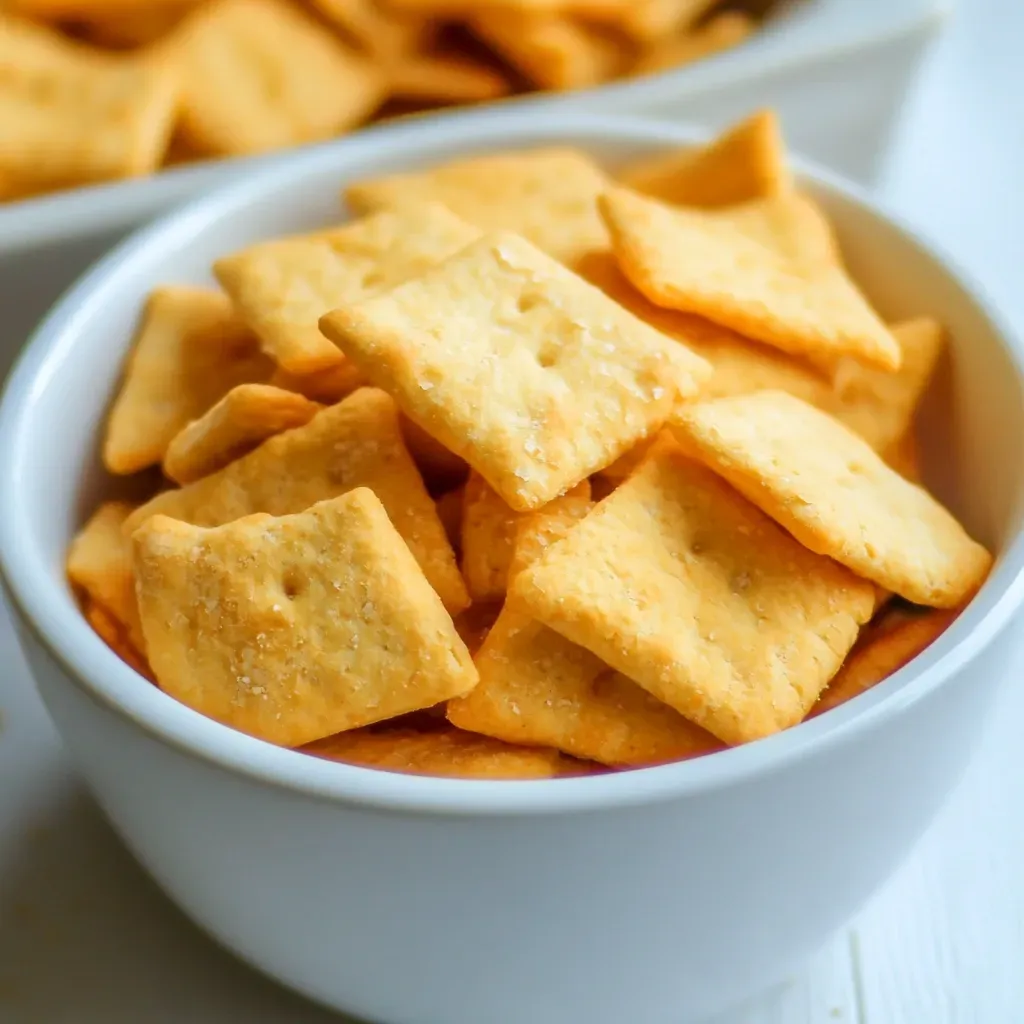
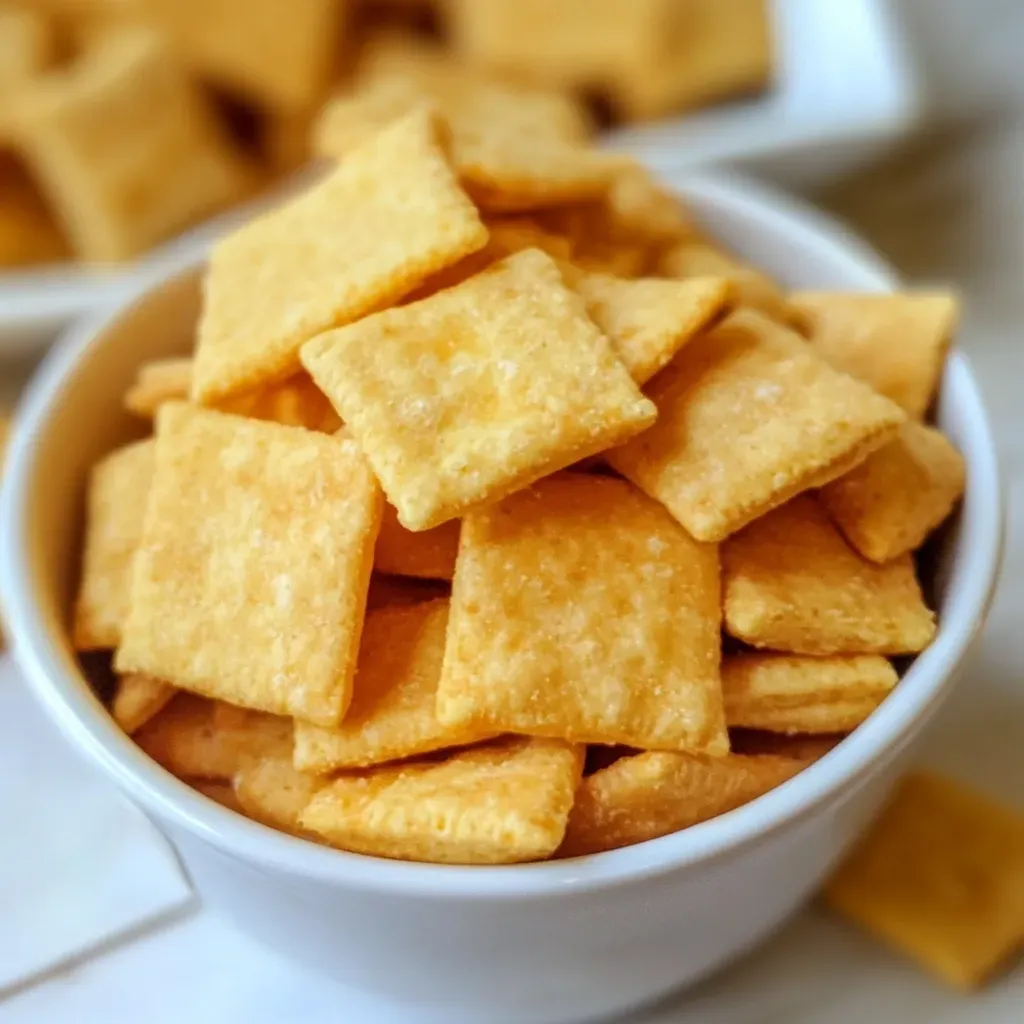
- Perfect for Snacking: These homemade crackers are fantastic for snacking on their own. They’re crunchy, cheesy, and utterly addictive!
- Pair with Dips: Serve them alongside your favorite dips, like hummus or guacamole, for a delightful treat.
- Great for Parties: They make a wonderful addition to any cheese platter or charcuterie board. Guests will love the homemade touch.
- Kids’ Lunches: Toss a few in your child’s lunchbox for a tasty surprise that’s healthier than store-bought options.
- Seasonal Treats: These crackers are great year-round, but you can also customize them for holidays with festive shapes or colors!
FAQ
Conclusion
In summary, Homemade Cheez-Its are a fantastic snack that’s both simple and satisfying. The combination of fresh cheese and the joy of creating something from scratch truly makes this recipe special. I encourage you to give it a try; you won’t be disappointed!
Homemade Cheez-Its
Ingredients
Equipment
Method
- Using a food processor fitted with a grating blade, grate 8 ounces sharp cheddar cheese. If you don’t have a food processor, a box grater works well too.
- Remove the cheese from the food processor and fit it with a dough blade. Add the grated cheese back in along with 4 tablespoons unsalted butter, ½ teaspoon kosher salt, and ¼ teaspoon onion powder. Pulse until the mixture resembles coarse sand.
- Add 1 cup all-purpose flour and pulse 2 to 5 times until the dough comes together.
- Add 2 tablespoons cold water and pulse again for 2 to 3 times until a dough forms.
- Turn the dough out onto a floured surface, shape it into a flat disk, cover with plastic wrap, and chill for at least 1 hour.
- Preheat your oven to 350℉/175℃.
- Roll the chilled dough between two pieces of parchment paper to about ⅛-inch thick.
- Cut the dough into ~1-inch squares and poke a hole in the center of each.
- Place on a baking sheet and bake for 10 to 13 minutes until edges are slightly browned.
- Let cool completely before enjoying your Homemade Cheez-Its.
Notes
- Tip 1: Use a block of white or yellow sharp cheddar cheese, not pre-grated cheese, to avoid anti-caking agents.
- Tip 2: You can replace the flour with whole wheat or gluten-free 1:1 flour blend.
- Tip 3: If you don’t have a food processor, hand-grate your cheese and mix with two forks.
- Tip 4: Feel free to add up to 1 teaspoon of garlic powder or paprika for extra flavor.
- Tip 5: Store cooled crackers in an airtight container for up to 5 days or freeze for up to 3 months.