When I discovered how easy it is to make Sweetened Condensed Coconut Milk at home, I felt like I had struck gold! This creamy delight has transformed my desserts and coffee into something truly special. It’s like having a secret ingredient that takes everything up a notch. I still remember the first time I whipped up a batch; I was in my kitchen, curious and excited to create something delicious. The rich aroma of the coconut milk filled the air, and I couldn’t help but smile as I tasted my creation. This recipe is so simple yet incredibly satisfying, making it a staple in my kitchen. Whether you’re drizzling it over desserts or adding it to your morning coffee, Sweetened Condensed Coconut Milk brings a touch of tropical sweetness to any dish.
Recipe Snapshot
60 mins
0 mins
0 mins
Easy
210 kcal
1 g
Keto, Gluten-Free, Low FODMAP
10 g
Large Pot, Frying Pan, Saucepan, Whisk
Why You Need This Sweetened Condensed Coconut Milk
Versatile Ingredient
One of the things I absolutely love about Sweetened Condensed Coconut Milk is its versatility. You can use it in both sweet and savory dishes. It’s perfect for desserts like pies and puddings, but it can also enhance savory sauces and soups, adding a unique flavor that’s hard to resist.
Easy to Make
This recipe is so quick and easy that once you try it, you’ll never want to buy the canned version again. With just two primary ingredients, you can whip this up in about an hour! The most challenging part is waiting for it to cool down before using it in your favorite recipes.
Healthier Alternative
If you’re looking for a healthier alternative to traditional sweetened condensed milk, this homemade version is a great choice. By controlling the sweetness and using natural sweeteners like honey, you can customize it to suit your taste and dietary needs.
Great for Dairy-Free Recipes
For those who are avoiding dairy, Sweetened Condensed Coconut Milk is a lifesaver. It can easily replace regular sweetened condensed milk in recipes, allowing anyone on a dairy-free diet to enjoy their favorite treats without missing out.
Perfect for Creative Baking
This sweetened coconut delight opens up a world of baking possibilities. From coconut macaroons to tropical cakes, it adds a special flavor and texture that enhances every bite. It can also be used in smoothies for a creamy consistency and extra sweetness.
Ingredients You’ll Need for Sweetened Condensed Coconut Milk
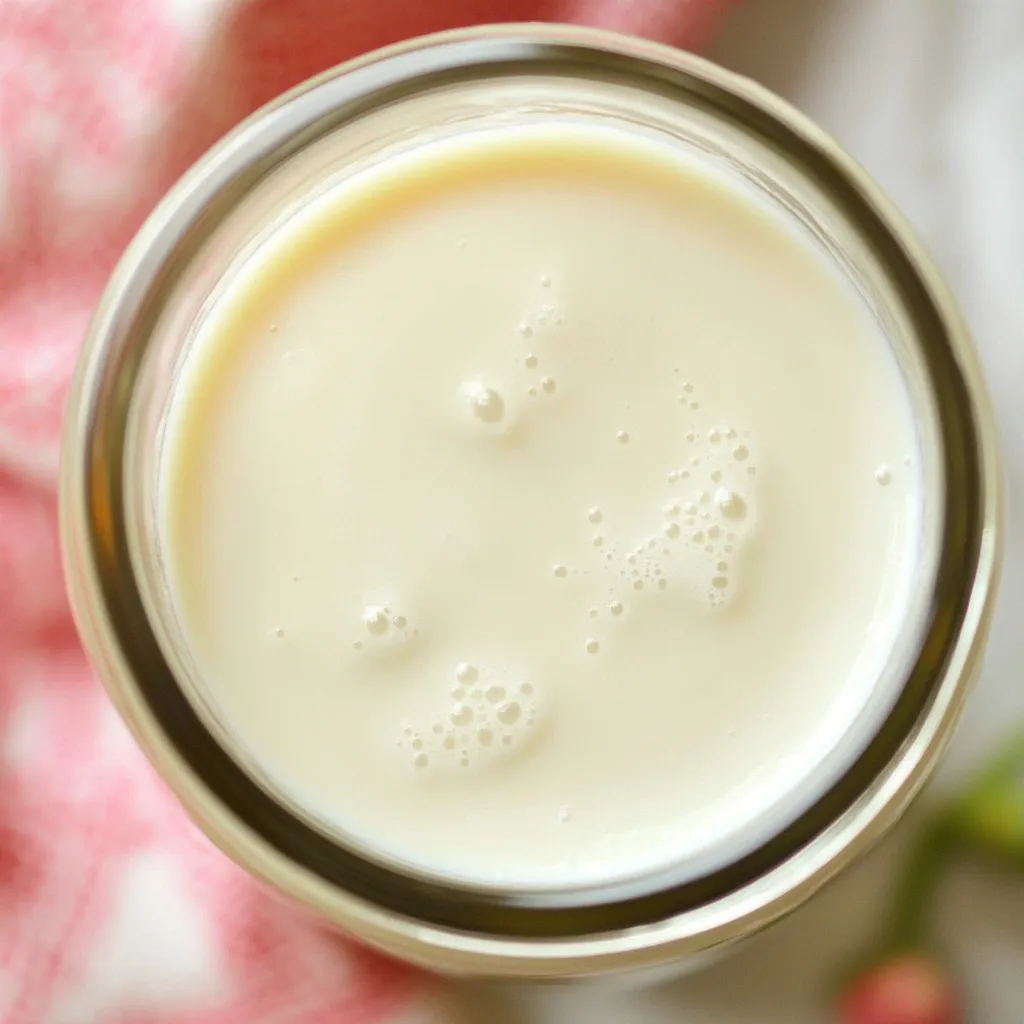
When it comes to making Sweetened Condensed Coconut Milk, the ingredients are as simple as they are essential. You’ll find that the magic lies in the harmonious blend of these basic components. The key players, like full-fat coconut milk and your choice of sweetener, come together to create a creamy, rich concoction that elevates your culinary creations.
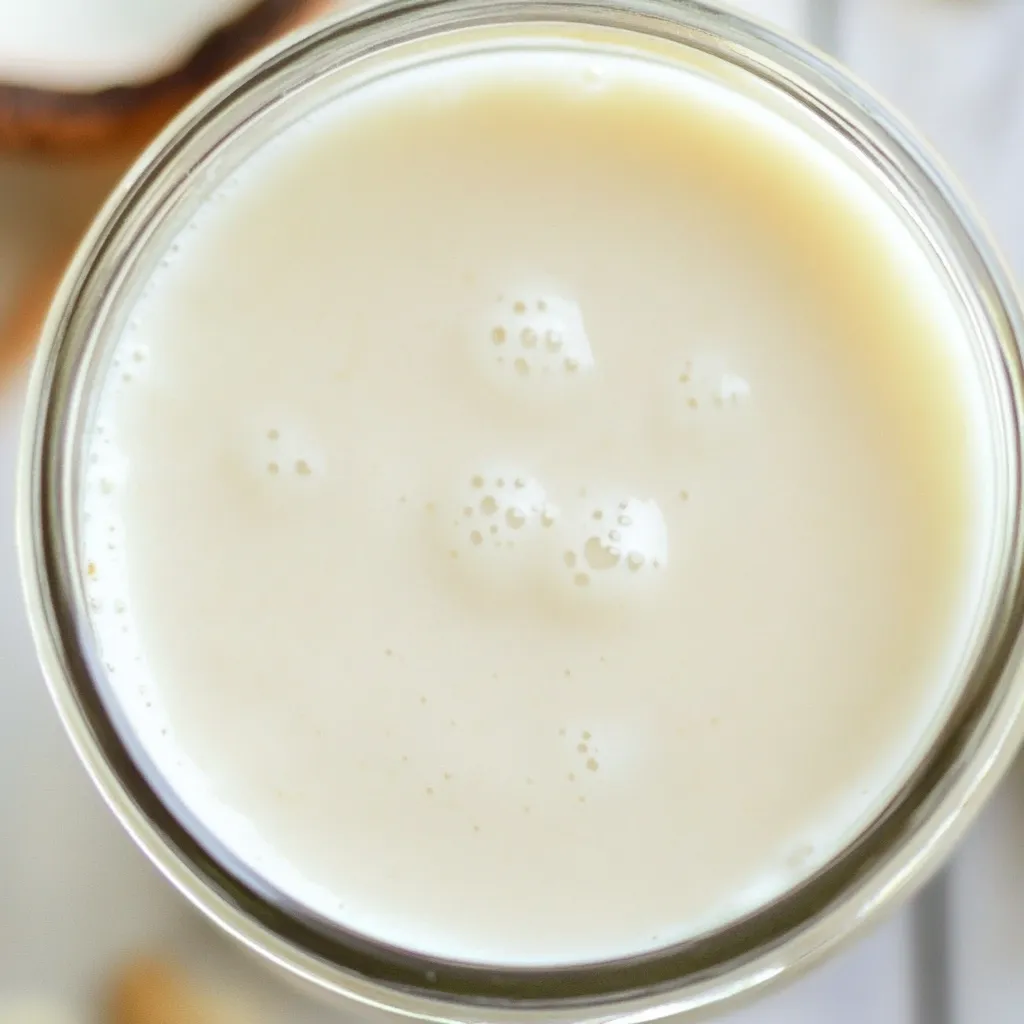
- 1 14oz. can full-fat coconut milk: This is the star ingredient. It provides the creamy texture and rich flavor that makes this sweetened condensed milk so irresistible.
- 1/4 cup honey: This is my go-to sweetener for this recipe. It adds a natural sweetness and complements the coconut flavor beautifully. You can also adjust the amount according to your taste.
Step by Step Guide for Sweetened Condensed Coconut Milk
Making Sweetened Condensed Coconut Milk is straightforward, and I promise you’ll love the process. Follow these steps, and you’ll have a delicious homemade version ready in no time! Let’s dive into the simple steps to create this creamy goodness.
- Start by pouring the coconut milk into a small saucepan. Turn the heat to medium-high and allow it to come to a gentle boil. Watch it closely, as coconut milk can bubble over if left unattended!
- Once the coconut milk begins to boil, reduce the heat to a simmer. This is where the magic happens! Add in the honey and whisk it continuously until it fully dissolves. This ensures that the sweetness blends perfectly into the creamy base.
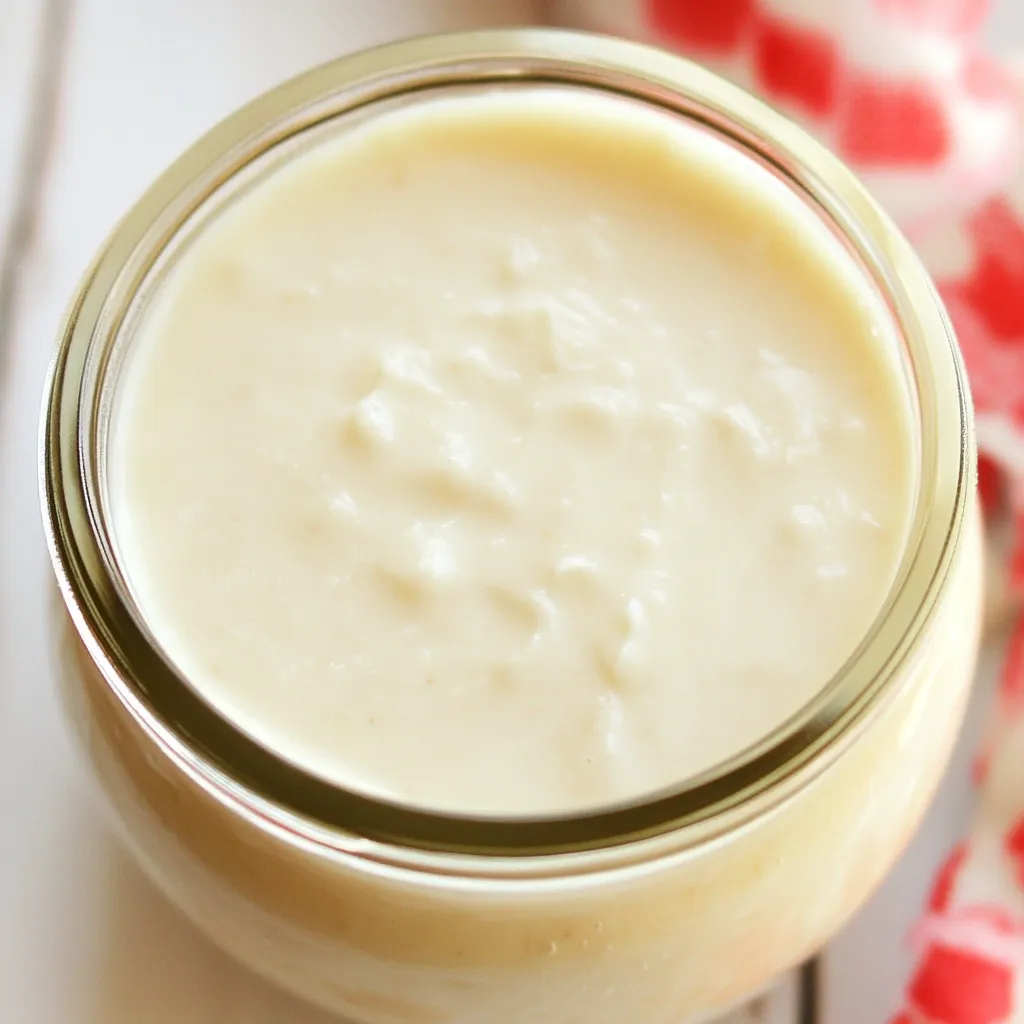
- Let the mixture simmer gently for about 30 to 45 minutes. Stir occasionally and keep an eye on it as it reduces in volume by half. You’ll notice the color deepening and the mixture thickening, which is exactly what you want.
- Once it has simmered enough and reduced, remove it from the heat. Allow the Sweetened Condensed Coconut Milk to cool completely. This step is crucial as it continues to thicken as it cools.
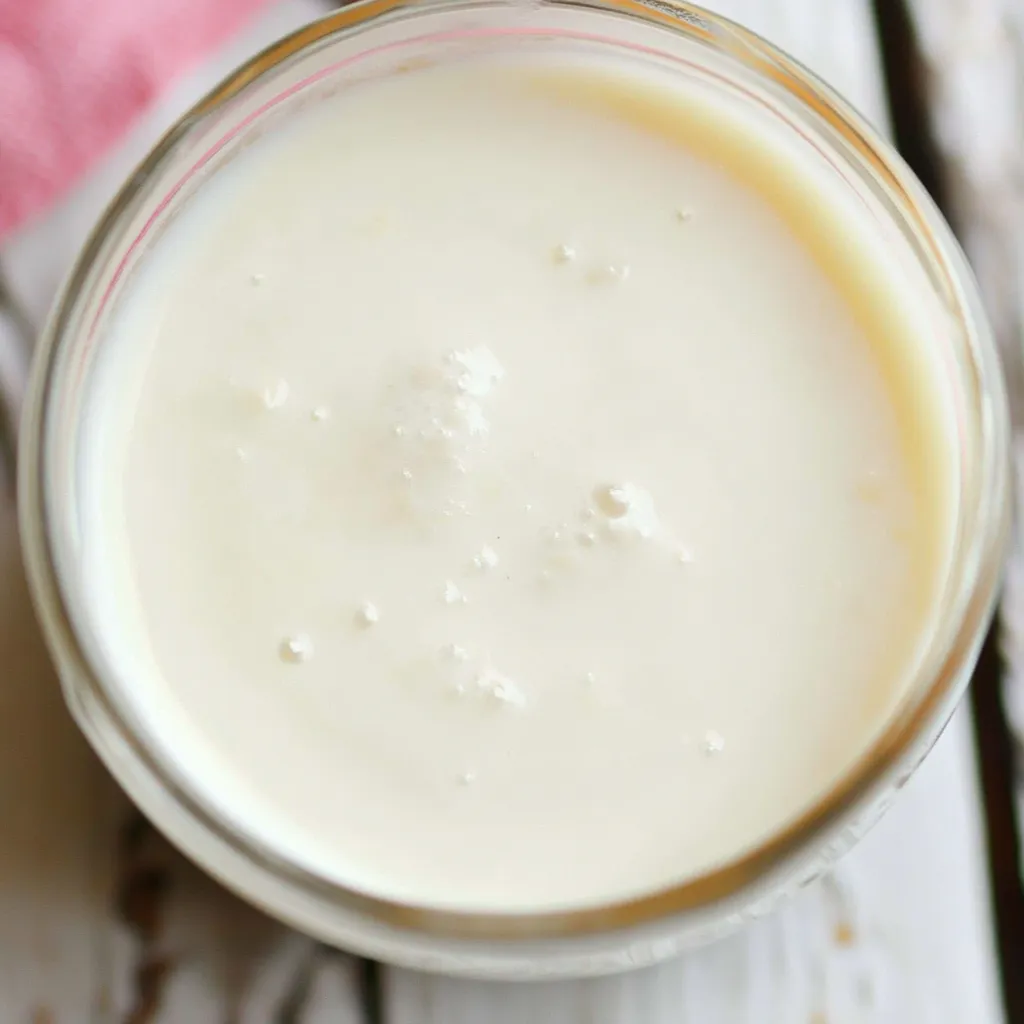
- Once cooled, you can transfer your homemade Sweetened Condensed Coconut Milk into a sealed container. It will keep well in the fridge for at least a week. Trust me, you’ll want to keep it handy for all your sweet cravings!
Things Worth Knowing
- Watch the heat: Always keep an eye on the coconut milk once it starts boiling, as it can overflow easily.
- Customize sweetness: Feel free to adjust the amount of honey according to your taste preference.
- Thickening process: The longer you simmer, the thicker and sweeter the final product will become.
- Storage tips: Store in a sealed container in the fridge to maintain its freshness. It can last up to a week!
Make It Your Own
Everyone loves a little creativity in the kitchen! Here are some ways you can adjust the Sweetened Condensed Coconut Milk to suit your preferences:
- Storage: Store leftovers in an airtight container in the fridge. It will keep for about a week.
- Freezing: You can freeze this coconut milk in ice cube trays for easy use later. Just pop out a cube whenever you need it!
- Pairing: It works beautifully with fruit desserts, pancakes, and even in coffee or tea.
- Flavor variations: Try adding a splash of almond extract or a sprinkle of cinnamon for a twist.
- Consistency: If you prefer a thicker consistency, simmer it longer. For a lighter version, reduce the cooking time.
Side Dish Ideas for Sweetened Condensed Coconut Milk
- Pancakes: Drizzle Sweetened Condensed Coconut Milk over fluffy pancakes for a tropical touch.
- Fruit Salad: Toss it with seasonal fruits for a refreshing dessert that’s both healthy and indulgent.
- Coconut Macaroons: Use it as a base for delicious coconut macaroons, adding even more coconut flavor.
- Ice Cream: Combine with your favorite ice cream or yogurt for a creamy, sweet topping.
- Drinks: Mix into smoothies or use as a sweetener in coffee or tea for a delightful twist.
- Cakes: Incorporate it into cake batters or use it as a frosting for a rich, sweet flavor.
FAQ
Conclusion
In conclusion, Sweetened Condensed Coconut Milk is a deliciously creamy addition to any dessert or drink. Its versatility and easy preparation make it a must-try for anyone looking to elevate their recipes. I encourage you to give this recipe a whirl in your own kitchen. Once you do, I’m sure you’ll discover how rewarding and enjoyable it is to create this delightful coconut treat yourself!
Sweetened Condensed Coconut Milk
Ingredients
Equipment
Method
- Pour the coconut milk into a small saucepan, and heat over medium-high heat until boiling, about 5 minutes. Watch this pot closely! Once the coconut milk starts to boil, it can bubble over quickly. Whisk regularly to prevent burning.
- Reduce the heat, bringing the coconut milk to a simmer, then add the honey, whisking until it's completely dissolved.
- Allow to simmer for 30 to 45 minutes, or until the liquid is reduced by half.
- Remove from the heat, and allow to cool completely before using in recipes. This Sweetened Condensed Coconut Milk should last for at least a week when stored in a sealed container in the fridge.
Notes
- Tip 1: I prefer using honey as my natural sweetener, but agave nectar, pure maple syrup, coconut nectar, coconut sugar, or stevia should work just fine.
- Tip 2: Feel free to adjust sweetness to taste!