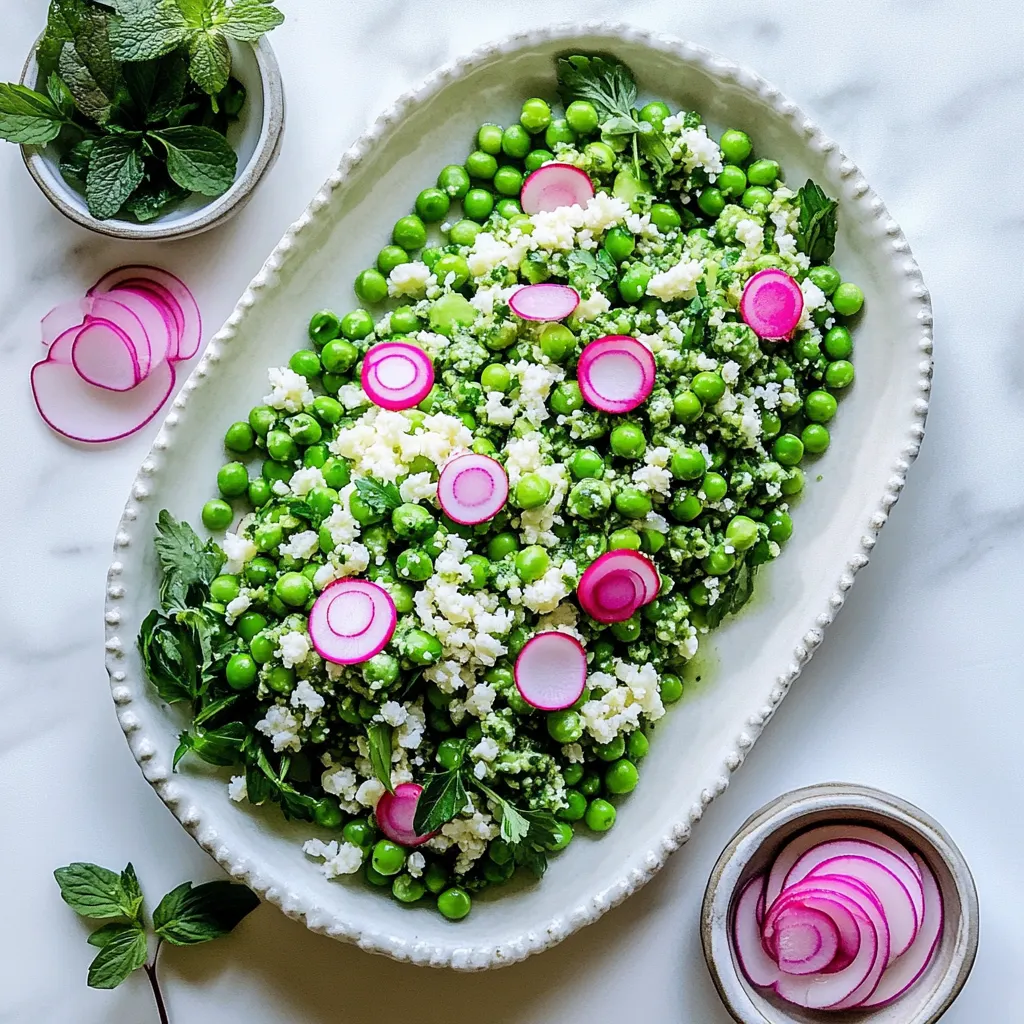
There’s something so refreshing about a vibrant Pea Salad. I remember the first time I had this dish at a family gathering in the early days of spring. The sun was shining brightly, and the air was filled with the sweet scent of blooming flowers. Someone brought this colorful salad, and it instantly caught my attention. It was a feast for the eyes, with bright green peas, fresh herbs, and a beautiful drizzle of dressing. As I took my first bite, the combination of flavors danced on my palate, making me crave more. Now, every time spring rolls around, I can’t help but whip up a batch of Pea Salad to celebrate the season. It’s not just a salad; it’s a burst of joy on a plate that brings back cherished memories.
Recipe Snapshot
28 mins
10 mins
18 mins
Medium
120 kcal
6 g
Keto, Gluten-Free, Low FODMAP
3 g
Large Pot, Blender, Food Processor, Wooden Spoon, Chef’s Knife
Why This Pea Salad Is a Winner
Bright and Vibrant Flavors
The fresh peas in the Pea Salad provide a natural sweetness that contrasts beautifully with the tangy dressing. The combination of herbs like dill and mint adds an aromatic touch that elevates this dish from simple to extraordinary.
Healthy Ingredients
With ingredients like fresh peas and Greek yogurt, this salad is not only delicious but also nutritious. It’s a guilt-free choice that’s perfect for a light lunch or as a side dish at dinner.
Quick to Prepare
One of the best things about Pea Salad is how quickly it comes together. In just a few minutes, you can have a fresh, vibrant dish ready to enjoy. It’s perfect for busy weeknights or spontaneous gatherings.
Perfect for Any Occasion
This salad shines at picnics, potlucks, and family barbecues, but it can also be a delightful addition to your dinner table any night of the week. Its versatility makes it a must-try dish.
A Crowd Pleaser
Everyone loves a good salad, and this Pea Salad is sure to impress. With its beautiful presentation and fresh flavors, it’s a dish that your guests will rave about.
Customizable
You can easily adapt this salad to suit your tastes. Want it creamier? Add more Greek yogurt. Prefer a different herb? Feel free to experiment. The possibilities are endless!
What to Buy for Pea Salad

The ingredients for the Pea Salad are simple yet essential. Each plays a unique role in contributing to the overall flavor and texture of the dish. Fresh peas are the star of the show, while herbs like dill and mint provide depth and freshness. The creamy dressing made with Greek yogurt brings it all together, making each bite a refreshing experience.
- 1 pound frozen petite peas, or fresh shelled peas: The base of our salad, these peas add a sweet flavor and vibrant color.
- Kosher salt and fresh black pepper: Essential for seasoning, enhancing the natural flavors of the ingredients.
- 1/2 cup packed fresh dill sprigs, plus more for garnish: Adds a fresh, herby flavor that complements the peas beautifully.
- 1/3 cup packed fresh mint leaves: Provides a refreshing note that balances the flavors in the salad.
- 1/4 cup non-fat Greek yogurt: Creates a creamy dressing that adds richness without being too heavy.
- 1 lemon: Provides acidity to brighten the salad; both the zest and juice are used for maximum flavor.
- 2 teaspoons extra-virgin olive oil: Adds a hint of richness and complements the yogurt dressing.
- 1/2 shallot, minced: Adds a subtle onion flavor without overpowering the other ingredients.
- 1/2 cup crumbled feta, for topping: Introduces a salty creaminess that enhances the overall taste.
- 1 small radish, thinly sliced for garnish: Adds a pop of color and a crisp texture to the finished dish.
Preparation Steps for Pea Salad
Making Pea Salad is a delightful process that requires just a few steps. Let’s dive into the preparation, ensuring you capture the freshness of each ingredient and create a vibrant dish. Follow along as you blend, mix, and serve this refreshing salad!
- Start by bringing a medium pot of water to a boil. Add a generous pinch of Kosher salt to the water to enhance the flavor of the peas. While you wait, fill a large bowl with ice water to prepare for shocking the peas after blanching.
- Once the water is boiling, add the peas. If you’re using frozen peas, they’ll only need about 1 minute to blanch; fresh peas will take approximately 2 to 3 minutes. Stir gently to ensure even cooking, watching for that vibrant green color to develop.
- As soon as the peas are bright green, quickly drain them and transfer them to the bowl of ice water. This stops the cooking process, helping to maintain their color and crisp texture. Let them sit for just a minute or two, then drain again.
- Next, measure out 1/2 cup of the cooked peas and place them in a blender or mini food processor. This will form the base of your creamy dressing.
- Add the dill, mint, yogurt, a pinch of salt, and a few cracks of fresh black pepper to the blender. These ingredients will blend together to create a luscious dressing that will coat the salad.
- Now, zest the entire lemon into the blender. Make sure to avoid the bitter white pith and just get the bright yellow zest. After zesting, cut the lemon in half and squeeze in the juice from one half. Blend everything until it becomes smooth and creamy. Taste your dressing and adjust with more lemon juice, salt, or pepper as desired.
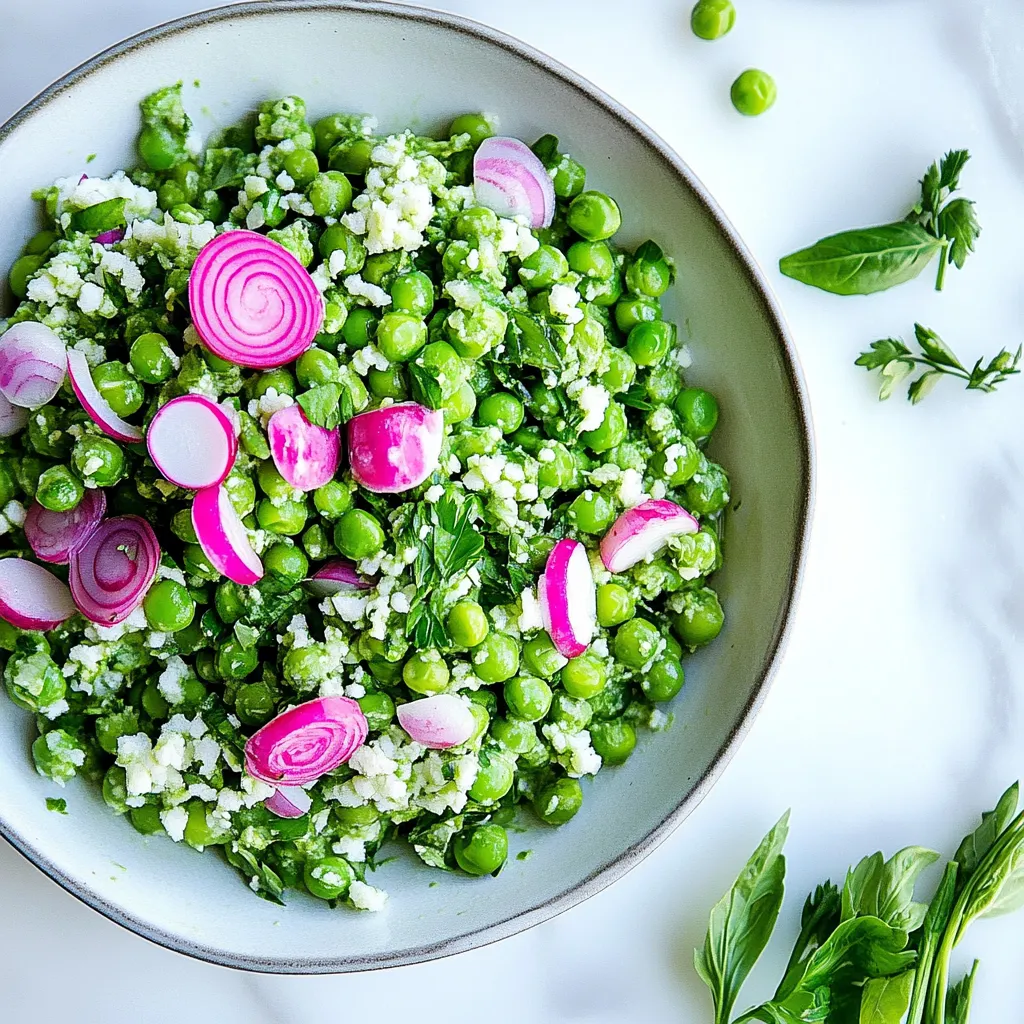
- In a large serving bowl, combine the remaining drained peas with the minced shallot. Drizzle your freshly made dressing over the top to taste, tossing gently to coat all the peas evenly.
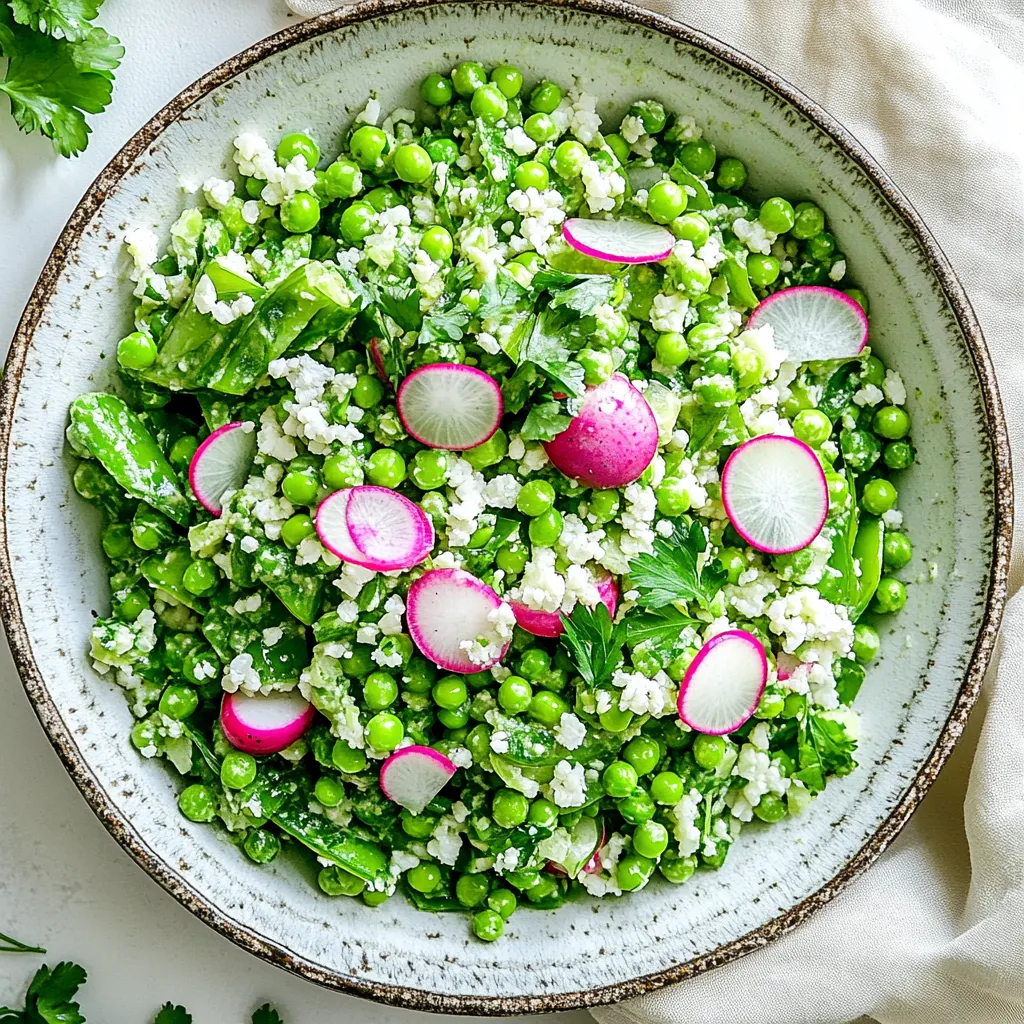
- Garnish your beautiful Pea Salad with crumbled feta, thinly sliced radishes, and extra herbs for flair. The visual appeal is just as important as the taste!
- Serve your salad immediately while it’s fresh and vibrant. This Pea Salad is best enjoyed right away, but it can also be refrigerated for a short time if needed.
Things Worth Knowing
- Blanching Technique: Blanching the peas is essential for preserving their bright color and crispness. Make sure not to overcook them.
- Ingredient Freshness: Always use the freshest ingredients possible. Fresh herbs will enhance the flavor profile significantly.
- Dressing Consistency: If you prefer a thinner dressing, you can add a splash of water or more lemon juice to achieve your desired consistency.
- Storage: If you have leftovers, store the salad in an airtight container in the refrigerator for up to two days, but be aware that the peas can lose some of their texture over time.
Helpful Notes about Pea Salad
Whether you’re preparing Pea Salad for a gathering or just for yourself, here are some helpful notes that will make your experience easier and more enjoyable.
- Storage: How to store leftovers: Keep any leftover salad in an airtight container in the fridge. It’s best enjoyed fresh but can last for a day or two.
- Freezing: Can you freeze this? It’s not recommended to freeze Pea Salad since the peas may become mushy once thawed.
- Pairing: What to serve with this: This salad pairs wonderfully with grilled chicken or fish, making it a perfect summer side dish.
- Serving suggestion: For a more filling meal, add some cooked quinoa or chickpeas to the salad.
- Herb variations: Feel free to experiment with other herbs like basil or tarragon for a different flavor twist!
Perfect Matches for Pea Salad
When it comes to serving Pea Salad, there are so many delightful pairings that enhance its fresh flavors. Here are some ideas:
- Grilled Chicken: This salad is the perfect accompaniment to grilled chicken, complementing the savory flavors beautifully.
- Fish Dishes: Serve it alongside a light fish dish, such as grilled salmon or tuna, for a refreshing meal.
- Pasta Dishes: Pair with pasta for a complete meal; consider a light lemon and garlic pasta.
- Picnic Essentials: It’s great for picnics and outdoor gatherings; it travels well and looks stunning on a buffet table.
- Spring Celebrations: Perfect for springtime festivities, Pea Salad adds a festive touch to any Easter or spring gathering.
- Storage Tips: If you have leftovers, keep them refrigerated in an airtight container. The flavors will meld even more overnight, but consume within two days to enjoy the best texture.
FAQ
Conclusion
The Pea Salad is truly a celebration of spring with its fresh flavors and vibrant colors. It’s not just a dish; it’s an experience that brings back memories of cheerful gatherings. I encourage you to give it a try. Your taste buds will thank you, and your friends and family will appreciate a refreshing side dish that’s both healthy and delicious!
Pea Salad
Ingredients
Equipment
Method
- Start by bringing a medium pot of water to a boil. Add a generous pinch of Kosher salt to the water to enhance the flavor of the peas. While you wait, fill a large bowl with ice water to prepare for shocking the peas after blanching.
- Once the water is boiling, add the peas. If you’re using frozen peas, they’ll only need about 1 minute to blanch; fresh peas will take approximately 2 to 3 minutes. Stir gently to ensure even cooking, watching for that vibrant green color to develop.
- As soon as the peas are bright green, quickly drain them and transfer them to the bowl of ice water. This stops the cooking process, helping to maintain their color and crisp texture. Let them sit for just a minute or two, then drain again.
- Next, measure out 1/2 cup of the cooked peas and place them in a blender or mini food processor. This will form the base of your creamy dressing.
- Add the dill, mint, yogurt, a pinch of salt, and a few cracks of fresh black pepper to the blender. These ingredients will blend together to create a luscious dressing that will coat the salad.
- Now, zest the entire lemon into the blender. Make sure to avoid the bitter white pith and just get the bright yellow zest. After zesting, cut the lemon in half and squeeze in the juice from one half. Blend everything until it becomes smooth and creamy. Taste your dressing and adjust with more lemon juice, salt, or pepper as desired.
- In a large serving bowl, combine the remaining drained peas with the minced shallot. Drizzle your freshly made dressing over the top to taste, tossing gently to coat all the peas evenly.
- Garnish your beautiful Pea Salad with crumbled feta, thinly sliced radishes, and extra herbs for flair. The visual appeal is just as important as the taste!
- Serve your salad immediately while it’s fresh and vibrant. This Pea Salad is best enjoyed right away, but it can also be refrigerated for a short time if needed.
Notes
- Storage: How to store leftovers: Keep any leftover salad in an airtight container in the fridge. It’s best enjoyed fresh but can last for a day or two.
- Freezing: Can you freeze this? It’s not recommended to freeze Pea Salad since the peas may become mushy once thawed.
- Pairing: What to serve with this: This salad pairs wonderfully with grilled chicken or fish, making it a perfect summer side dish.
- Serving suggestion: For a more filling meal, add some cooked quinoa or chickpeas to the salad.
- Herb variations: Feel free to experiment with other herbs like basil or tarragon for a different flavor twist!