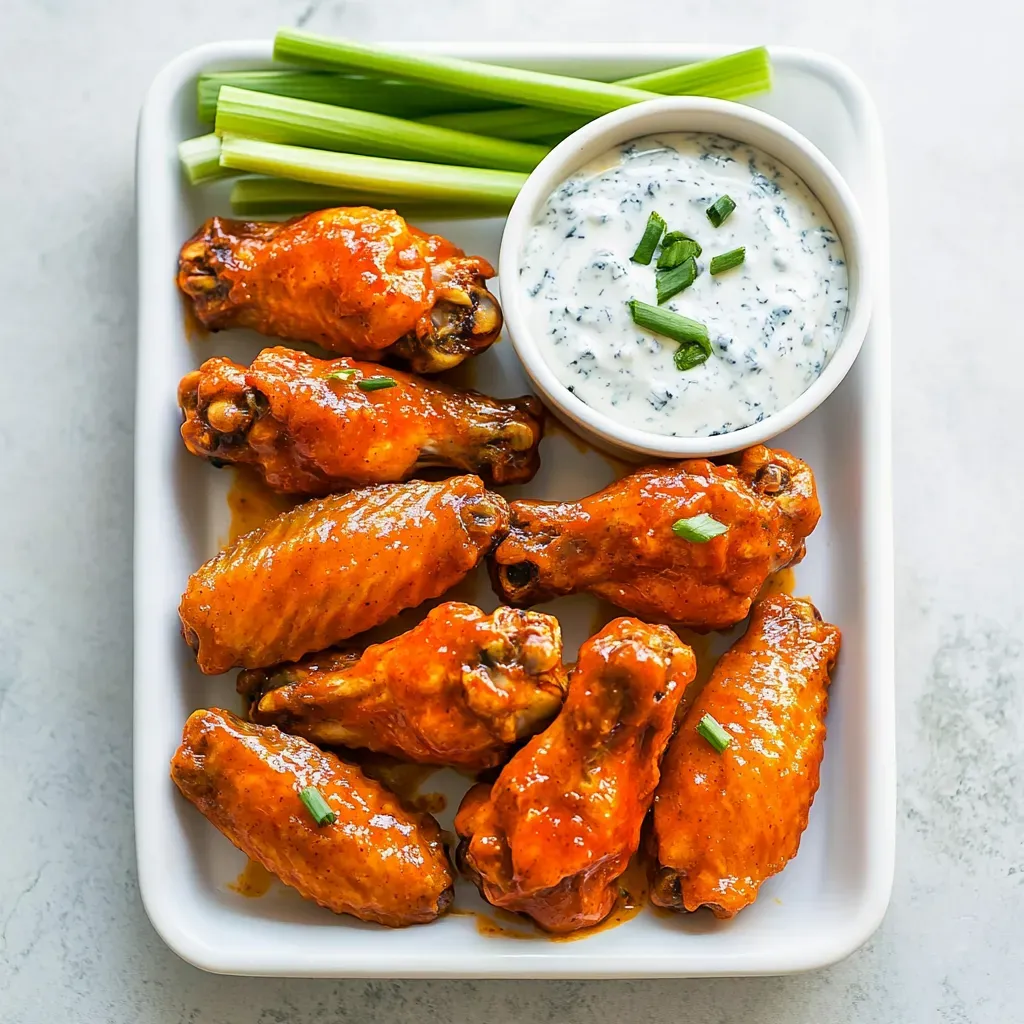
There’s nothing quite like the aroma of Baked Buffalo Wings filling the kitchen as I prepare for a cozy get-together with friends. I can still remember the first time I attempted to make these wings; it was a delightful experiment that turned into a beloved staple for gatherings. The crispy, spicy exterior paired with a creamy dip is simply unbeatable. Whether you’re hosting game day or just craving something delicious on a Friday night, Baked Buffalo Wings are bound to impress. The best part? They’re surprisingly easy to whip up! Each bite is a burst of flavor that reminds me of summer barbecues and exciting football matches. So, let’s dive into this recipe that’s sure to become a favorite!
Recipe Snapshot
1 hr 40 mins
25 mins
75 mins
Medium
300 kcal
24 g
Keto, Gluten-Free, Low FODMAP
21 g
Blender, Saucepan, Frying Pan, Wooden Spoon, Whisk, Mixing Bowl
Why This Baked Buffalo Wings Works
They’re Perfect for Every Occasion
Whenever I make Baked Buffalo Wings, they have an uncanny ability to elevate any gathering. Whether it’s a casual game night or a festive holiday dinner, these wings are a crowd-pleaser. Their bold flavors and satisfying crunch make them an instant hit with guests.
Flavor Explosion
The sheer combination of spices in the marinade for the wings creates a flavor explosion that’s hard to beat. Each wing is coated in a spicy, buttery sauce that’s simply irresistible. The addition of a creamy blue cheese dip takes the experience to the next level!
Healthier Alternative
Unlike traditional fried wings, these Baked Buffalo Wings offer a healthier alternative without sacrificing flavor. Baking them gives that crispy texture we all crave while significantly reducing the amount of oil needed. It’s a win-win!
Customizable Heat Levels
One thing I love about this recipe is its versatility. You can easily adjust the heat level based on your taste preferences. If you prefer a milder flavor, just reduce the amount of hot sauce. On the flip side, if you want to set your taste buds ablaze, go ahead and add more!
Kid-Friendly
I’ve found that kids absolutely love Baked Buffalo Wings. They’re fun to eat, and the accompanying dip makes them even more enticing. It’s a great way to introduce children to new flavors without overwhelming them.
Great for Meal Prep
These wings are fantastic for meal prep too! You can make a large batch, store them in the fridge, and enjoy them throughout the week. Perfect for a quick lunch or a light dinner.
What You Need for Baked Buffalo Wings
To create the perfect Baked Buffalo Wings, you’ll need a few key ingredients that come together beautifully. Each component plays a vital role in achieving those mouthwatering flavors and textures. The combination of spices, butter, and blue cheese ensures you have a party on your palate!
- 4 lbs chicken wings, cut into wings and drumettes: These are the star of the show! The meat becomes juicy and tender on the inside while achieving a crispy skin on the outside.
- 4 tsp aluminum-free baking powder: This secret ingredient helps achieve that coveted crispy texture without frying.
- Salt and freshly ground black pepper: Essential for enhancing the overall flavor of the wings.
- 3 Tbsp unsalted butter: Adds richness and helps the sauce adhere to the wings perfectly.
- 1 cup hot sauce, such as Frank’s Red Hot Original: The main source of spice and flavor; it defines the wings.
- 1 1/2 tsp cornstarch (optional): This helps thicken the sauce for a perfect consistency.
- 1 Tbsp honey: Balances out the heat with a touch of sweetness.
- 2/3 cup natural sour cream: This is used for the creamy dip, providing a cooling effect against the hot wings.
- 1/2 cup mayonnaise: Adds creaminess to the dip.
- 1/4 tsp garlic powder: A subtle hint of garlic flavor that enhances the dip.
- 1/4 tsp onion powder: Complements the garlic and adds depth to the dip.
- 1 Tbsp minced fresh parsley: For a fresh pop of color and flavor in the dip.
- 3 oz blue cheese, finely crumbled: The star of the dip, giving it a rich and tangy flavor.
Making This Baked Buffalo Wings
Creating Baked Buffalo Wings is easier than you might think! With just a few steps, you can have these delicious wings ready for your next gathering. Let’s roll up our sleeves and get started!
- Preheat your oven to 400°F (200°C). This high heat is crucial for achieving crispy wings. While the oven heats up, you can prepare your wings.
- In a large mixing bowl, combine the chicken wings, baking powder, salt, and black pepper. Make sure each wing is evenly coated. The baking powder is key to getting that crispy skin, so don’t skip this step!
- Place the seasoned wings on a baking sheet lined with parchment paper. Spread them out in a single layer, ensuring no wings are touching. This will allow the heat to circulate and cook them evenly.
- Bake the wings in the preheated oven for about 45 to 50 minutes. Halfway through, flip the wings to ensure they cook evenly. You’re looking for a beautiful golden-brown color and crispy texture. The smell will drive you wild!
- While the wings are baking, prepare the sauce. In a small saucepan over medium heat, melt the butter. Once it’s melted, add in the hot sauce and honey. Stir to combine and let it simmer gently.
- In a small bowl, whisk together the cornstarch with 1 Tbsp of water until smooth. Add this mixture to the sauce and stir constantly for about 20 seconds until lightly thickened. Remove from heat and set aside.
- Once the wings are done, transfer them to a large bowl. Pour the hot sauce mixture over the wings and toss gently to coat them evenly. Make sure every wing is fully coated!
- Now, it’s time to prepare your dip! In another bowl, combine the sour cream, mayonnaise, garlic powder, onion powder, parsley, and blue cheese. Mix well until smooth and creamy. Adjust the seasonings to your taste.
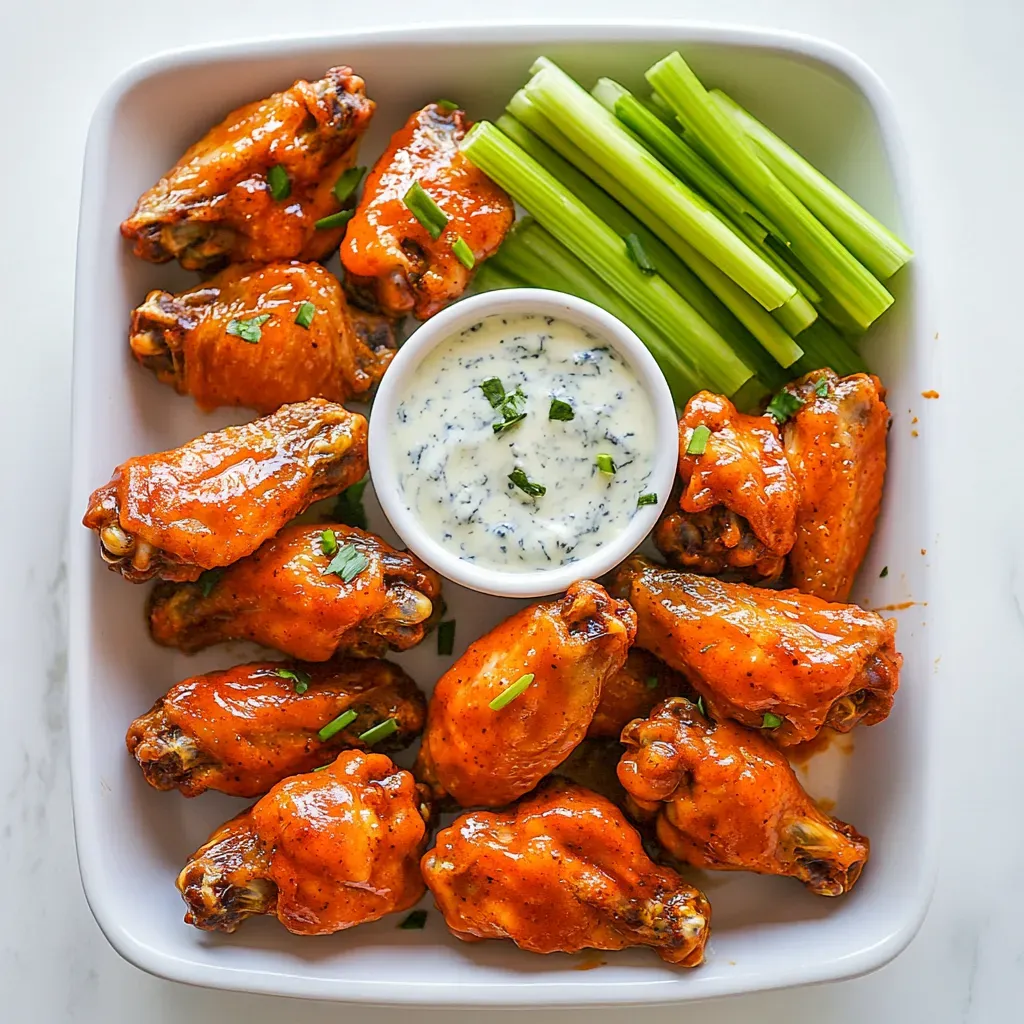
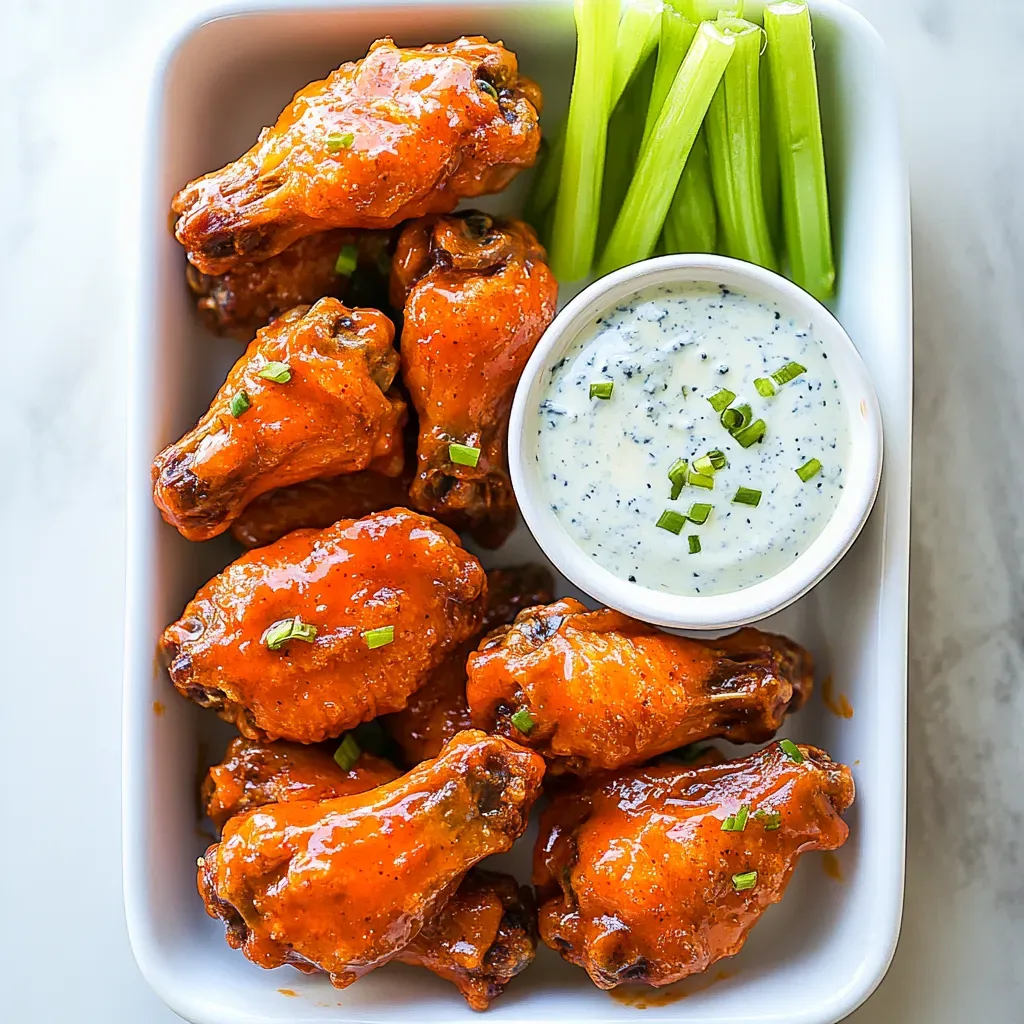
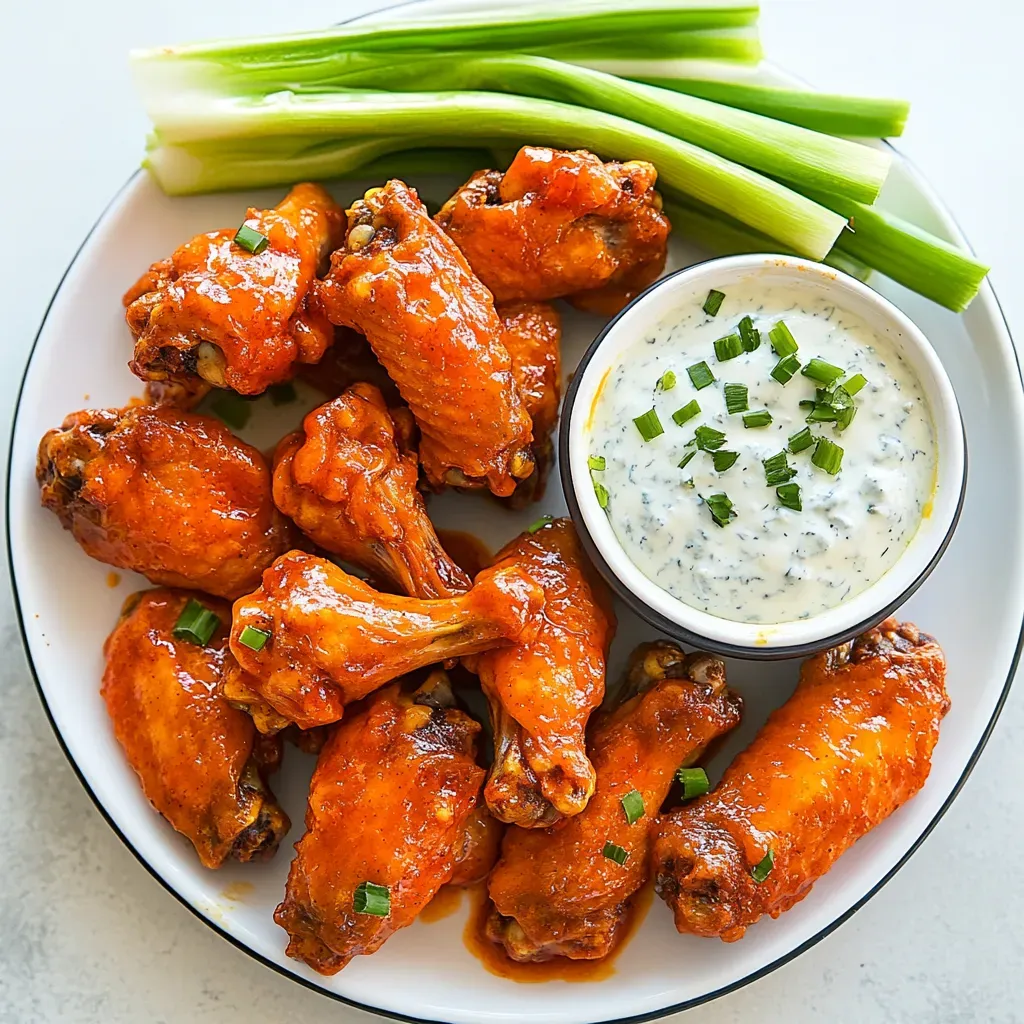
- Serve the wings hot, accompanied by the creamy dip. Don’t forget to have some napkins on hand—it’s going to get messy but oh so good!
Things Worth Knowing
- Don’t overcrowd the baking sheet: Make sure not to place too many wings on the sheet at once. They need space to cook properly and become crispy.
- Use a thermometer: If you want to ensure your wings are cooked through, use a meat thermometer. The internal temperature should reach 165°F (75°C).
- Let the wings rest: After baking, let the wings rest for a few minutes before tossing them in the sauce. This helps the skin stay crispier.
- Experiment with spices: Feel free to adjust the spices in the dry rub to suit your taste. Adding cayenne can give a nice kick, while smoked paprika adds depth.
- Make ahead: You can prepare the sauce in advance and store it in the fridge. Reheat it before mixing it with the wings for a quick meal.
Ways to Adapt This Recipe
If you want to put your spin on these Baked Buffalo Wings, here are some great tips to consider. Each suggestion can help you tailor the wings to your preferences or dietary needs.
- Storage: Keep leftover wings in an airtight container in the fridge for up to three days. Reheat them in the oven to restore their crispiness.
- Freezing: These wings freeze well! Store them in a freezer bag for up to two months. Just reheat them in the oven for a tasty snack anytime.
- Pairing: Serve the wings with crispy celery sticks and carrot sticks for a fresh crunch alongside the rich dip.
- Flavor variations: Consider trying different hot sauces for varied flavor profiles. Each sauce will bring a unique kick to the wings.
- Cooking method: Experiment with an air fryer for an even crispier texture, cutting down on the cooking time and oil used.
What to Serve Alongside Baked Buffalo Wings
- Classic sides: Pair your Baked Buffalo Wings with classic sides like fries or onion rings to create a hearty meal.
- Refreshing salads: A light, crunchy salad with a tangy vinaigrette can balance the richness of the wings.
- Game day favorites: These wings are perfect for game day! Serve them alongside chips and salsa for a full spread.
- Seasonal veggies: Roasted or grilled seasonal vegetables pair beautifully and add a healthy touch to your meal.
- Social gatherings: Whether it’s a casual get-together or an outdoor barbecue, these wings are always a hit!
FAQ
Conclusion
These Baked Buffalo Wings are a fantastic way to enjoy a classic dish while keeping things lighter and healthier. Their irresistible flavor and crispy texture will make them a favorite for any occasion. Whether you’re hosting a party or just indulging in a weeknight snack, give this recipe a try—you won’t be disappointed!
Baked Buffalo Wings
Ingredients
Equipment
Method
- Preheat your oven to 400°F (200°C). This high heat is crucial for achieving crispy wings. While the oven heats up, you can prepare your wings.
- In a large mixing bowl, combine the chicken wings, baking powder, salt, and black pepper. Make sure each wing is evenly coated. The baking powder is key to getting that crispy skin, so don’t skip this step!
- Place the seasoned wings on a baking sheet lined with parchment paper. Spread them out in a single layer, ensuring no wings are touching. This will allow the heat to circulate and cook them evenly.
- Bake the wings in the preheated oven for about 45 to 50 minutes. Halfway through, flip the wings to ensure they cook evenly. You’re looking for a beautiful golden-brown color and crispy texture. The smell will drive you wild!
- While the wings are baking, prepare the sauce. In a small saucepan over medium heat, melt the butter. Once it’s melted, add in the hot sauce and honey. Stir to combine and let it simmer gently.
- In a small bowl, whisk together the cornstarch with 1 Tbsp of water until smooth. Add this mixture to the sauce and stir constantly for about 20 seconds until lightly thickened. Remove from heat and set aside.
- Once the wings are done, transfer them to a large bowl. Pour the hot sauce mixture over the wings and toss gently to coat them evenly. Make sure every wing is fully coated!
- Now, it’s time to prepare your dip! In another bowl, combine the sour cream, mayonnaise, garlic powder, onion powder, parsley, and blue cheese. Mix well until smooth and creamy. Adjust the seasonings to your taste.
- Serve the wings hot, accompanied by the creamy dip. Don’t forget to have some napkins on hand—it’s going to get messy but oh so good!
Notes
- Buy pre-cut wings: to save prep time.
- Double the butter: If you'd like you can double up on the butter for a richer sauce.
- Thicken the sauce: The cornstarch just helps thicken the sauce up a little; it can be omitted just omit the water too.
- Nutrition estimate: is for wings only, does not include dip as it is optional.