The moment I took my first bite of Hot Chocolate Brownie Cups, I felt a wave of nostalgia wash over me. It was one of those chilly winter evenings, where the snow blanketed the ground, and the smell of something sweet wafted through the house. My family gathered around, laughter echoing as we enjoyed warm treats together. These delightful brownie cups remind me not only of my childhood but also of the simple joy that comes from sharing delicious food with loved ones. With each mini brownie, a burst of rich chocolate flavor meets a surprisingly light and fluffy whipped cream topping, creating an irresistible combination. They’re the perfect treat for holiday gatherings, chilly nights, or just because you want to indulge in something sweet. Whether you decide to add a sprinkle of candy canes or chocolate sauce on top, these brownie cups are sure to please anyone who tries them.
Recipe Snapshot
25 mins
15 mins
10 mins
Medium
150 kcal
2g g
Gluten-Free, Low FODMAP
9g g
Mini Muffin Pan
What Makes This Hot Chocolate Brownie Cups Special
Perfect for Any Occasion
One of the things I love most about Hot Chocolate Brownie Cups is how versatile they are. They bring a festive touch that’s perfect for Christmas celebrations, yet they’re simple enough for an everyday dessert. You can whip them up quickly and serve them warm, or make them ahead of time for a party!
Decadent Flavor
The combination of brownie and chocolate kisses is a match made in heaven. The chocolate kisses melt just perfectly on top, adding an extra layer of richness. When you bite into one, the brownie is soft, gooey, and has a deep chocolate flavor.
Presentation is Key
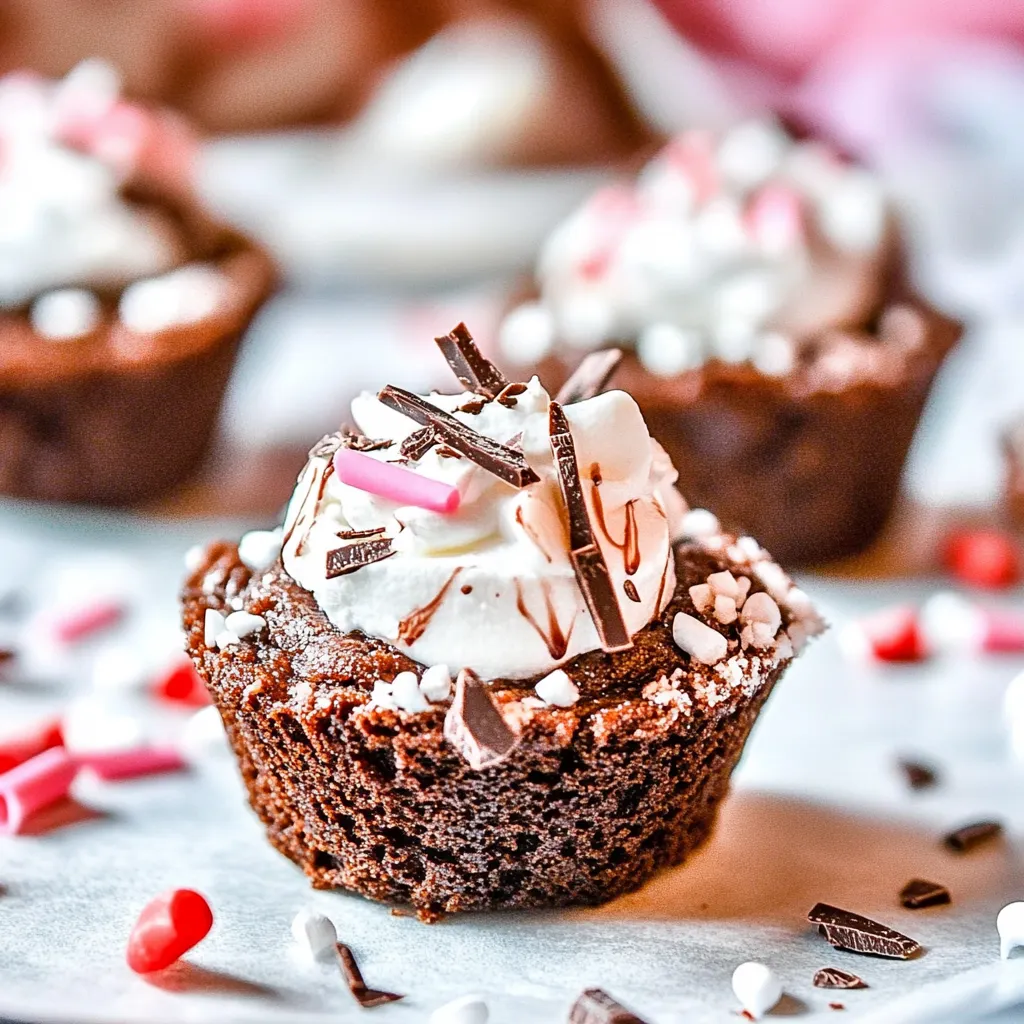
These brownie cups are not just tasty but also visually appealing. You can make them as extravagant as you want. A dollop of whipped cream topped with mini marshmallows and a sprinkle of chocolate sprinkles transforms these little treats into a showstopper.
Easy to Make
Even if you’re not a seasoned baker, you’ll find this recipe easy to follow. With just a few ingredients and simple steps, you’ll have a batch of delicious brownie cups ready to devour.
Fun for Kids
Kids love to help in the kitchen, and making these brownie cups can be a delightful family activity. They can help with decorating the tops with whipped cream and sprinkles, making it a fun and engaging experience.
Guilty Pleasure
Sometimes you just need a little indulgence. These brownie cups are a perfect way to satisfy your chocolate cravings without overdoing it. Their mini size allows you to enjoy a sweet treat without the guilt.
Hot Chocolate Brownie Cups Shopping List
Gathering the right ingredients is crucial for these Hot Chocolate Brownie Cups. Each component serves its purpose: the brownie mix provides a rich base, while the heavy whipping cream creates a light topping that complements the chocolate perfectly. Let’s delve into the essential ingredients you’ll need.
- 1 package brownie mix or your favorite brownie recipe – This is the foundation of your dessert, ensuring a rich chocolate flavor.
- 24 Chocolate Kisses – These add a delightful melted chocolate surprise to each brownie cup.
- 2 cups heavy whipping cream – Essential for creating the fluffy topping that makes these cups extra special.
- 2 tablespoons powdered sugar – This sweetens the whipped cream and balances the flavors nicely.
- 2 tablespoons instant white chocolate pudding mix – Using the dry mix enhances the creaminess of your topping.
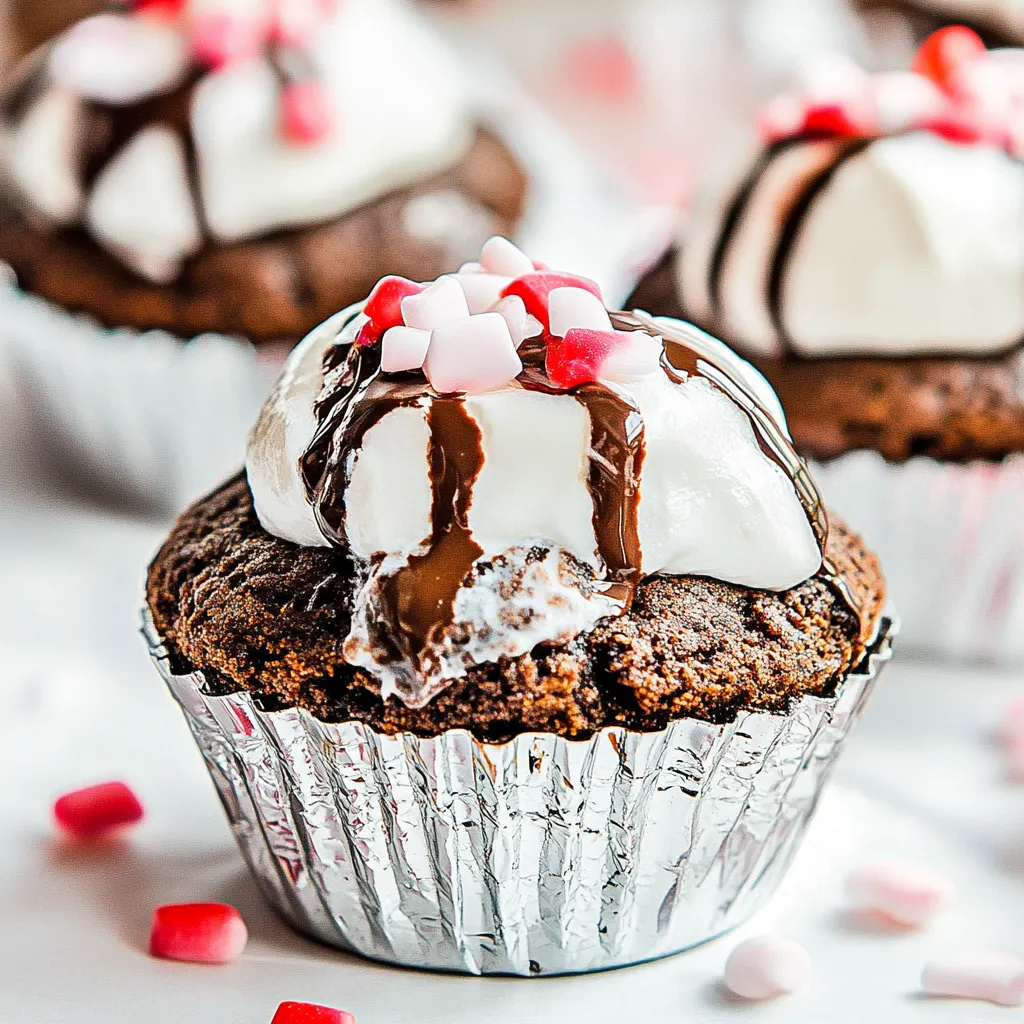
- Optional Garnish: candy canes, mini marshmallows, chocolate sprinkles, chocolate sauce – These add a festive touch and extra sweetness.
Making Hot Chocolate Brownie Cups

Let’s dive into how to create these delicious Hot Chocolate Brownie Cups. It’s as simple as following a few steps and watching them come to life!
Preheat your oven to 350 degrees Fahrenheit. This is the perfect temperature for baking brownies, allowing them to cook evenly. You can also prepare your baking pan by spraying a 24 mini muffin pan with a baking spray that contains flour. This prevents the brownies from sticking.
Next, prepare the brownie mix according to the package instructions or follow your favorite homemade recipe. Ensure you mix well for a uniform batter, which will give you that rich flavor you desire. Once ready, fill the mini muffin cups about two-thirds full. This allows space for the brownies to rise without overflowing.
Place the filled muffin pan in the oven and bake for about seven to ten minutes. Look for edges that are set but centers that remain soft and slightly gooey. This texture is key to a delightful brownie cup.
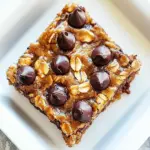
As soon as you take them out of the oven, press one chocolate kiss into the center of each brownie cup with the pointed side facing down. The heat will begin to melt the chocolate, creating a deliciously gooey center.
You can either leave them as they are, or for a more refined look, use a thin spatula or a spoon to gently smooth out the melted chocolate, providing a lovely cocoa-like surface.
Allow the brownie cups to cool completely on a wire rack. This cooling process is crucial as it helps set the chocolate and the brownie itself, making them easier to handle later.
While your brownie cups are cooling, it’s time to prepare the stabilized whipped cream. Start by whipping the heavy cream in a very cold bowl. Beat it at high speed until it begins to thicken.
Once the cream has started to thicken, add the powdered sugar and continue beating until soft peaks form. This should take just a few minutes. Be cautious not to overmix, as whipped cream can turn grainy if you go too far.
Next, add the instant white chocolate pudding mix and beat until you achieve stiff peaks. This gives the whipped cream a wonderful texture and stability, perfect for piping.
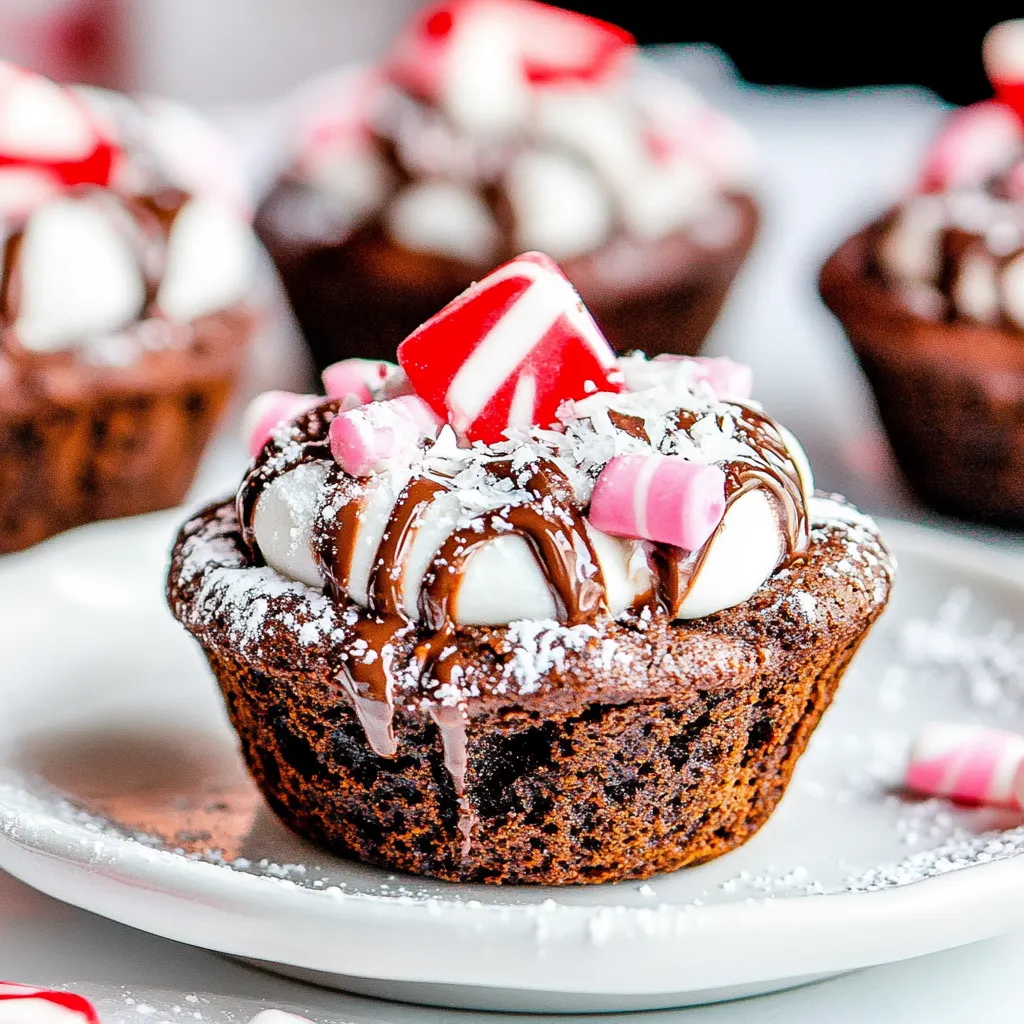
When the brownie cups are cool, pipe the stabilized whipped cream on top of each one. Feel free to get creative with your piping! You can also garnish with mini marshmallows, crushed candy canes, and a drizzle of chocolate sauce if you like.
Things Worth Knowing
- Don’t rush the cooling process: Allowing your brownie cups to cool completely will ensure they hold their shape and the chocolate kisses melt perfectly.
- Watch the baking time: Depending on your oven, the baking time of seven to ten minutes may vary. Keep an eye on them to avoid overbaking.
- Use chilled equipment for whipped cream: A very cold bowl and beaters will help achieve better volume and stability for your whipped cream.
- Customize your toppings: Feel free to experiment with different toppings. Try adding caramel sauce, nuts, or different types of chocolate for a unique twist.
Tips for Success
To make your baking experience enjoyable, here are some practical tips for achieving perfect Hot Chocolate Brownie Cups.
- Storage: Store leftover brownie cups covered in the fridge for up to five days to maintain freshness.
- Freezing: For longer storage, you can freeze the brownie cups. Just wrap them individually and store them in an airtight container. They can be frozen for up to three months.
- Pairing: These brownie cups pair excellently with a scoop of vanilla ice cream or a drizzle of hot fudge sauce.
- Variations: You can switch up the brownie mix for different flavors, like blonde brownies or add nuts for added crunch.
- Serving: For a festive touch, consider garnishing with whipped cream and a sprinkle of cocoa powder right before serving.
What to Pair With Hot Chocolate Brownie Cups
Pairing is key to enhance your dessert experience. Here are some delightful suggestions:
- Vanilla Ice Cream: A scoop of creamy vanilla ice cream balances out the rich chocolate flavor beautifully.
- Hot Cocoa: Serve these brownie cups with a warm mug of hot cocoa for the ultimate winter treat.
- Fruit Salad: A light fruit salad can provide a refreshing contrast to the rich brownies.
- Coffee: A warm cup of coffee complements the sweetness of the brownie cups perfectly.
- Holiday Parties: These treats are great for holiday gatherings, serving as a sweet end to a festive meal.
FAQ
Conclusion
What makes these Hot Chocolate Brownie Cups truly special is their blend of rich flavors and fun presentation. They’re not just a dessert; they’re a delightful experience that brings joy to any gathering. Give them a try, and I promise they’ll become a favorite in your household!
So why wait? Gather your ingredients and start baking these delicious cups today. You won’t regret it!
Hot Chocolate Brownie Cups
Ingredients
Equipment
Method
- Preheat your oven to 350 degrees Fahrenheit. Prepare a 24 mini muffin pan by spraying with a baking spray that includes flour.
- Prepare the brownie mix according to the package directions, or follow your favorite brownie recipe. Fill mini muffin cups about two-thirds full.
- Bake for 7-10 minutes or until the edges are set but the centers are still soft, but not liquid.
- As soon as you remove them from the oven, press one chocolate kiss into each brownie cup with the pointed down, flat part on top.
- Allow the brownie cups to cool completely then transfer them to a cooling rack.
- While they are cooling, prepare the stabilized whipped cream by whipping the heavy cream until it starts to thicken.
- Add the powdered sugar and continue beating until soft peaks will form.
- Next, add the instant white chocolate pudding mix and beat until stiff peaks form.
- When the brownies are fully cooled, pipe the stabilized whipped cream on top of each one.
Notes
- Tip 1: If you would like additional chocolate topping, melt some extra Hershey Kisses and spoon the melted chocolate on top of the brownies.
- Tip 2: Once topped with whipped cream, store covered in the fridge.
- Tip 3: If brownies have not been topped, they can be stored at room temperature for up to five days.